How to add External Email Warning and Tag withing Microsoft 365. Enhance your organization’s email security within Microsoft 365 by learning how to add external email warning labels. In this comprehensive guide, we’ll walk you through the steps to fortify your email communication and protect against potential threats.
Table of Contents
What are we going to set up?
In this blog post we will show you, How to add External Email Warning and Tag within Microsoft 365. In the first step we are going to enable the external email tag. In the second step we are going to configure an external email banner.

Turn on external email tag
In the first step we are going to enable the external tagging option. We need to turn this feature on with the Exchange PowerShell module. Just follow these steps:
- Open PowerShell with administrator privilige
- Install the ExchangeOnline module with Install-Module ExchangeOnlineManagement
- Enter Connect-ExchangeOnline and login with your Microsoft 365 administrator
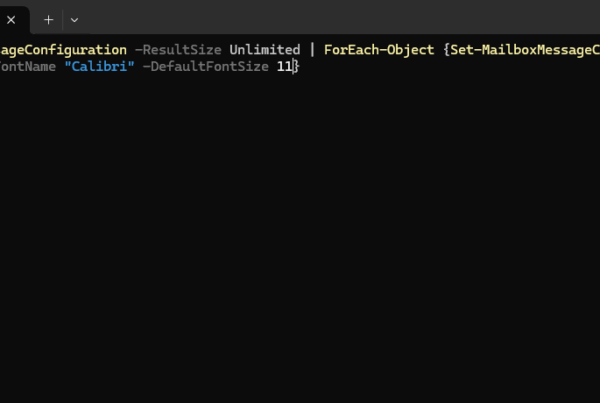
Now we can start to set the external tag. To Enable the external tag for the whole organization enter the following command
- To enable external tag enter Set-ExternalInOutlook -Enabled $true

To verify if the external tag is enabled you can check it with the following command.
- To verify enter Get-ExternalInOutlook

It can take up to 48 hours until the external tag is applied. After some time you will see it on new emails coming in.


Turn on external warning banner
First of all choose one of the templates from below. Of course you can also create your own message. Just make sure you use HTML.
<table border=0 cellspacing=0 cellpadding=0 align="left" width="100%">
<tr>
<td style="background:#ffb900;padding:5pt 2pt 5pt 2pt"></td>
<td width="100%" cellpadding="7px 6px 7px 15px" style="background:#fff8e5;padding:5pt 4pt 5pt 12pt;word-wrap:break-word">
<div style="color:#222222;">
<span style="color:#222; font-weight:bold;">Caution:</span>
 This is an external email and has a suspicious subject or content. Please take care when clicking links or opening attachments. When in doubt, contact your IT Department
</div>
</td>
</tr>
</table>
<br />

<table border=0 cellspacing=0 cellpadding=0 align="left" width="100%">
<tr>
<td style="background:#00A0d2;padding:5pt 2pt 5pt 2pt"></td>
<td width="100%" cellpadding="7px 6px 7px 15px" style="background:#e5f5fa;padding:5pt 4pt 5pt 12pt;word-wrap:break-word">
<div style="color:#222222;">
<span style="color:#222; font-weight:bold;">Caution:</span>
 This is an external email and has a suspicious subject or content. Please take care when clicking links or opening attachments. When in doubt, contact your IT Department
</div>
</td>
</tr>
</table>
<br/>

<table border=0 cellspacing=0 cellpadding=0 align="left" width="100%">
<tr>
<td style="background:#dc3232;padding:3pt 1pt 3pt 1pt"></td>
<td width="100%" cellpadding="3px 6px 3px 15px" style="background:#ffffff;padding:3pt 4pt 3pt 12pt;word-wrap:break-word">
<div style="color:#222222;">
<span style="color:#222; font-weight:bold;">Important:</span>
 This is contains a suspicious subject or content. Do not click any link and do not open attachments unless you have confirmed the sender.
</div>
</td>
</tr>
</table>
<br />
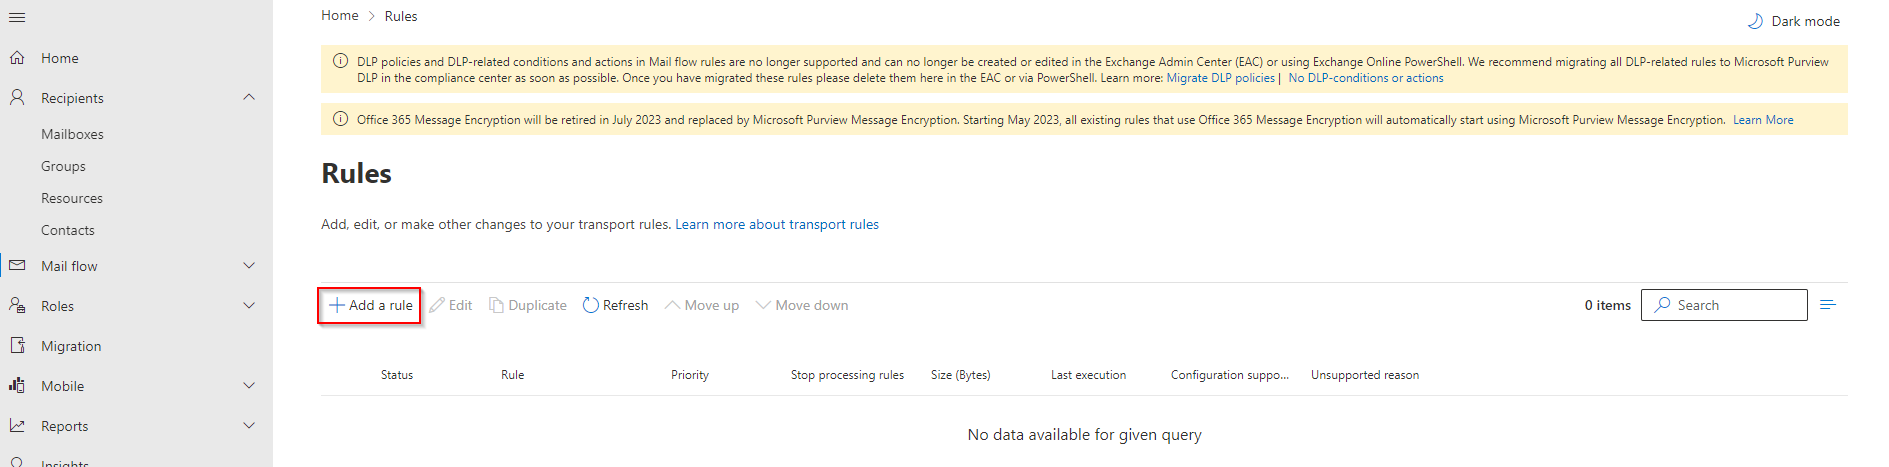
We are now going to create a Exchange Rule. Just follow these steps:
- Login to the Exchange Admin Center
- Click on Mail Flow
- Click on Rules
- Click on Add a rule
- Click on Create a new rule
Give it a Name and enter the following settings:
Apply this rule if The sender is located ‘NotInOrganization’
And The recipient is located ‘InOrganization’
Do the following Apply a disclaimer to the message prepend a disclaimer
On the Enter text enter your HTML code. Make sure the disclaimer is Wraped.

You could also define some Exceptions or apply only for some peoples. When this is wanted you need to change The recipient row to only the persons you want.
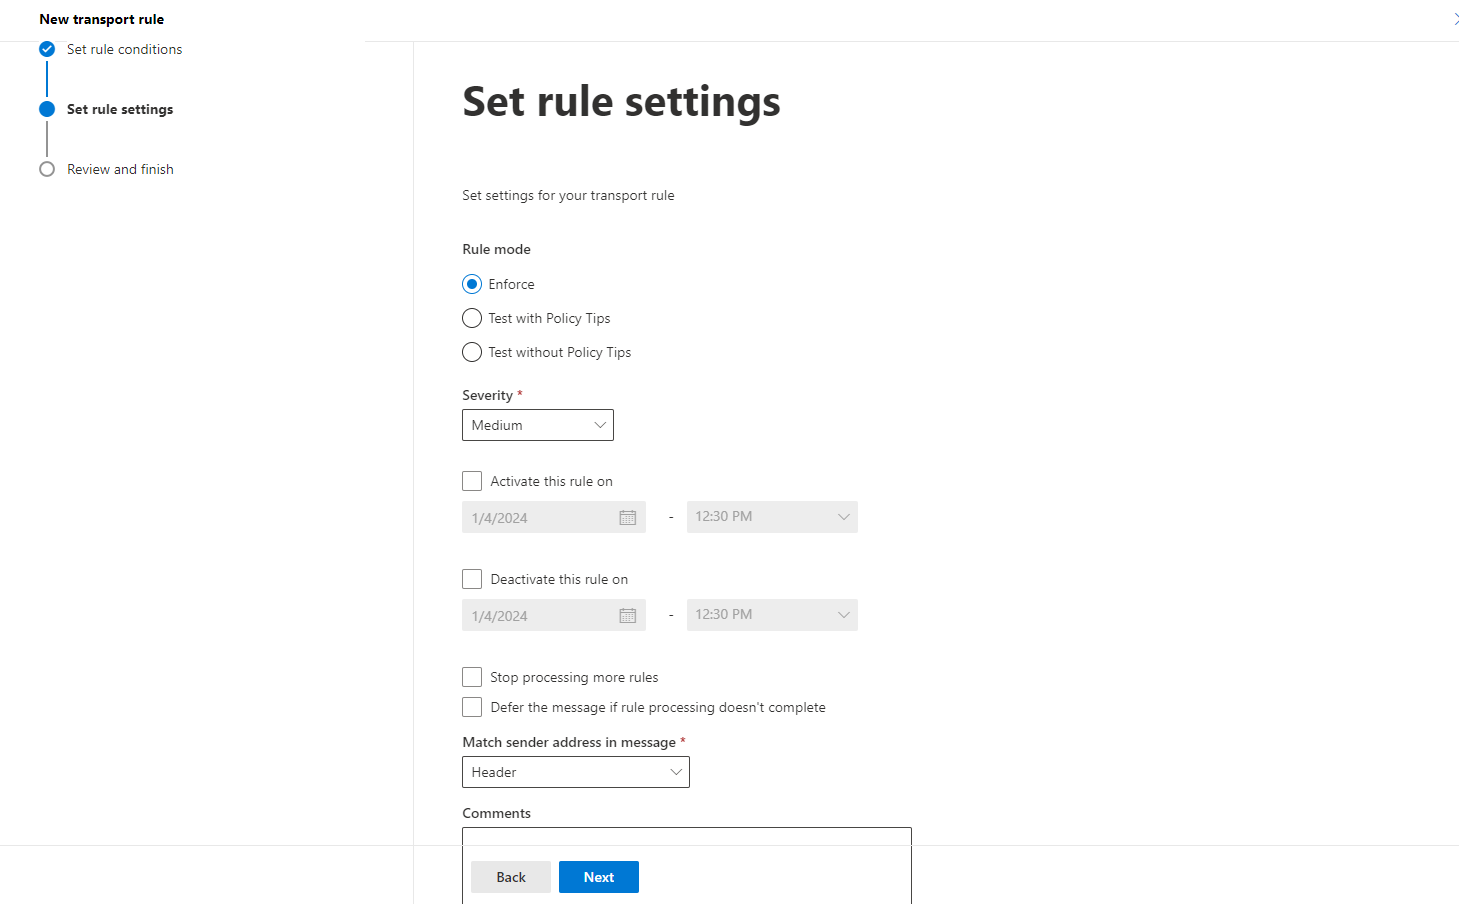
You can click on Next when you’re finished. On the Set rule settings you can set your Rule mode. For this demonstration I will enforce it right away. Dont forgett to set a Severity.
You can now review the settings and finish up the configuration. When testing you should see the tag right away.

Conclusion
You learned how to enable the external tag in the first step. In the second step we added a external warning banner for all external mails.
Did you enjoy this article? Dont forget to follow us and share this article.