Welcome to our new blog post on How to configure UAC (User Account Control) with Microsoft Intune. In this guide, we will explore the power of Microsoft Intune, a leading cloud-based service, and delve into the steps you need to take to configure UAC settings. By the end of this journey, you’ll have a comprehensive understanding of how to optimize your UAC configuration, bolstering your organization’s security posture while maintaining user productivity.
Table of Contents
What is UAC (User Account Control)
User Account Control (UAC) is a security feature introduced by Microsoft in Windows operating systems, starting with Windows Vista and continuing in subsequent versions, including Windows 7, Windows 8, and Windows 10. Its primary purpose is to enhance the security of the operating system by preventing unauthorized changes to your computer.
UAC works by prompting users for confirmation whenever a task or application requires administrative privileges to run. These tasks could include installing software, making changes to system settings, or modifying files in certain protected directories. When an action that requires administrative privileges is initiated, UAC displays a prompt asking the user to confirm that they want to proceed. This confirmation dialog helps prevent malicious software or unauthorized users from making significant changes to the system without the user’s knowledge or consent.
By default, users operate in a standard user account mode, which has limited privileges. When administrative tasks are attempted, UAC elevates the user’s privileges temporarily, allowing the task to be completed. Once the task is done, the privileges return to the standard user level. This process ensures that even users with administrative privileges are prompted to confirm potentially risky actions, reducing the likelihood of accidental or unauthorized system changes.
How to configure UAC (User Account Control) with Microsoft Intune
Step 1: Create configuration profile
We first are going to create a Configuration profile. Just follow these steps:
- Go to intune.microsoft.com
- Navigate to Devices
- Click on Windows
- Click on Configuration profiles
- Click on Create profile

- Platform: Windows 10 and later
- Profile type: Settings catalog
- Click on Create

- Give it a meaningful name
- Click on Next

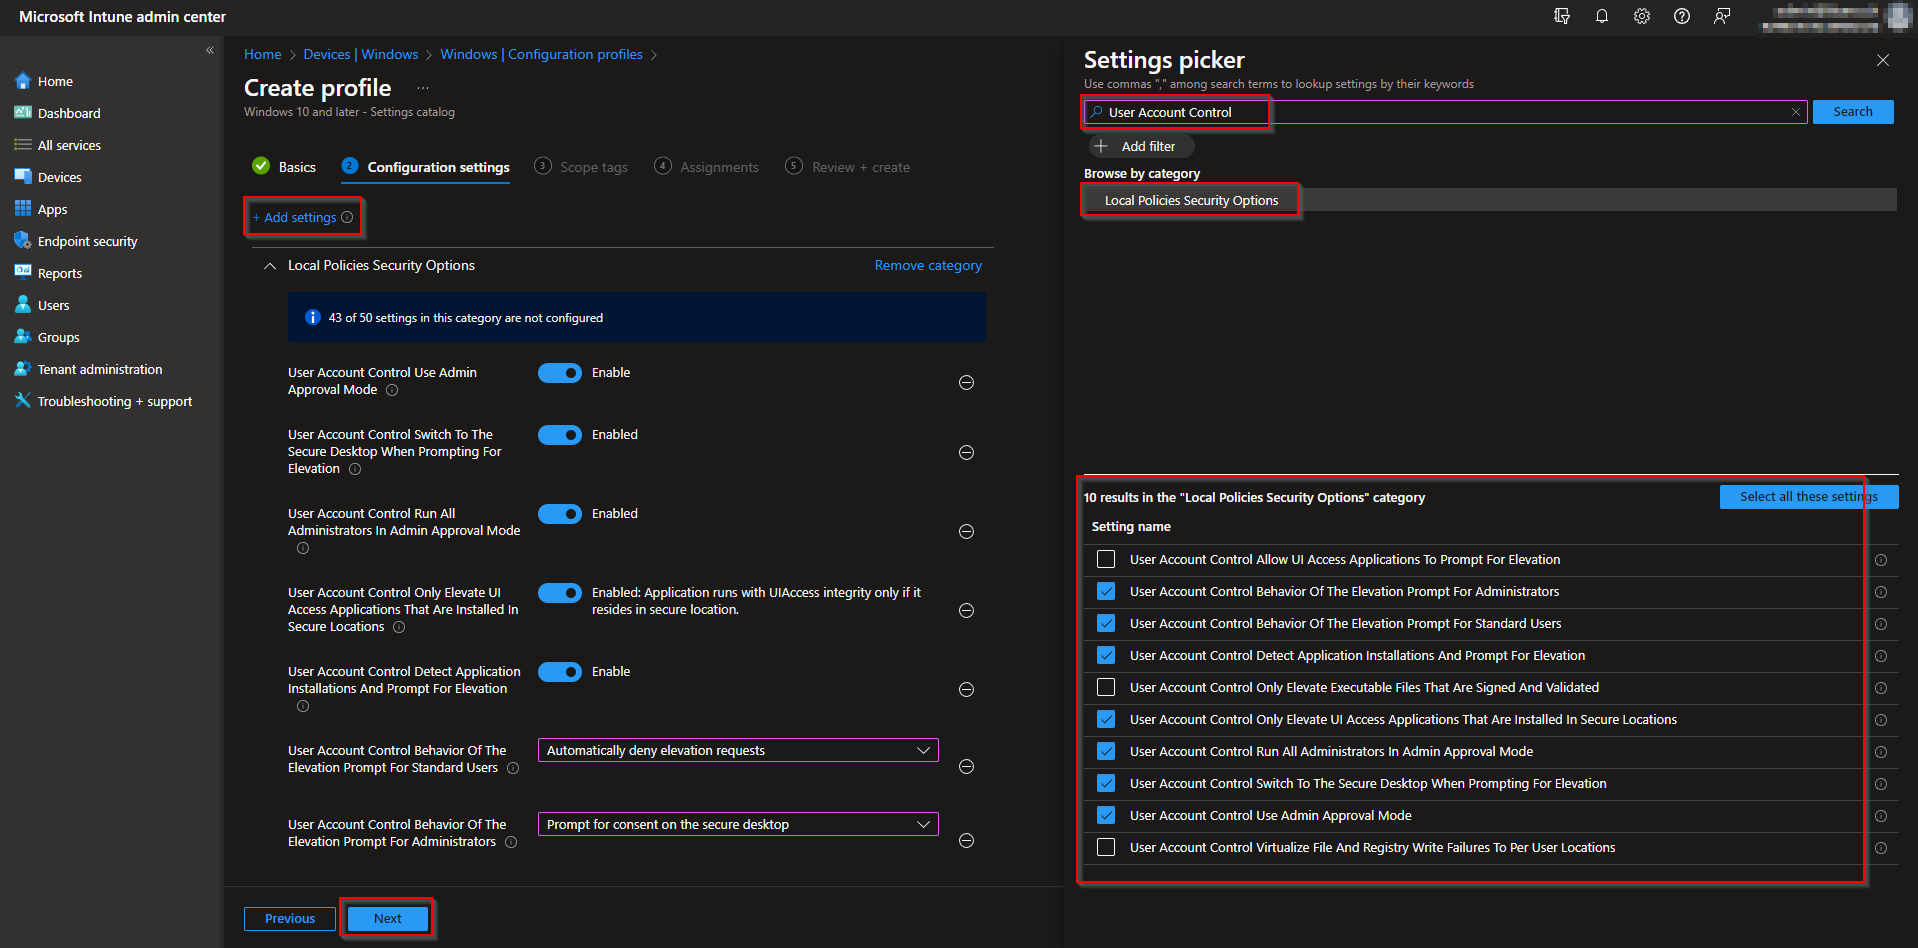
- Click on Add settings
- Search for User Account Control
- Click on Local Policies Security Options
All UAC Setting are showing now. You can choose which settings you want to configure. If you want a full list of configuration you can set, check the Microsoft Documentation with the UAC settings list. There you will find a description for every setting. For this demonstration I will configure the best practices.
- User Account Control Behavior Of The Elevation Prompt For Administrators: Prompt for consent on the secure desktop
- User Account Control Behavior Of The Elevation Prompt For Standard Users: Automatically deny elevation request
- User Account Control Detect Application Installations And Prompt For Elevation: Enable
- User Account Control Only Elevate UI Access Applications That Are Installed In Secure Locations: Enabled: Application runs with UIAccess integrity only if it resides in secure location.
- User Account Control Run All Administrators In Admin Approval Mode: Enabled
- User Account Control Switch To The Secure Desktop When Prompting For Elevation: Enabled
- User Account Control Use Admin Approval Mode: Enable
When you are finished click on Next
- Click Next on the Scope tags
- Assign the Policy to Users or Devices and click on Next
- On the Review + create tab click on Create

Step 2: Test configuration
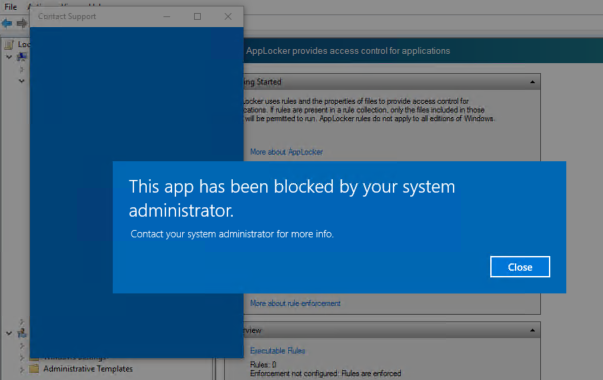
After I deployed the policy to a Device I can test this very easy. With my configuration a normal user is not able to for example open a administrator task with login.
If I want to open for example the following setting in the Control Panel I get an blocked notification.

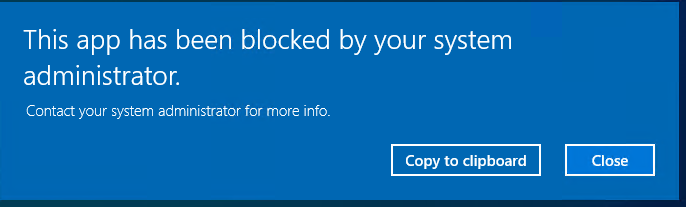
This popup can be different. Its also depending on what you have configured in the configuration profile. Congratulations! You have successfully deployed the policy.
Conclusion
In this blog post we learned How to configure UAC (User Account Control) with Microsoft Intune. In the first step, we created a new configuration policy with the User Access Control settings. We also had a look at output on a test device. Make sure you watch the video to fully understand the UAC settings. We hope this guide has provided you with valuable insights to improve your device management strategy. Did you enjoy this article? Dont forget to follow us and share this article. If you have any questions or need further assistance, feel free to reach out or leave a comment below.


Thank you!!!
Pretty simple, thank you Max
it is possible provide standard user to install application either specific or ALL exe or msi
This is not possible with UAC. I think you should have a look at the Endpoint Privilege Endpoint Management.