Welcome to our new blog post about How to deploy WinSCP with Microsoft Intune. Microsoft Intune is a cloud-based service that provides mobile device management (MDM) and mobile application management (MAM) capabilities. It allows organizations to manage their devices and applications from a single console. HP Support Assistant is a free, device inventory / update tool that is widely in use with HP products. In this blog post, we will see How to deploy HP Support Assistant with Microsoft Intune.
Table of Contents
What is WinSCP?
WinSCP (Windows Secure Copy) is a free and open-source file transfer software for Windows that supports secure file transfers between a local and remote computer. It primarily uses the SSH (Secure Shell) protocol, including SFTP (Secure File Transfer Protocol) and SCP (Secure Copy Protocol), to ensure encrypted and secure data transfers. WinSCP features a graphical user interface (GUI) with a dual-pane file manager, making it easy to navigate and transfer files. Additionally, it offers scripting and automation capabilities, integration with PuTTY, and support for various authentication methods, making it a popular choice for system administrators and developers.
How to deploy WinSCP with Microsoft Intune
Step 1: Download WinSCP Application
In this section we will first need to download the official WinSCP Application. We will download the .msi version. Just follow the steps below:
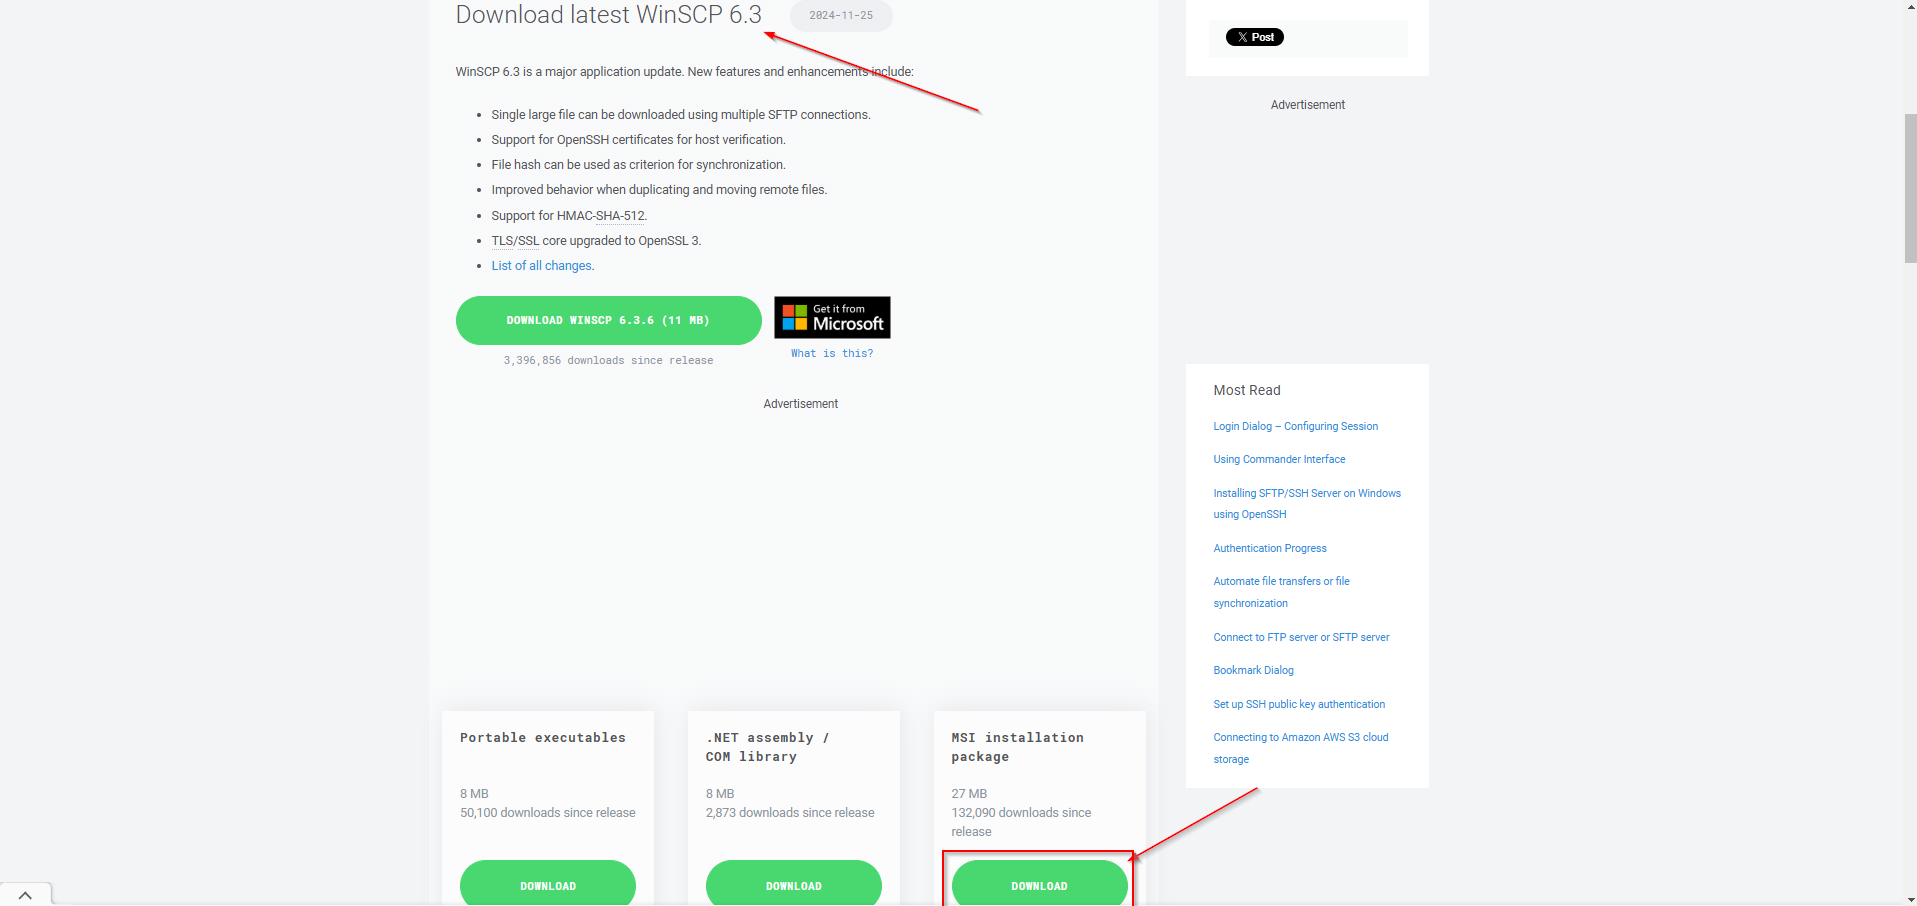
- Go to https://winscp.net/eng/downloads.php
- Click on Scroll down until you are on the latest WinSCP section
- Click on Download on the MSI installation package
Step 2: Create Intune Win32 application
After you have downloaded the latest WinSCP executable we will now pack this into an Intune Win32 application. Just follow the steps:
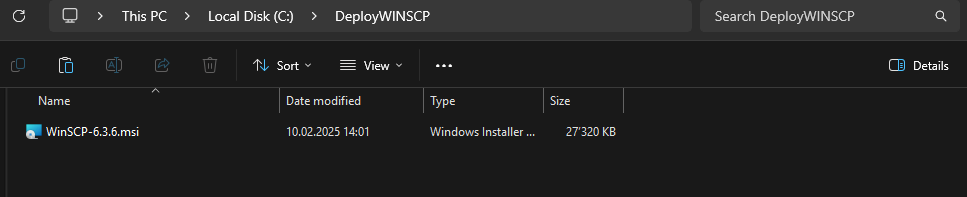
- Create a new folder DeployWinSCP on C:. Copy the msi executable from step 1 into this folder.
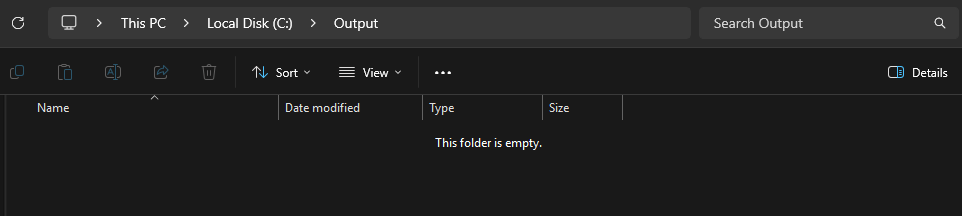
- Create a new folder Output on C:
Now we are going to create an Intune Win file with the official application. First of all download the official Microsoft Intune Win App Tool.
- Download the official Microsoft Intune Win App Tool
- After installation open the Intune Win App Tool.
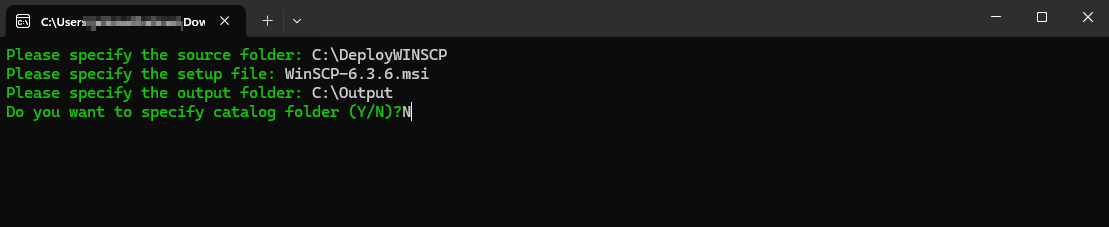
In the application specify the following things:
- Please specify the source folder: C:\DeployWinSCP
- Please specify the setup file: WinSCP-6.3.6.msi
- Please specify the output folder: C:\Output
- Do you want to specify catalog folder: N
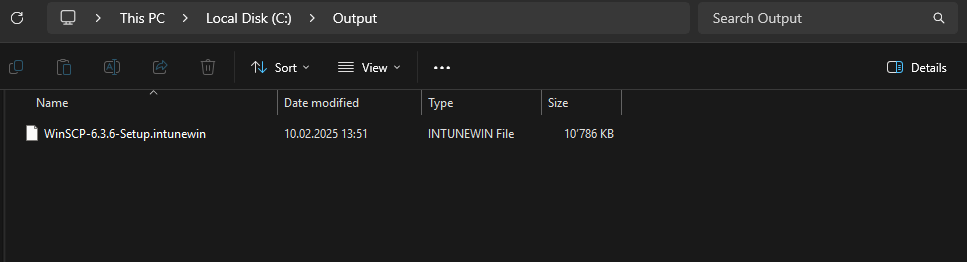
In your Output Folder, there should be a new intunewin file. We will need this in the next step.
Step 3: Import and deploy with Microsoft Intune
After we have created the intunewin file of the executable, we can now upload the application to Microsoft Intune and deploy it to our environment. Just follow these steps.
- Go to intune.microsoft.com
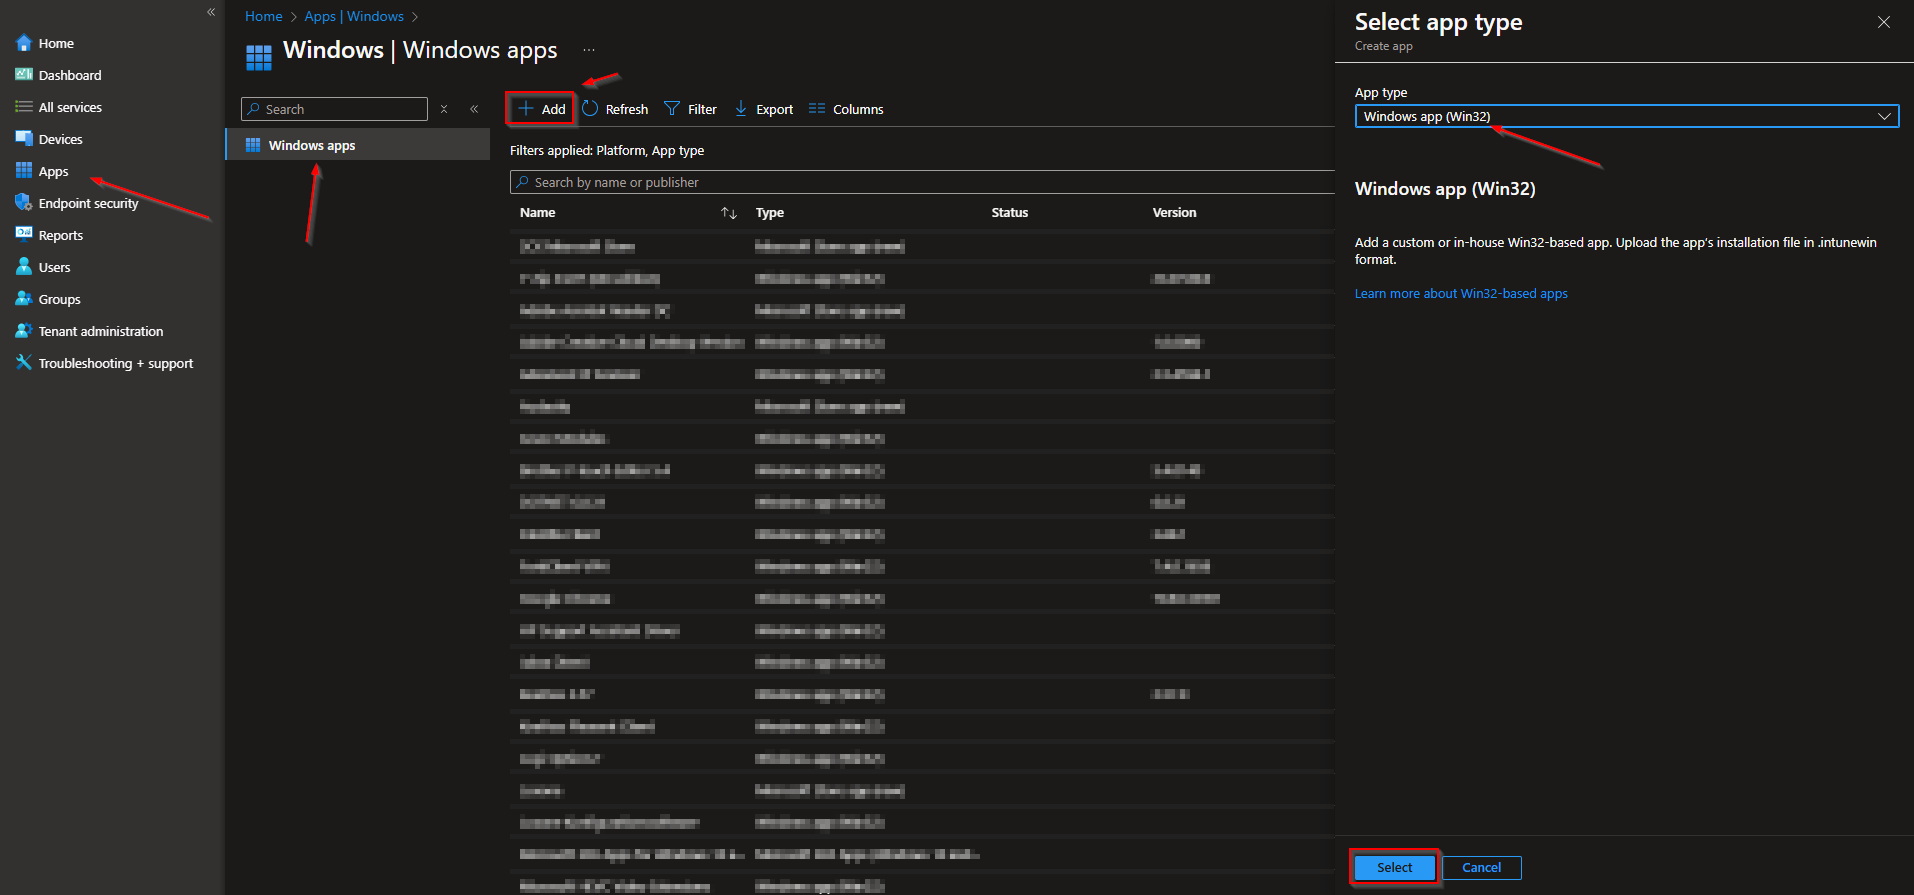
- Click on Apps
- Click on Windows
- Click on Add
- Chose App type Windows app (win32)
- Click on Select
- Click on Select app package file
- Upload your IntuneWin file which is located in C:\Output
- Click on OK

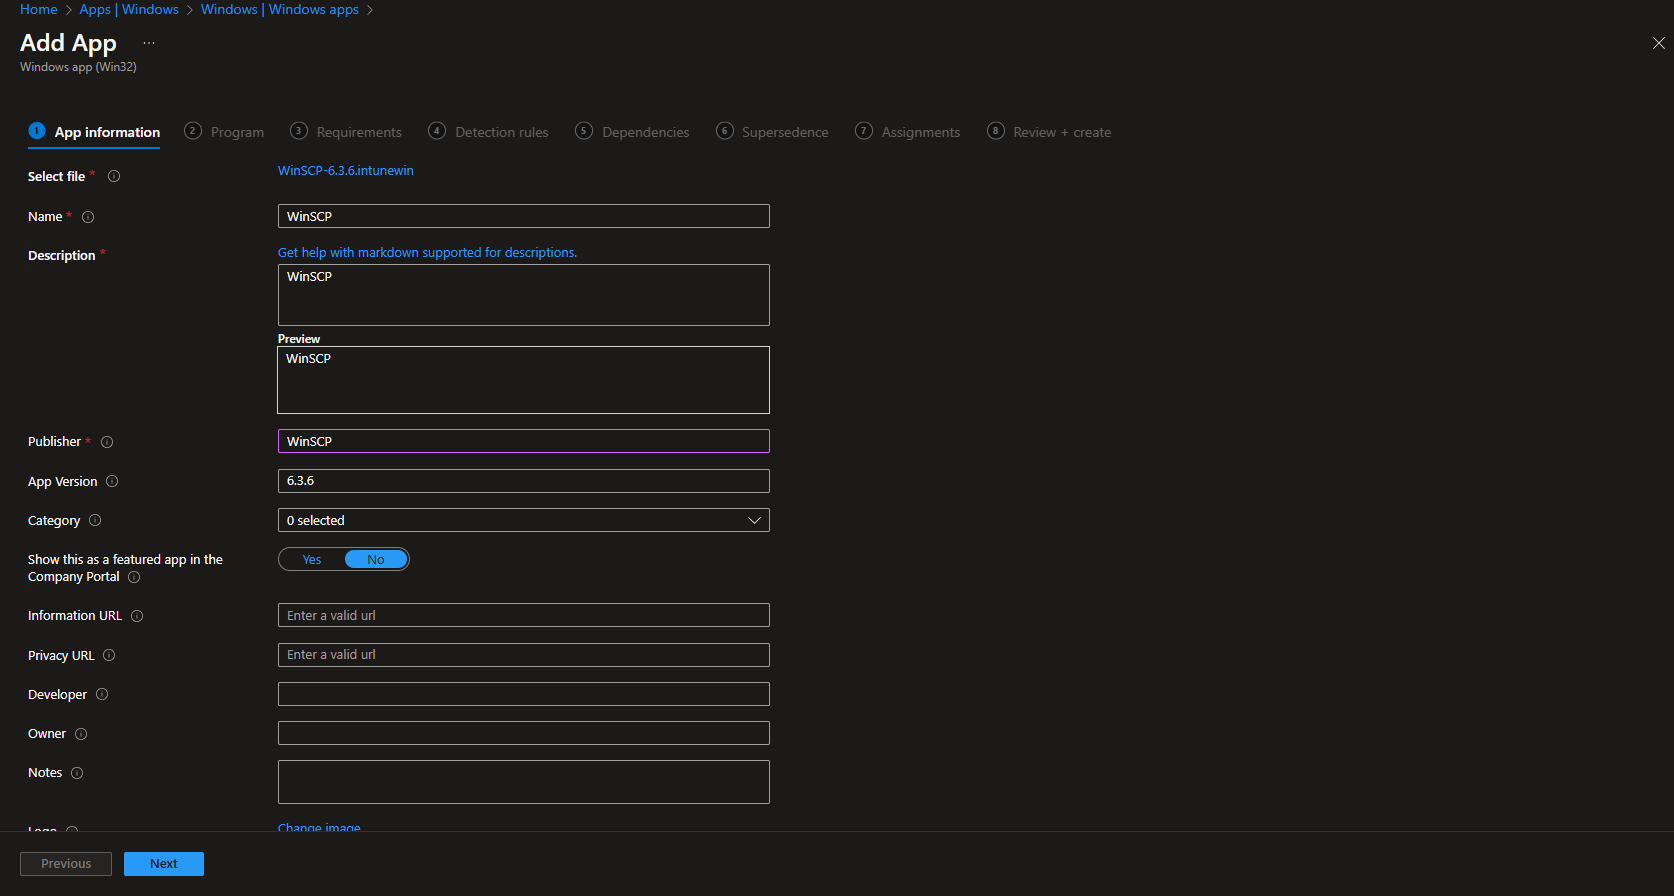
- Here you can change the Settings. I leave it as it is. Dont forget to enter a Publisher
- Click on Next
On the Program tab the silent install and uninstall command should be automatically inserted. Check if this is the case and click on Next.

On the Requirements tab enter:
- Operating system architecture: 32-bit / 64-bit
- Minimum operating system: Windows 10 1607
- Click on Next
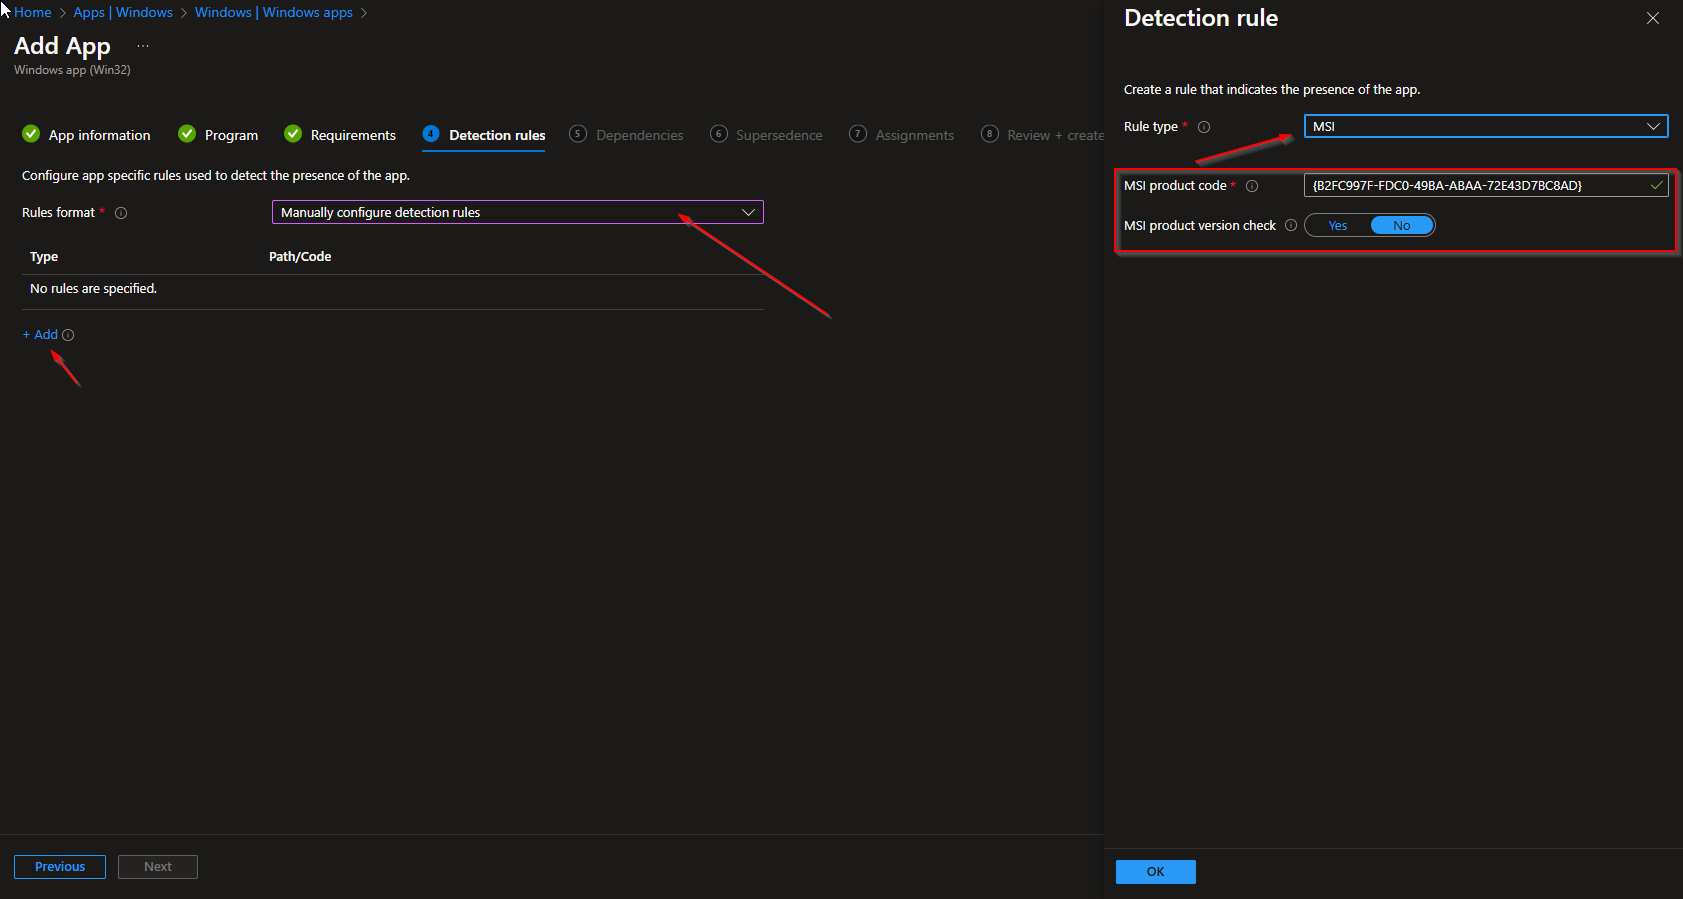
On the Detection rules tab enter the following:
- Rules format: Manually configure detection rules
- Click on Add
- Rule type: MSI
The MSI product code is automatically inserted. You can go ahaed and click on OK and Next.
Congratulations! You have successfully deployed the application.
Conclusion
You learned How to deploy WinSCP with Microsoft Intune. We have first created an IntuneWin file with the official WinSCP executable. Last but not least we have uploaded the application to Intune and configured different settings.
Did you enjoy this article? Dont forget to follow us and share this article. You may also like the the following articles.


