
How to deploy Background with Microsoft Intune? Welcome to our blog post on Microsoft Intune deployment in the background! Microsoft Intune is a robust solution for managing and securing devices in organizations of all sizes. Unfortunately, the background deployment can be a little bit tricky. In this article, we will delve into the intricacies of deploying Intune in the background, exploring its advantages, best practices, and step-by-step instructions. How to deploy Background with Microsoft Intune, Let’s get started!
Table of Contents
What are we going to set up
Unfortunately, there is no built in configuration to deploy the background to the clients. There are a lot of options to deploy a background. For example you can create a Azure blob storage and save your background on there. Unfortunately this will most likely cost you a monthly fee. I discovered a different approach on How to deploy Background with Microsoft Intune.
In this blog post, we will copy a background with a IntuneWin file to the local client. In the third step we will create a configuration profile to set the background. This allows us to achieve a smooth installation on the client. You can follow the blog post or just watch the youtube tutorial.
- Step 1: Create a Win32 file
- Step 2: Import and deploy with Microsoft Intune
- Step 3: Create a configuration profile
How to deploy Background with Microsoft Intune
Step 1: Create a Win32 file
We first have to make sure, that our new Background image is packed into a Win32 file. So make sure you have your background image ready. Follow the steps below:
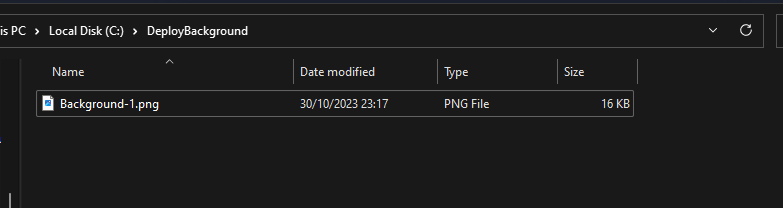
- Create a new folder called DeployBackground on C:
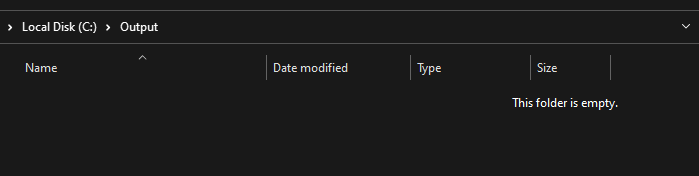
- Create a new folder called Output on C:

- Copy your new background to the DeployBackground folder
I name my background “Background-1”. You can of sure name it different but just keep the name in mind.
- Download the official Microsoft Intune Win App Tool
- Open the Intune Win App Tool with Administrator rights
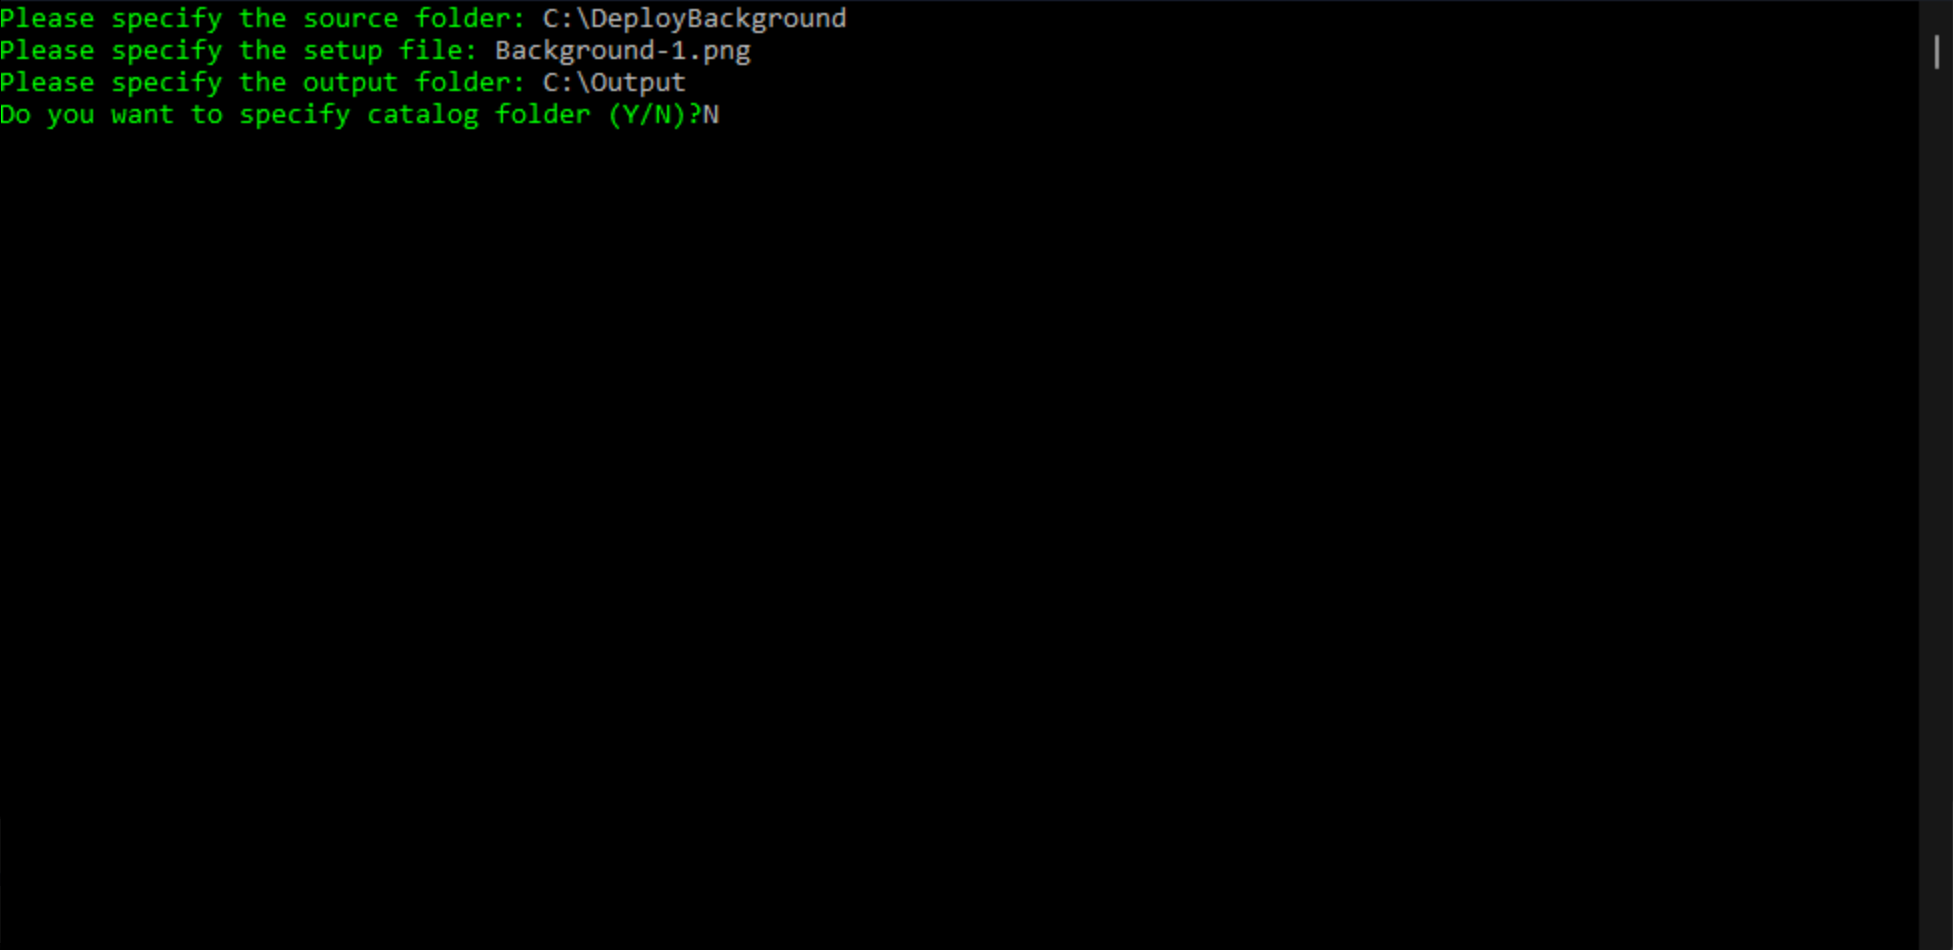
In the Win App Tool application fill out the following.
- Please specify the source folder: C:\DeployBackground
- Please specify the setup file: Background-1.png [background name]
- Please specify the output folder: C:\Output
- Do you want to specify catalog folder: N
In your C:\Output folder there should be a new Intune Win file. Save this file somewhere save. We will need this file in the next step where we are going to import and deploy the Background with Microsoft Intune.

Step 2: Import and deploy with Microsoft Intune
In step 1 we have created the Win32 file with the new Background. In this section we will take this intunewin file and deploy the Background to the local machine with the help of Microsoft Intune. Make sure you have your file ready and follow the steps bellow:
- Go to intune.microsoft.com
- Click on Apps
- Click on Windows
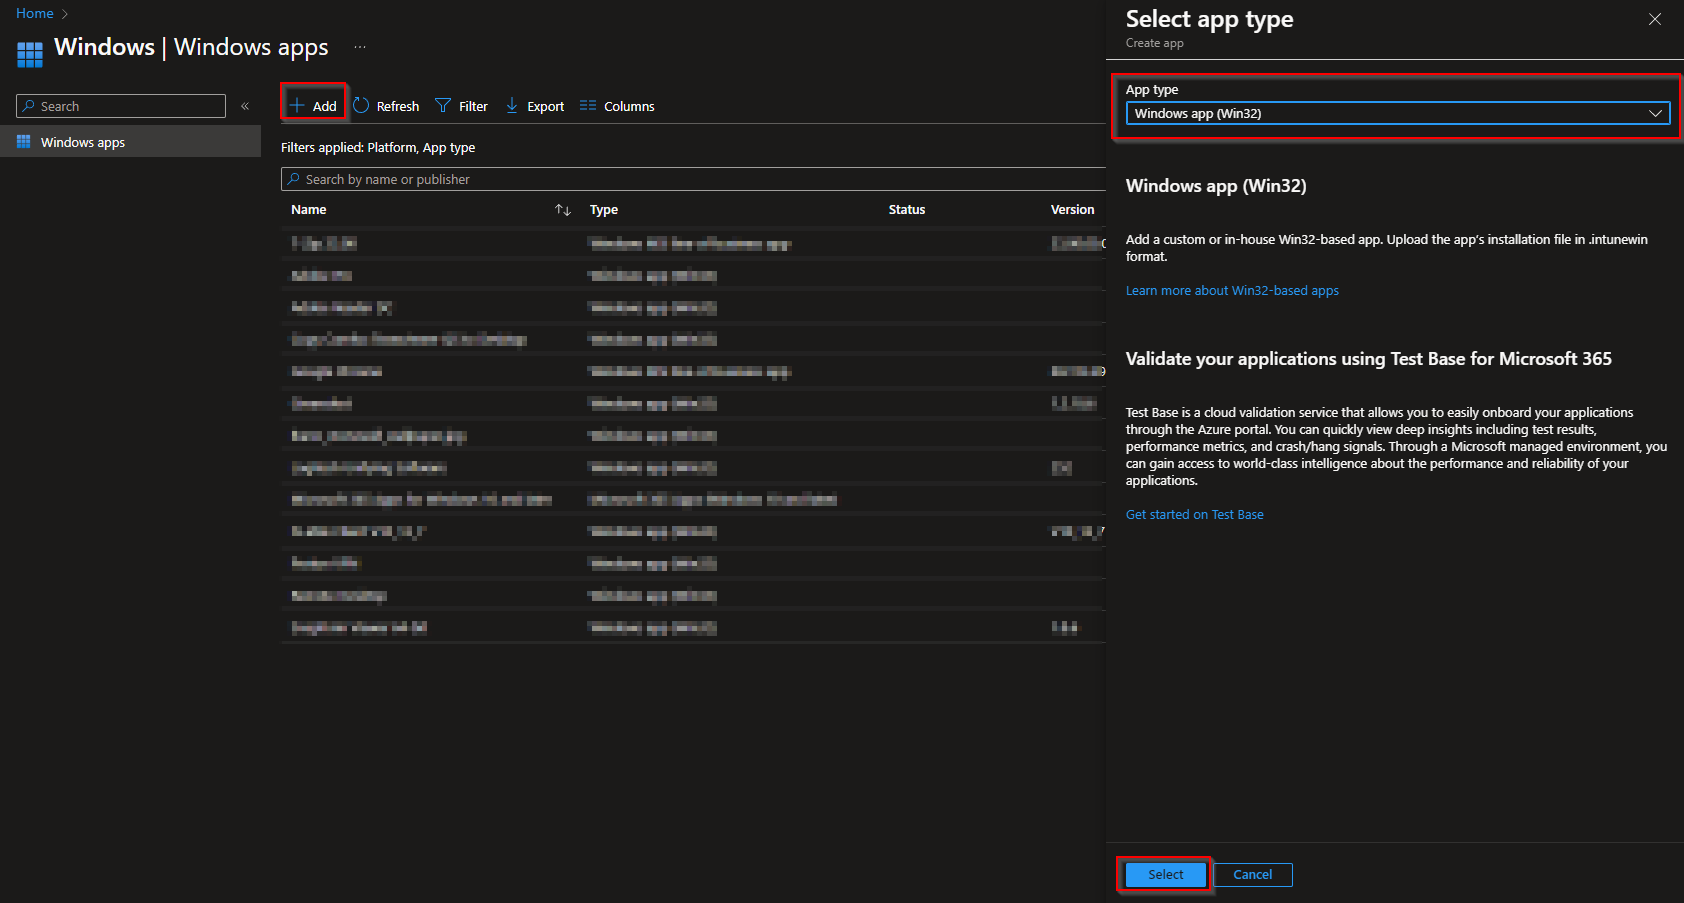
- Click on Add
- Chose App type Windows app (win32)
- Click on Select
- Click on Select app package file
- Upload your IntuneWin file which is located in C:\Output
- Click on OK
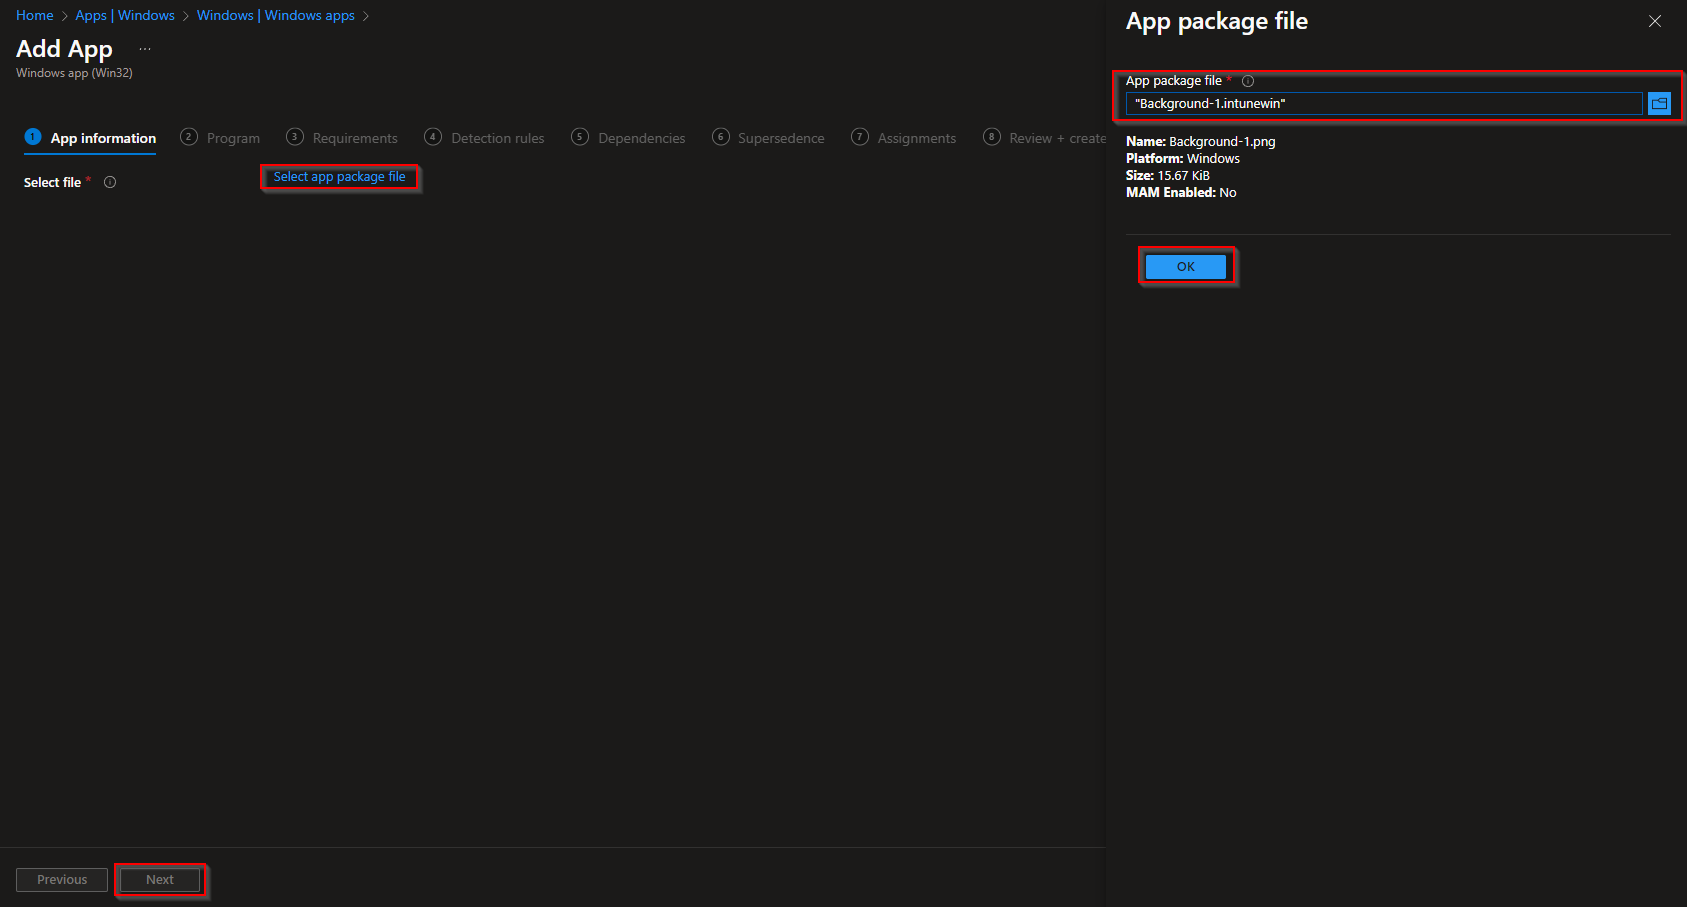
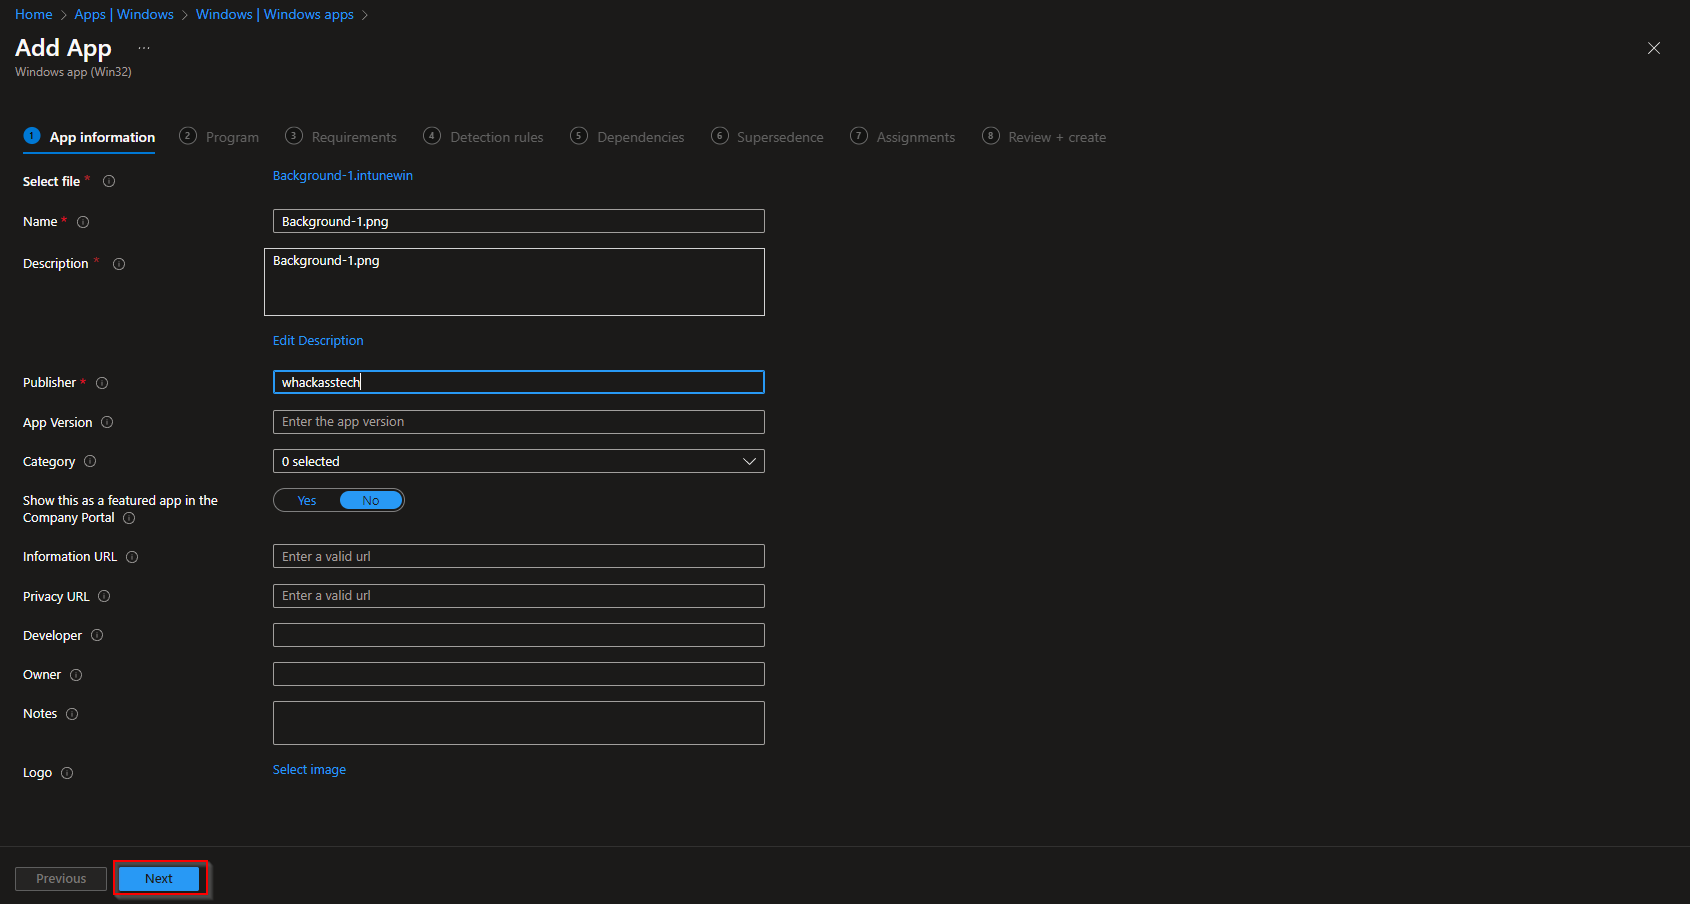
- Here you can change the Settings. I leave it as it is. Dont forget to enter a Publisher
- Click on Next
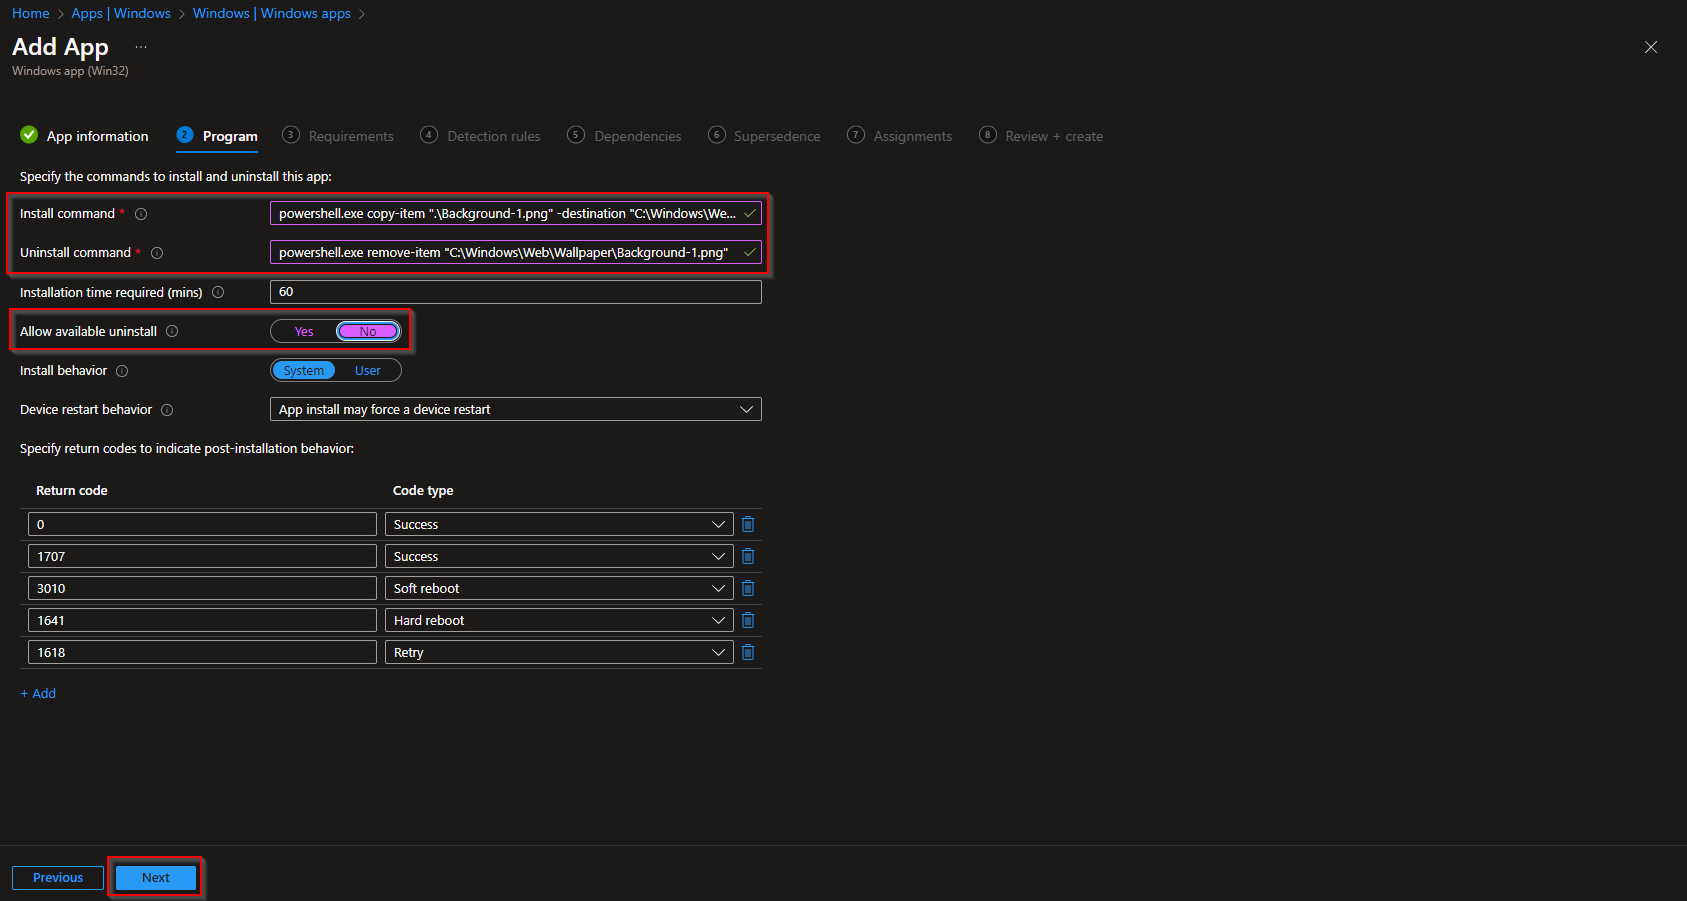
Enter the following Commands:
- Install Command: powershell.exe copy-item “.\Background-1.png” -destination “C:\Windows\Web\Wallpaper”
- Uninstall command: powershell.exe remove-item “C:\Windows\Web\Wallpaper\Background-1.png”
- Allow available uninstall: No
- Install behavior: System
- Device restart behavior: no specific Action
- Click on Next
If your background has a different name note to change this in the Install and Uninstall command.
On the Requirements tab enter:
- Operating system architecture: 64-bit
- Minimum operating system: Windows 10 1607
- Click on Next

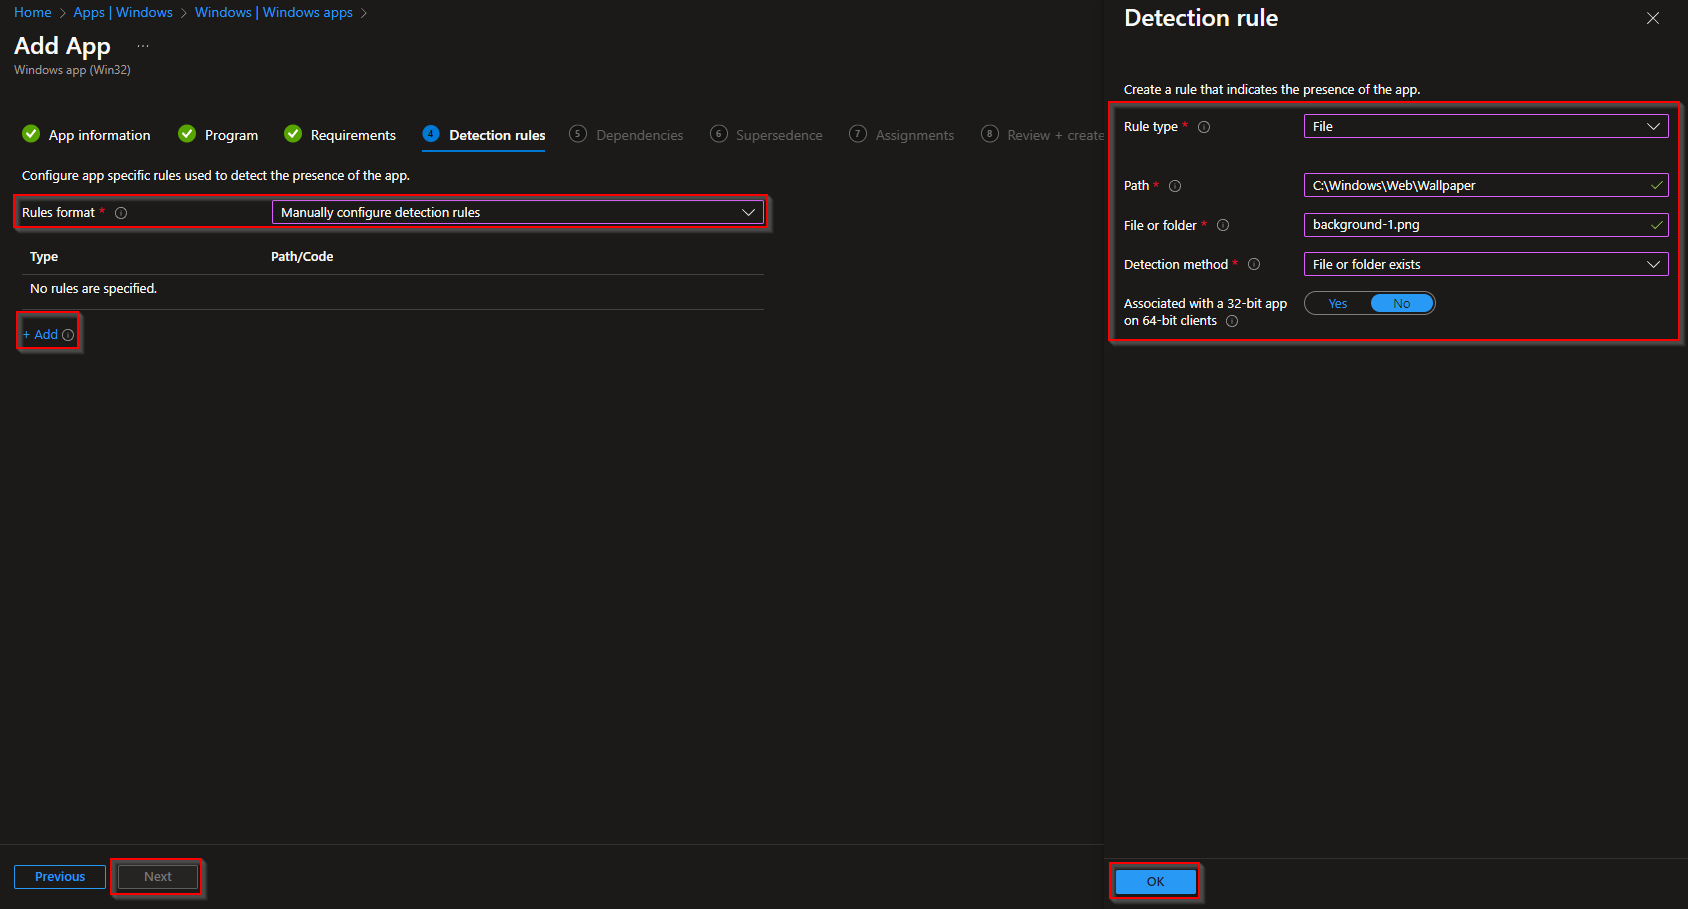
On the Detection rules tab:
- Rules format: Manually configure detection rules
- Click on Add
- Rule type: File
- Path: C:\Windows\Web\Wallpaper
- File or Folder: Background-1.png [background name]
- Detection method: File or folder exists
- Associated with a 32-bit app on 64-bit clients: No
- Click on Ok and on Next
- You can skip the Dependencies
- You can skip the Supersedence
- On the Assignments tab assign the Policy to a Group or to All User
- Click on Next
- And Review + Create the Policy
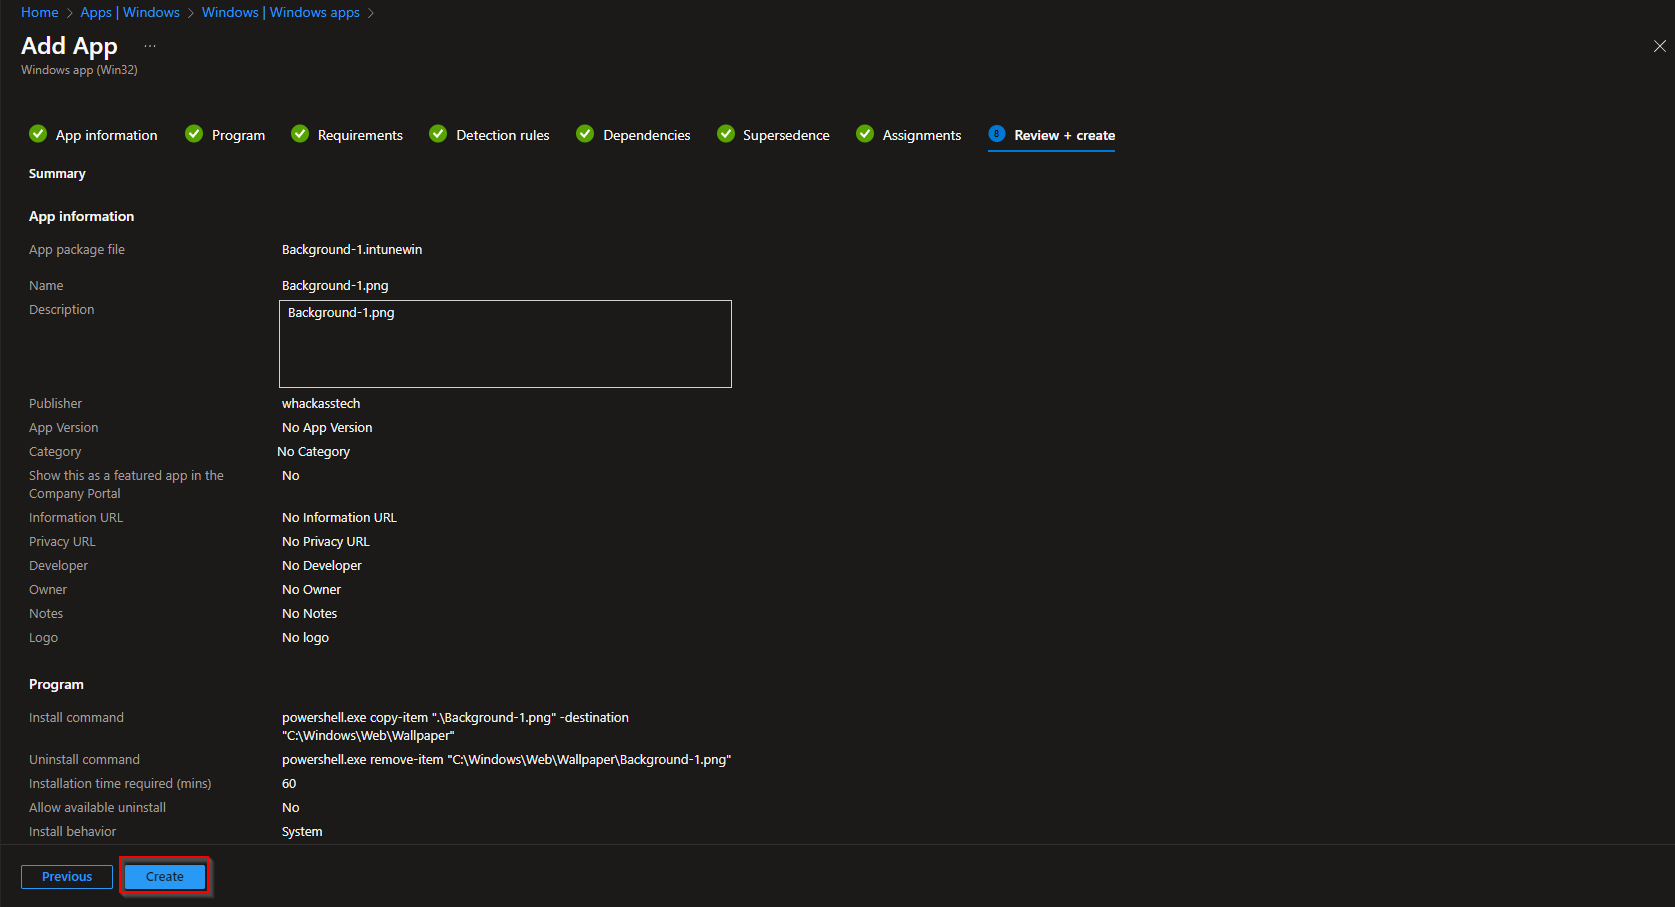
Congratulations! You have successfully deployed the policy. You can now go to Step 3 to create a configuration profile.
Step 3: Create a configuration profile
We are almost finished with the process of How to deploy Background with Microsoft Intune. In this section we will create a configuration policy to apply the newly copied Background. We will use the configureation profile and insert the local Background url. Just follow the steps below.
- Go to intune.microsoft.com
- Click on Windows
- Click on Device
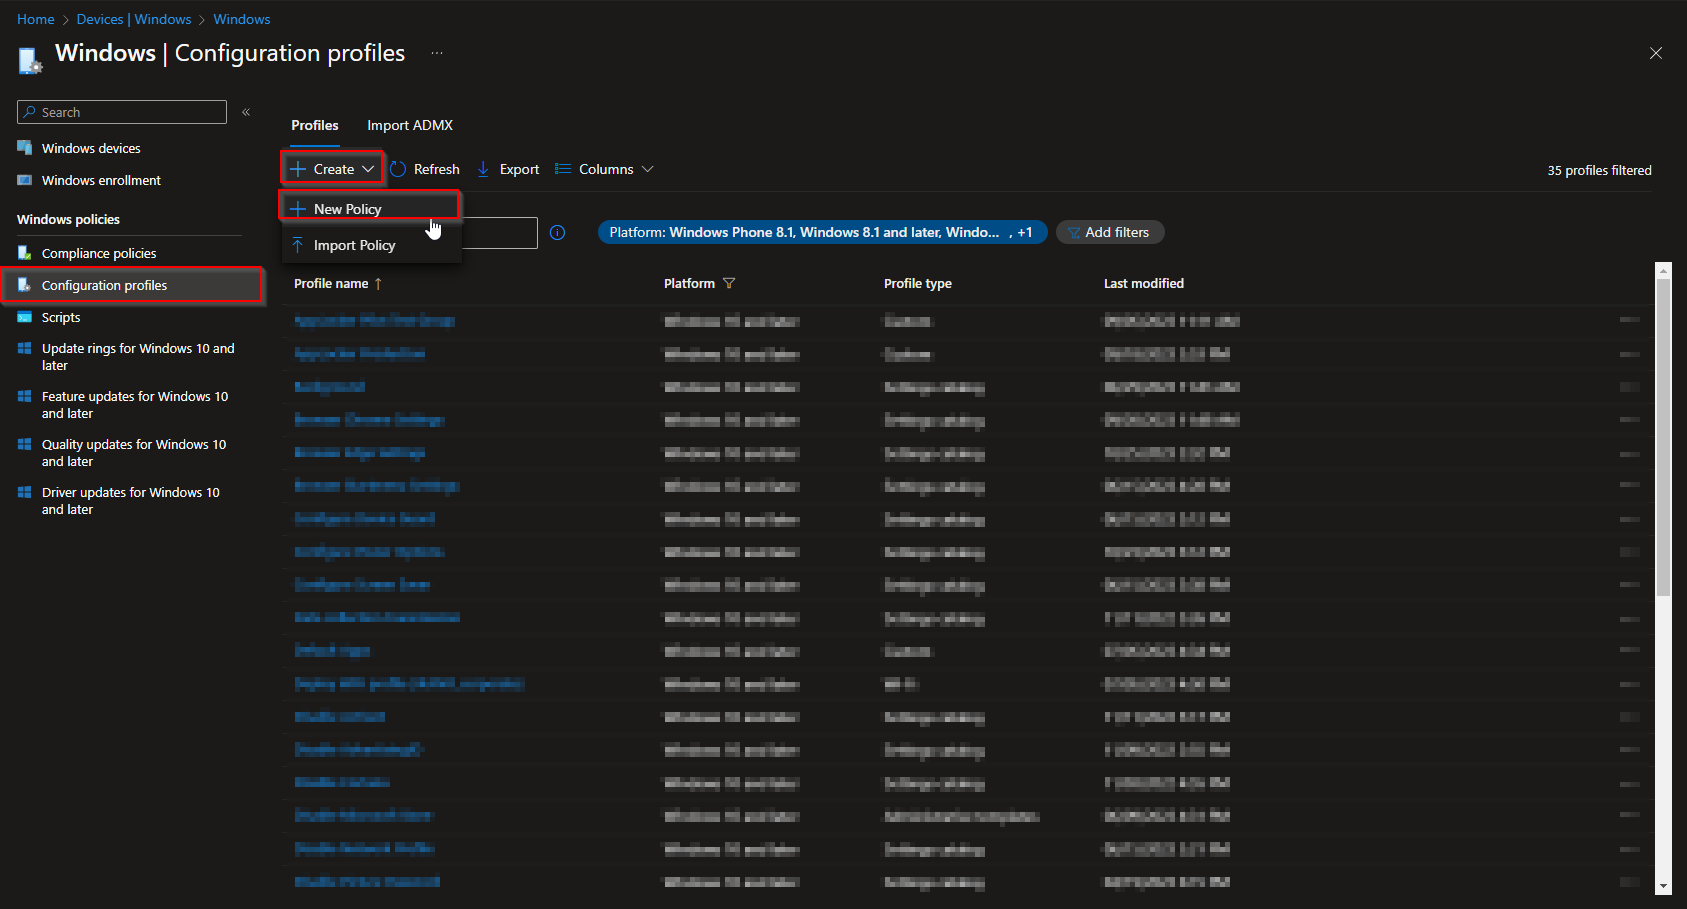
- Click on Configuration profile
- Click on Create
- Click on New Policy
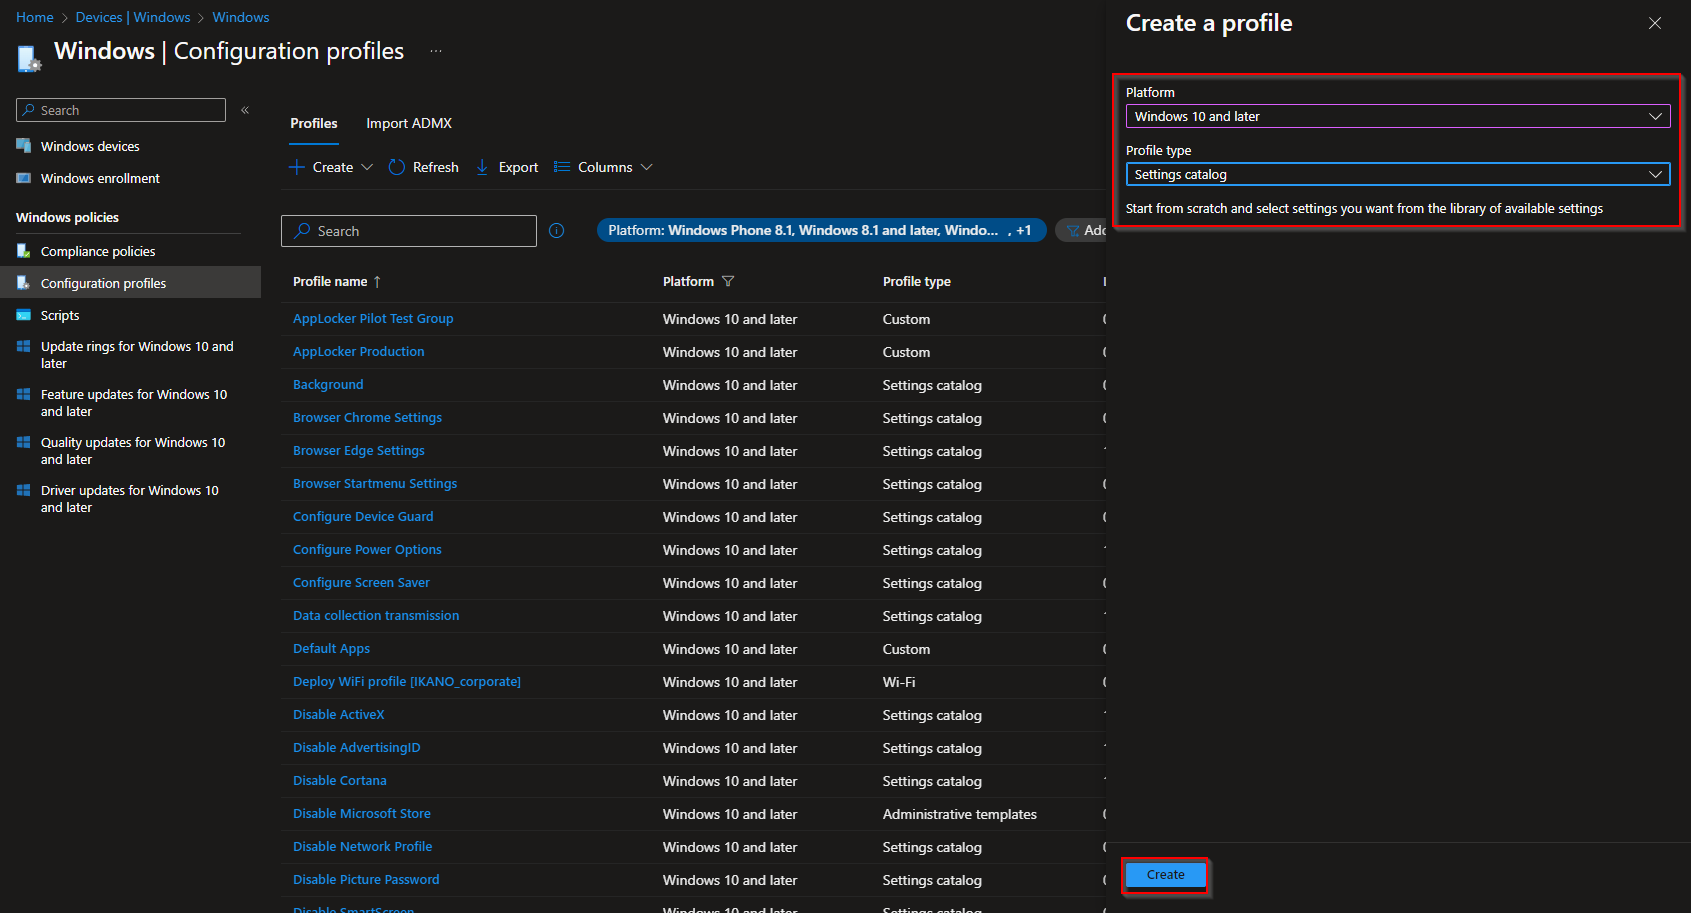
- On Platform choose Windows 10 and later
- On Profile type choose Settings catalog
- Click on Create
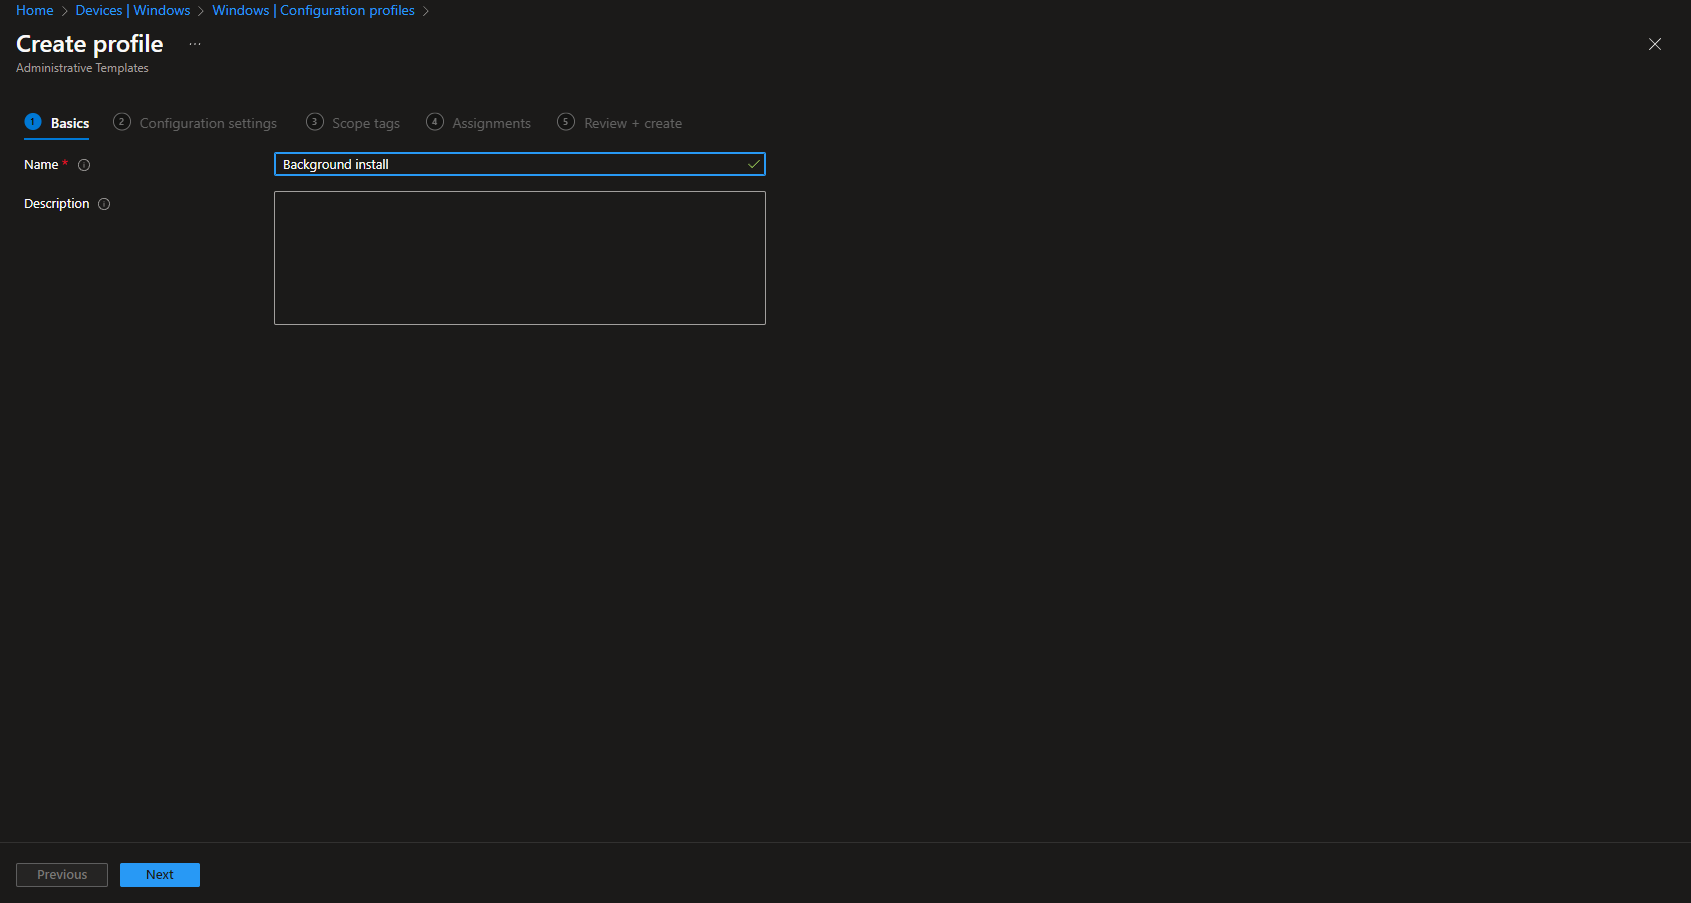
- Give it a meaningful name and click on Next
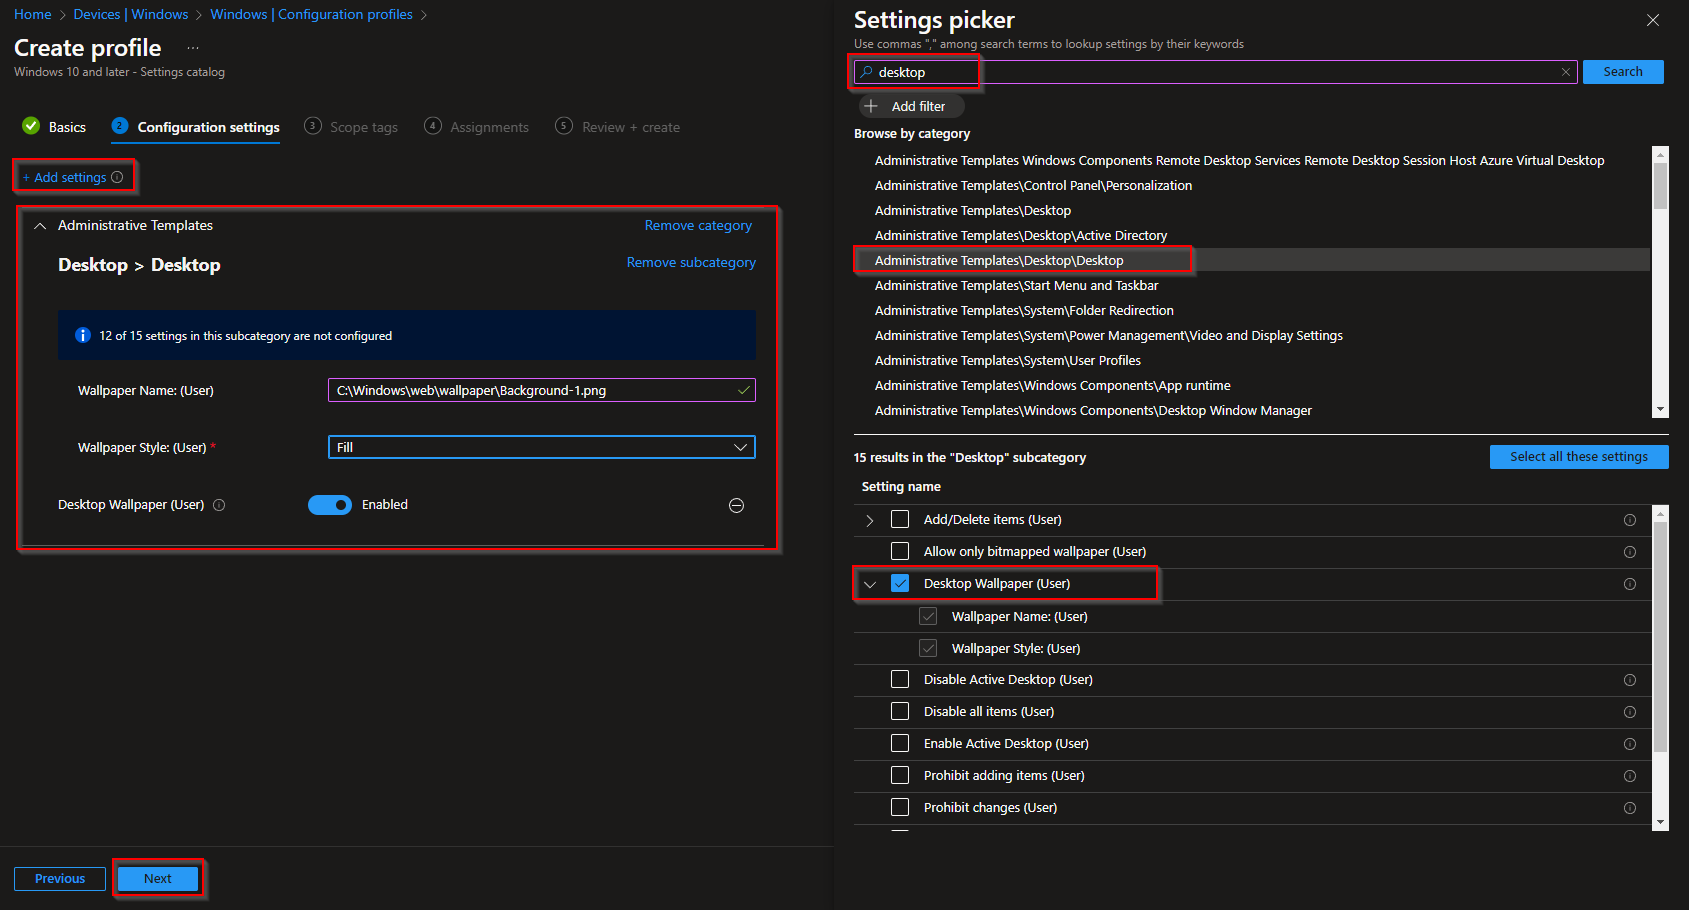
- Click on Add settings
- Search for Desktop
- Click on Administrative Templates\Desktop\Destkop
- Tick the Desktop Wallpaper (User) setting
On the left side define the settings.
- Wallpaper name: C:\Windows\web\wallpaper\Background-1.png [or other background name]
- Wallpaper style: Fill
- Click on Next
- Click Next on the Scope tags
- Assign the Policy to Users or Devices and click on Next
- On the Review + create tab click on Create
Congratulations! You have successfully deployed the policy.
How will this be deployed
The new background will be copied with the Intune Win app to the local wallpaper folder. With the Configuration profile the new background stored in the local wallpaper folder will be adjust to the device. Just for your information: When the wallpaper is copied and the configuration policy is applied you need to restart your device.
Conclusion
You learned How to deploy Background with Microsoft Intune. We used the Intune Win App to copy the background to the local wallpaper folder. Then we created a configuration profile to adjust the newly copied background to the device.
Did you enjoy this article? Dont forget to follow us and share this article. You may also like the the following articles.


please share guide how to copy the folder (files of files) and how to execute in sequence
If i want to change the Background every month, how can i do
Hi Adrian
When having a new Background, just deploy it the same way with the Win32 deployment.
You can then just edit the configuration profile to the new Background.
Kind regards
Max