Welcome to our new blog post about Learn about How to deploy a RDP file with Microsoft Intune. Deploying resources like RDP (Remote Desktop Protocol) files across your organization can help streamline remote access for users—especially when you’re managing a distributed or hybrid workforce. With Microsoft Intune, you can automate the deployment of an RDP file to users’ desktops, ensuring consistency, reducing setup time, and minimizing support tickets. In this post, we’ll walk through how to deploy an RDP file to the Public Desktop of all users using Intune, so it’s easily accessible for everyone on the device.
Table of Contents
Why deploy a RDP file
By deploying an RDP file directly to the Public Desktop, you provide users with a seamless way to access remote systems without needing to navigate through menus or manually configure connections. This method ensures that every user on a device—regardless of profile—has quick access to the same remote desktop shortcut. Whether you’re supporting access to a legacy app, a terminal server, or a virtual desktop infrastructure (VDI), this approach saves time, reduces errors, and enhances the overall user experience. Using Microsoft Intune for this deployment means you can roll it out at scale, manage it centrally, and update or remove the file when needed—all without touching each individual machine.
How to deploy a RDP file with Microsoft Intune
Step 1: Prepare the RDP file
Start by creating and testing your RDP file to ensure it connects to the desired remote host with the correct settings (such as hostname, screen resolution, and credentials if needed).
- Open the Remote Desktop application
- Configure desired remote host with the correct settings
- Click on Save as
- Save the RDP file

We will use this RDP file in the next step. Just make sure you have the file ready. You can now proceed to step 2.
Step 2: Package the Files Using the IntuneWinAppUtil Tool
In this section we will show you, how to package the file using the IntuneWinAppUtil Tool. We will first create two folders. Just follow the steps below.
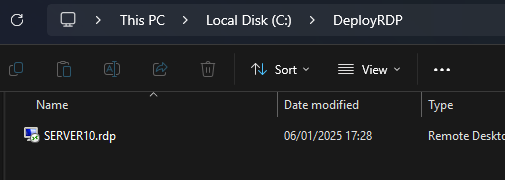
- Create a new folder DeployRDP on C:. Copy the created RDP file from step 1 into this folder.
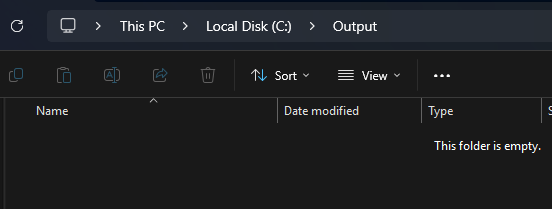
- Create a new folder Output on C:
Now we are going to create an Intune Win file with the official application. First of all download the official Microsoft Intune Win App Tool.
- Download the official Microsoft Intune Win App Tool
- After installation open the Intune Win App Tool.
In the application specify the following things:
- Please specify the source folder: C:\DeployRDP
- Please specify the setup file: RDPFILENAME [Enter the RDP file. This can be different]
- Please specify the output folder: C:\Output
- Do you want to specify catalog folder: N

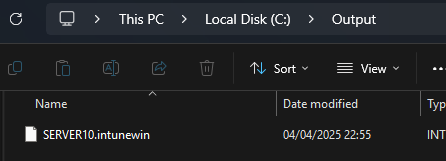
In your Output Folder, there should be a new intunewin file. We will need this in the next step.
Step 3: Upload and Deploy with Microsoft Intune
After we have created the intunewin file of the executable, we can now upload the application to Microsoft Intune and deploy it to our environment. Just follow these steps.
- Go to intune.microsoft.com
- Click on Apps
- Click on Windows
- Click on Add
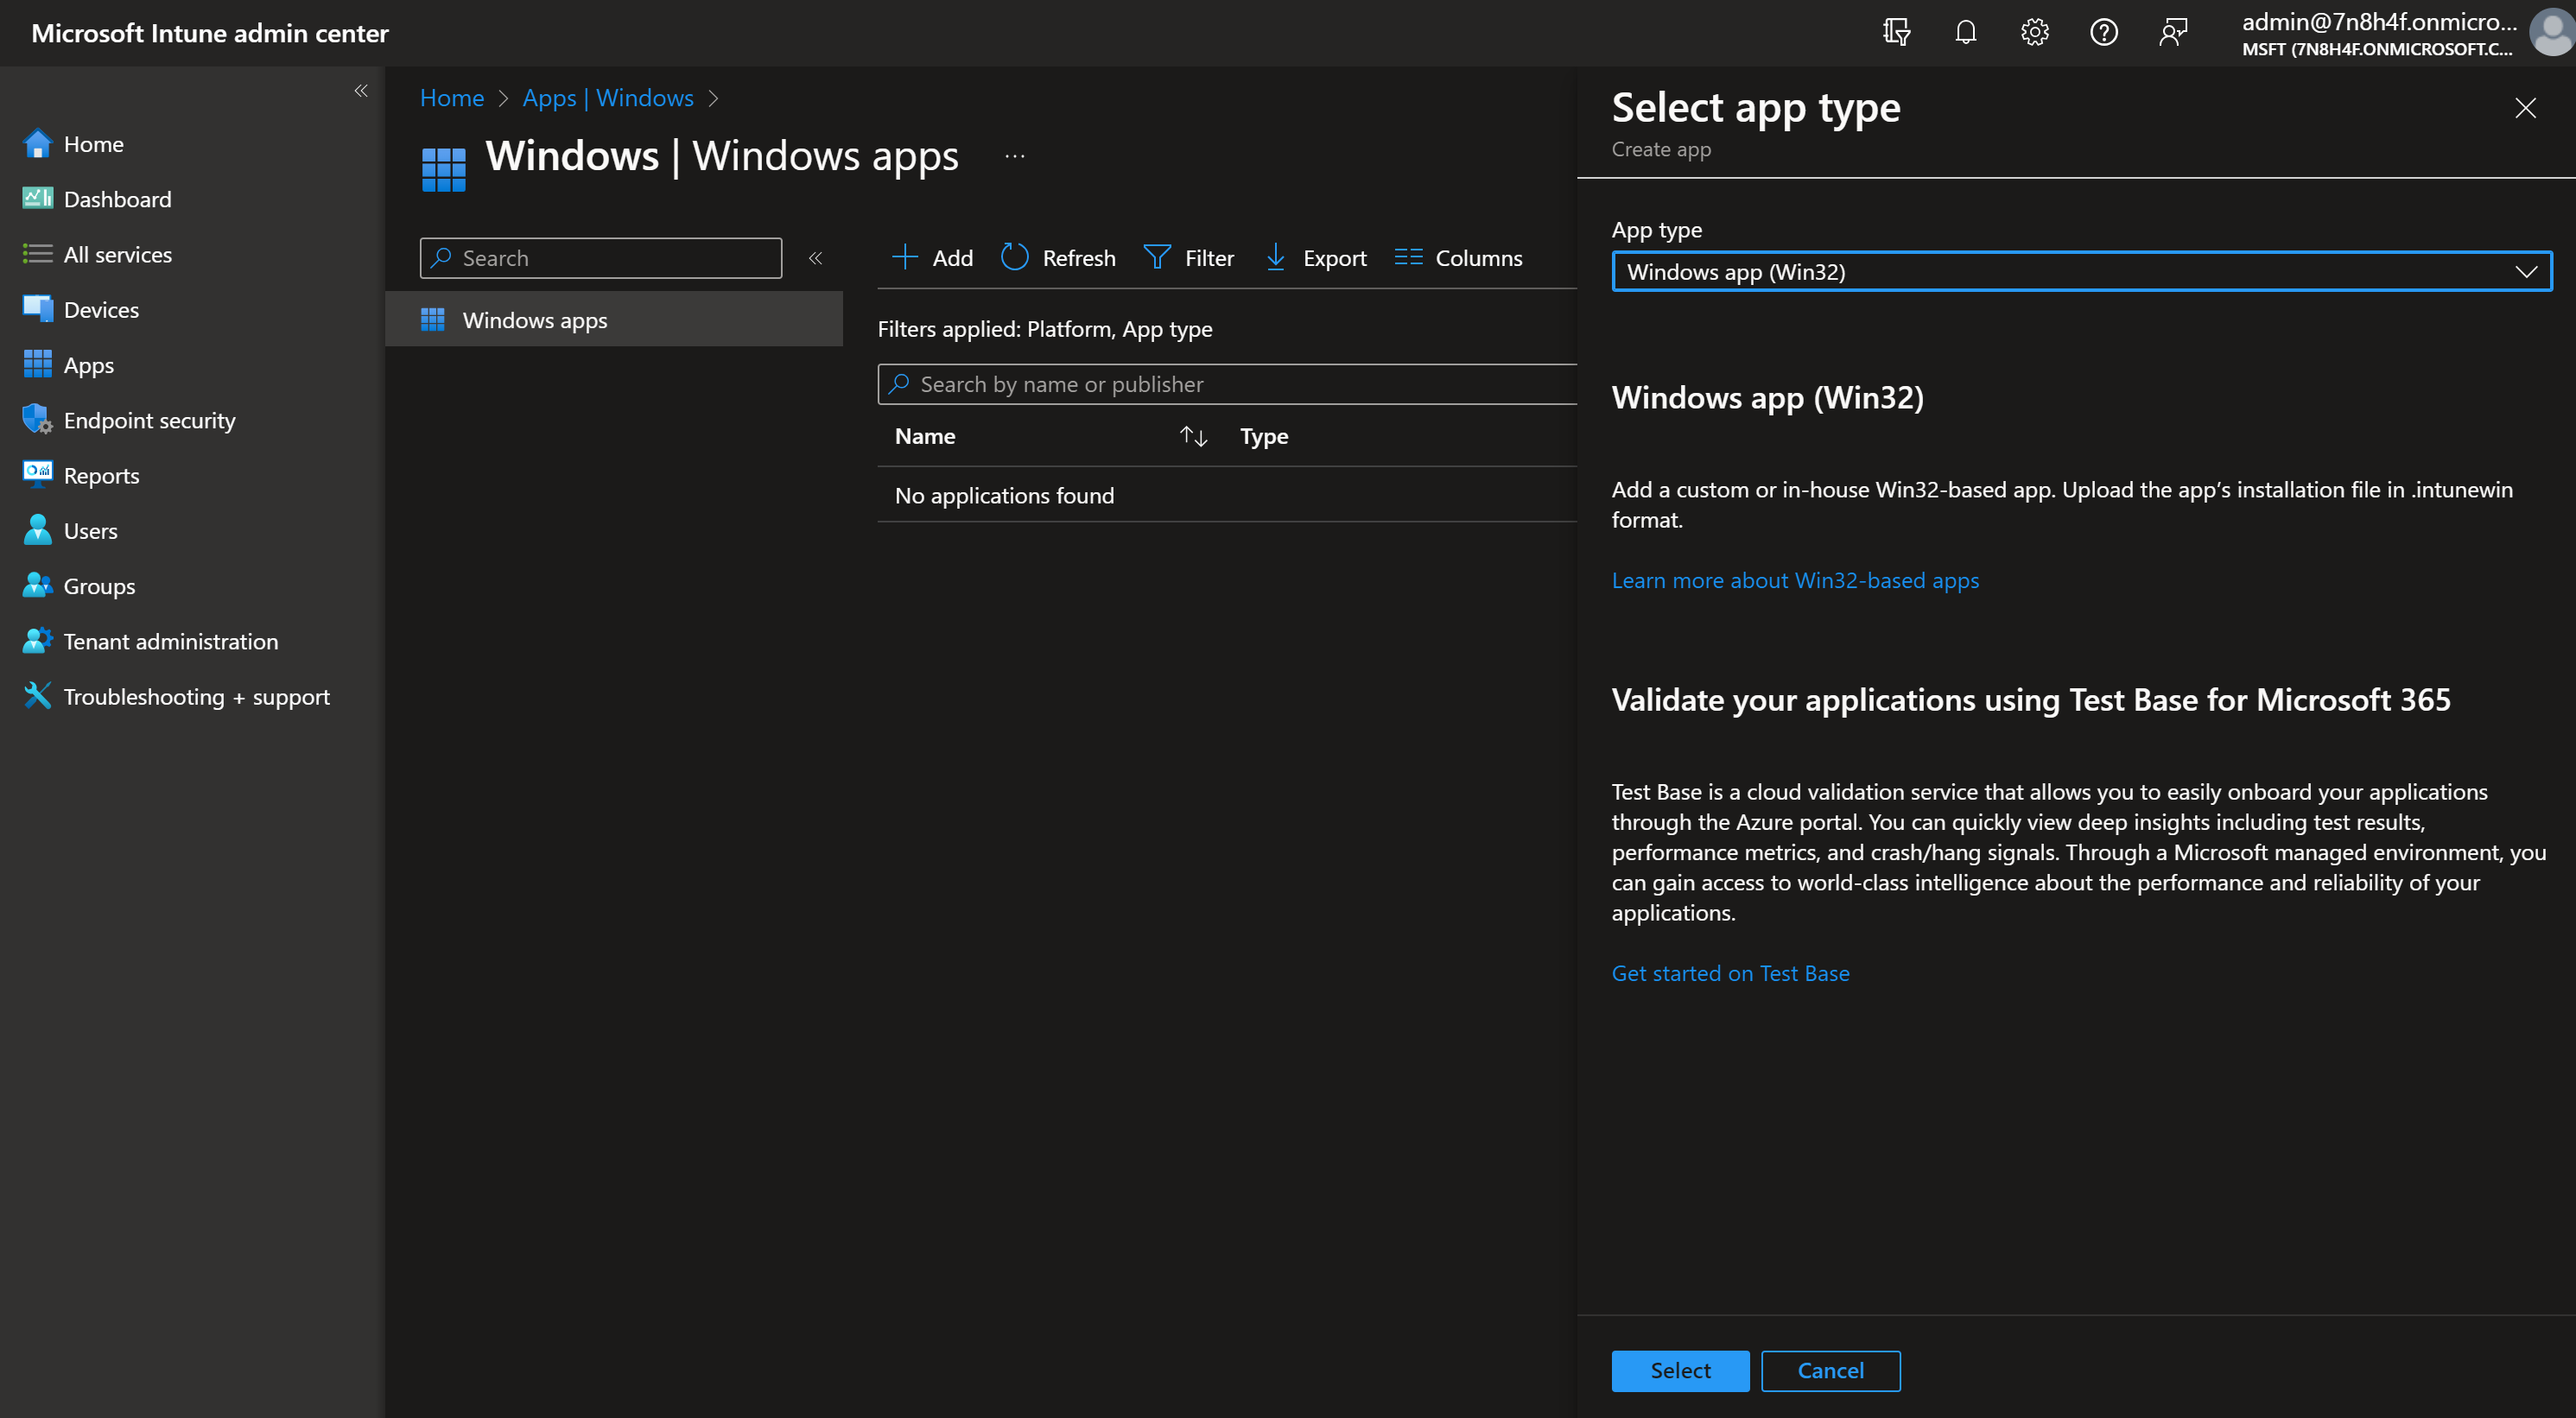
- Chose App type Windows app (win32)
- Click on Select
- Click on Select app package file
- Upload your IntuneWin file which is located in C:\Output
- Click on OK
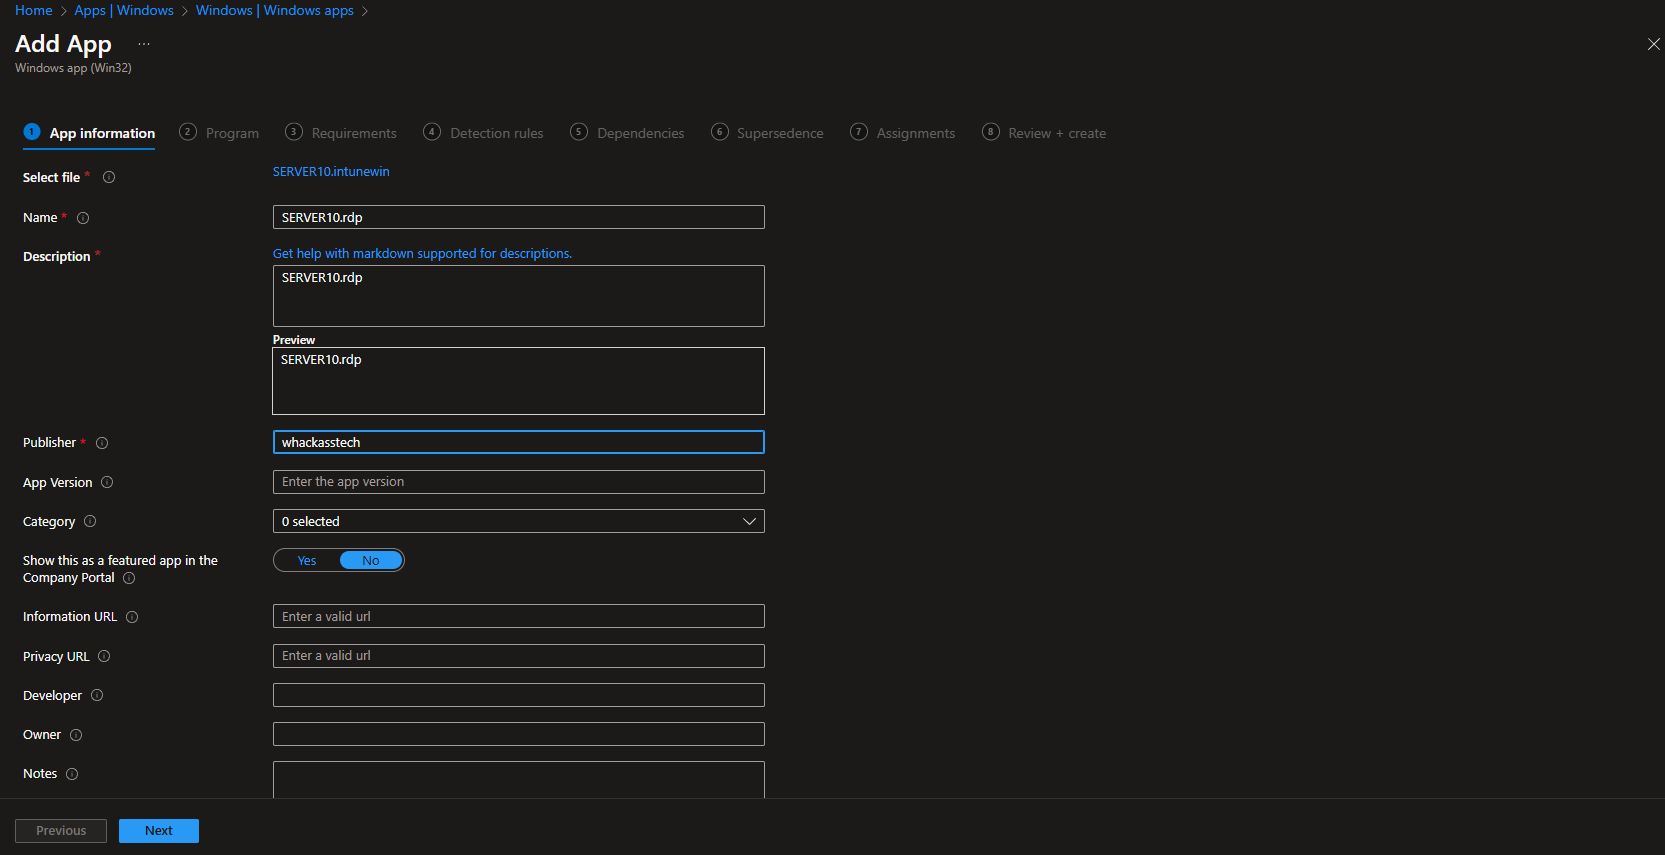
- Click on Next
- Here you can change the Settings. I leave it as it is. Dont forget to enter a Publisher
- Click on Next
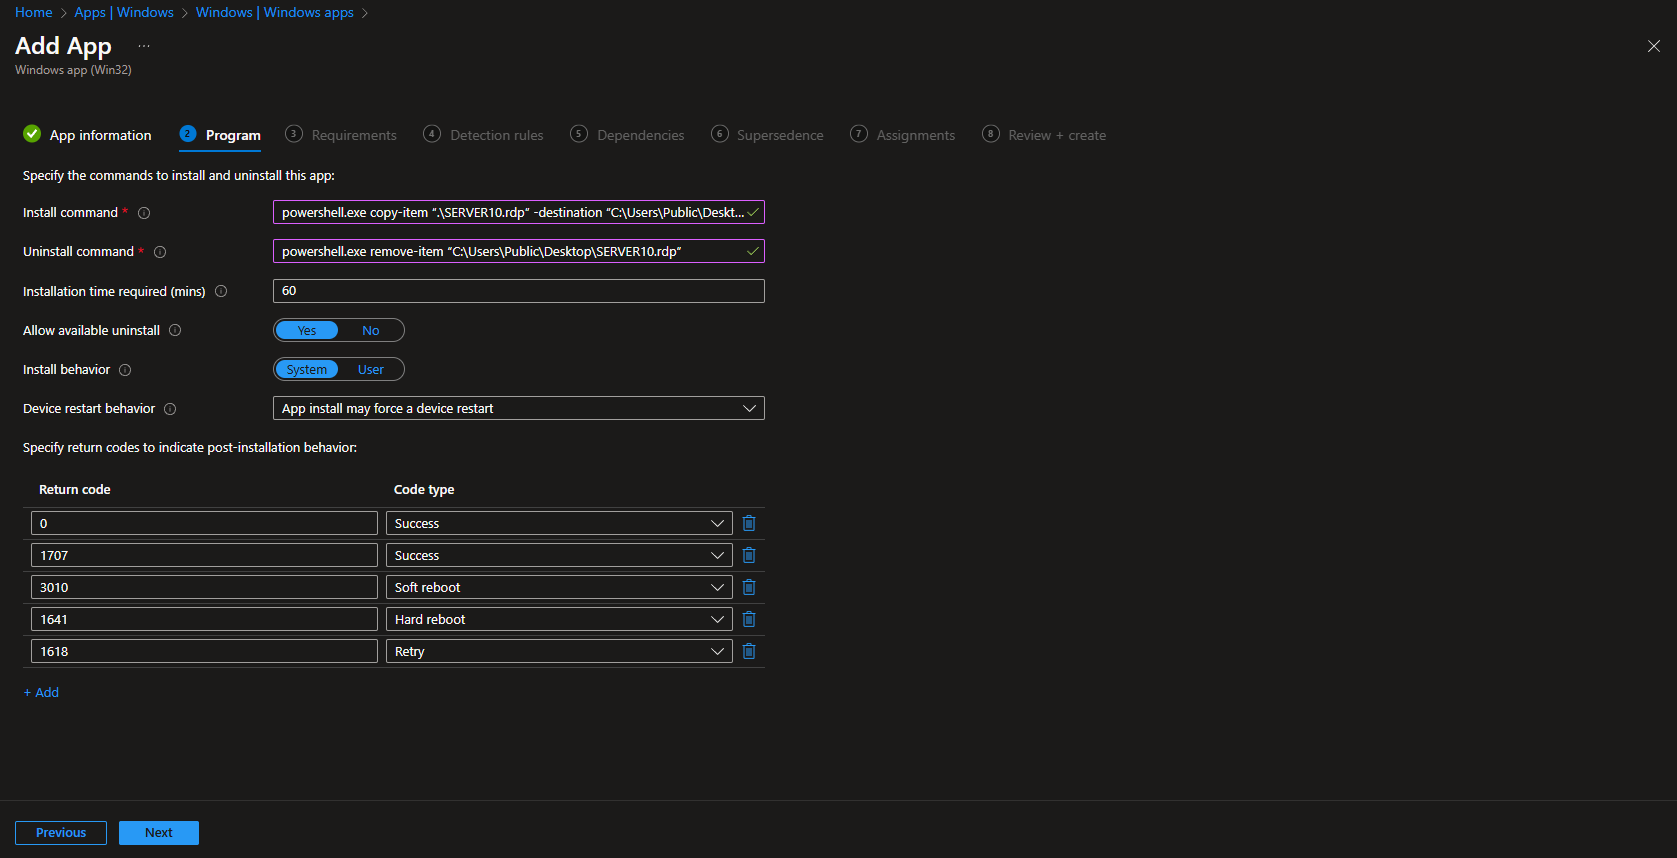
On the Program tab enter the following Commands:
- Install Command: powershell.exe copy-item “.\RDPFILENAME.rdp” -destination “C:\Users\Public\Desktop” Change the RDPFILENAME for your name of your file.
- Uninstall command: powershell.exe remove-item “C:\Users\Public\Desktop\RDPFILENAME.rdp”Change the RDPFILENAME for your name of your file.
- Allow available uninstall: Yes
- Install behavior: System
- Click on Next
On the Requirements tab enter:
- Operating system architecture: 32-bit / 64-bit
- Minimum operating system: Windows 10 1607
- Click on Next
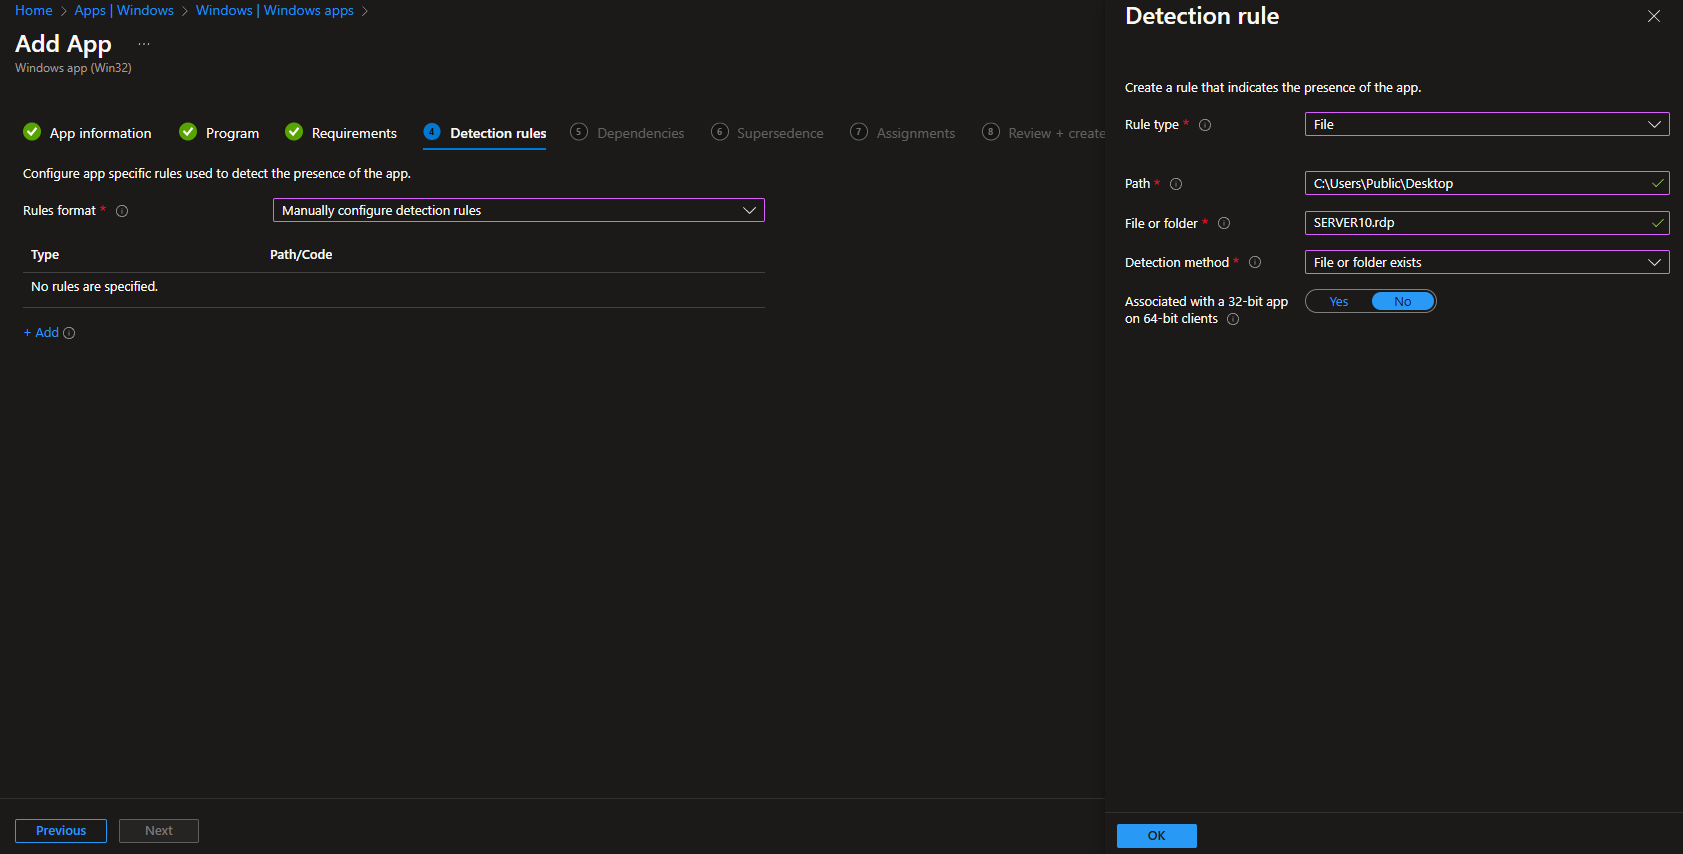
On the Detection rules tab enter the following:
- Rules format: Manually configure detection rules
- Click on Add
- Rule type: File
- Path: C:\Users\Public\Desktop
- File or Folder: RDPFILENAME.rdp Change the RDPFILENAME for your name of your file.
- Detection method: File or folder exists
- Associated with a 32-bit app on 64-bit clients: No
- Click on Ok and on Next
- Define your Dependencies if applicable and click on Next
- Define your Supersedence if applicable and click on Next
- On the Assignments tab assign the Policy to a Group or to All User / All Devices
- Click on Next
- And Review + Create the Policy
Congratulations! You have successfully deployed the RDP file.
Conclusion
In this blog post we Learn about How to deploy a RDP file with Microsoft Intune. In the first step, we prepared the RDP file. We packaged the RDP file and deployed it with Microsoft Intune. We hope this guide has provided you with valuable insights to improve your device management strategy. Did you enjoy this article? Dont forget to follow us and share this article. If you have any questions or need further assistance, feel free to reach out or leave a comment below.


