
Microsoft Intune offers a powerful solution for managing devices and applications, making device management easier than ever. In this guide, we are going to configure the installation of the N-able client with Microsoft Intune, empowering you to manage devices directly in N-able dashboard. Let’s get started!
Table of Contents
What are we going to set up?
In the first step, we will create an IntuneWin file using the N-able client installation file. In the second step, we will upload this file to Intune and configure the parameters. This allows us to achieve a smooth installation on the clients.

Create IntuneWin file
To install the Remote Desktop with Microsoft Intune we first need to create the IntuneWin file. Follow these steps:
- Create a new folder called DeployNable on C:
- Create a new folder called Output on C:


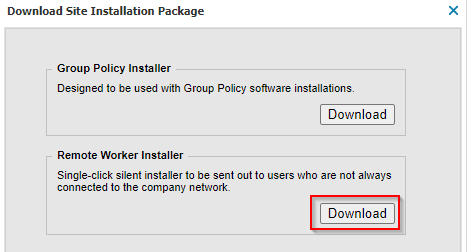
- Download the N-able client from the RMM platform. Make sure you download the Site Installation Package > Remote Worker Installer
- Copy the downloaded EXE file to the DeployNable folder
Note: Your filename can be different. Please keep your filename in mind, we need this later on in this blog.
- Download the official Microsoft Intune Win App Tool
- Open the Intune Win App Tool. Important: You need to open the Tool with Administrator right. Otherwise there will be an error.
- Please specify the source folder: C:\DeployNable
- Please specify the setup file: AGENT_601523_V10_13_8_RW.EXE
- Please specify the output folder: C:\Output
- Do you want to specify catalog folder: N

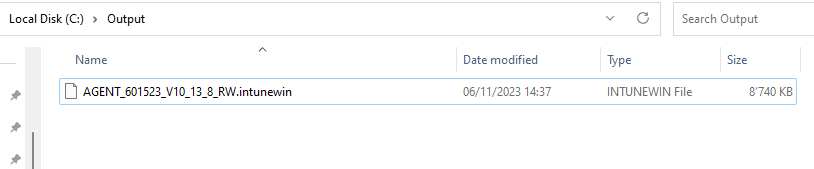
In your Output Folder, there should be a new file called AGENT_601523_V10_13_8_RW.intunewin
We need this file in Step 2

Import and deploy with Intune
- Go to intune.microsoft.com
- Click on Apps
- Click on Windows
- Click on Add
- Chose App type Windows app (win32)
- Click on Select

- Click on Select app package file
- Upload your IntuneWin file which is located in C:\Output
- Click on OK
- Click on Next

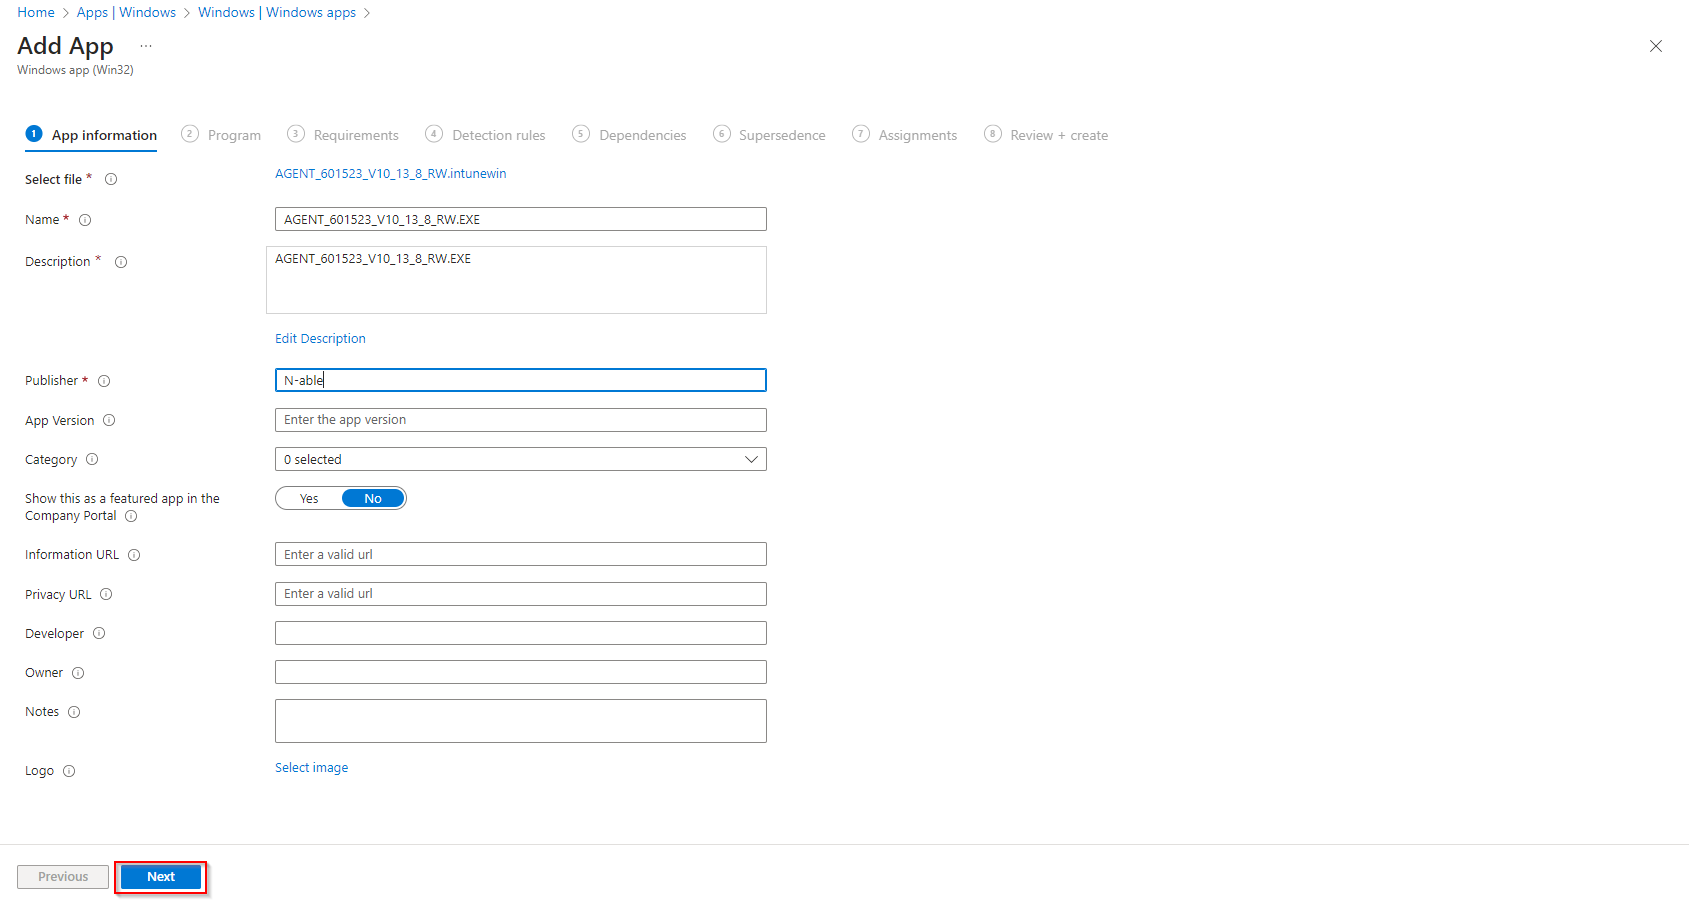
- Here you can change the Settings. I leave it as it is. Dont forget to enter a Publisher
- Click on Next
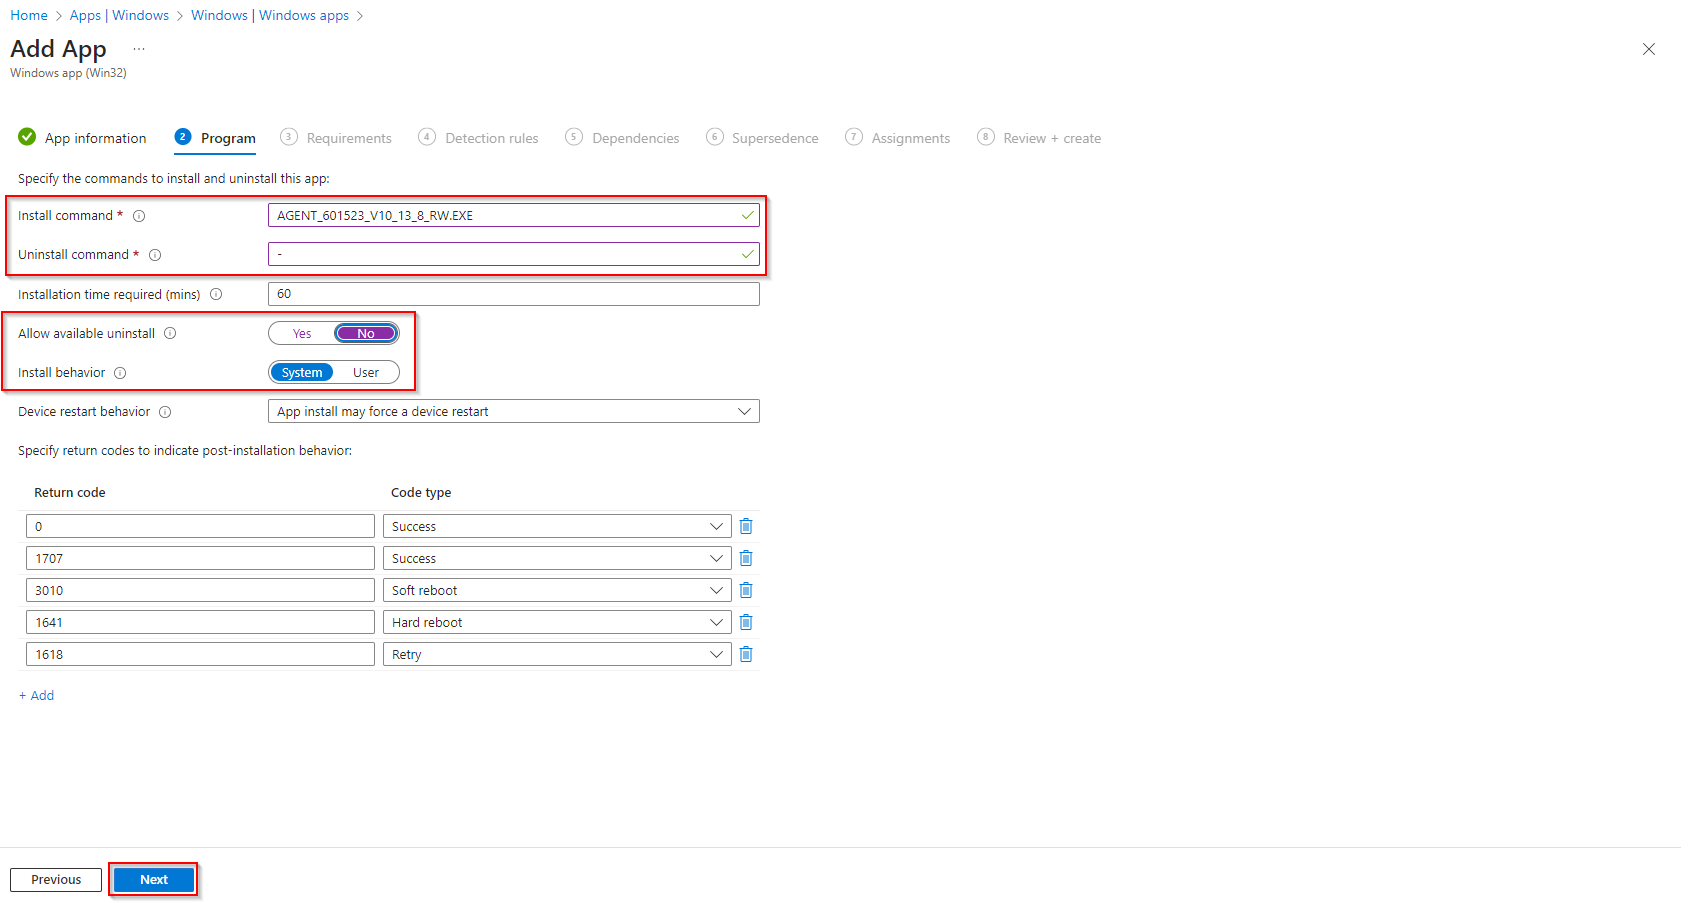
Enter the following Commands:
- Install Command: AGENT_601523_V10_13_6_RW.EXE [filename]
- Uninstall command: –
Because the Uninstall needs a couple of extra steps, we dont enter a Uninstall command. Just enter a – for the moment.
- Allow available uninstall: No
- Install behavior: System
- Click on Next
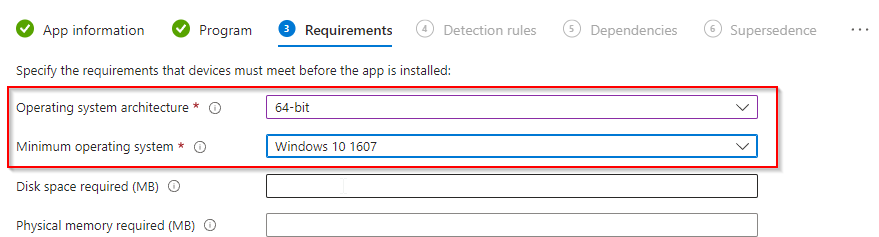
On the Requirements tab enter:
- Operating system architecture: 64-bit
- Minimum operating system: Windows 10 1607
- Click on Next
On the Detection rules tab:
- Rules format: Manually configure detection rules
- Click on Add
- Rule type: File
- Path: C:\Program Files (x86)
- File or Folder: Advanced Monitoring Agent
- Detection method: File or folder exists
- Associated with a 32-bit app on 64-bit clients: No
- Click on Ok and on Next

- Define your Dependencies if applicable and click on Next
- Define your Supersedence if applicable and click on Next
- On the Assignments tab assign the Policy to a Group or to All User
- Click on Next
- And Review + Create the Policy
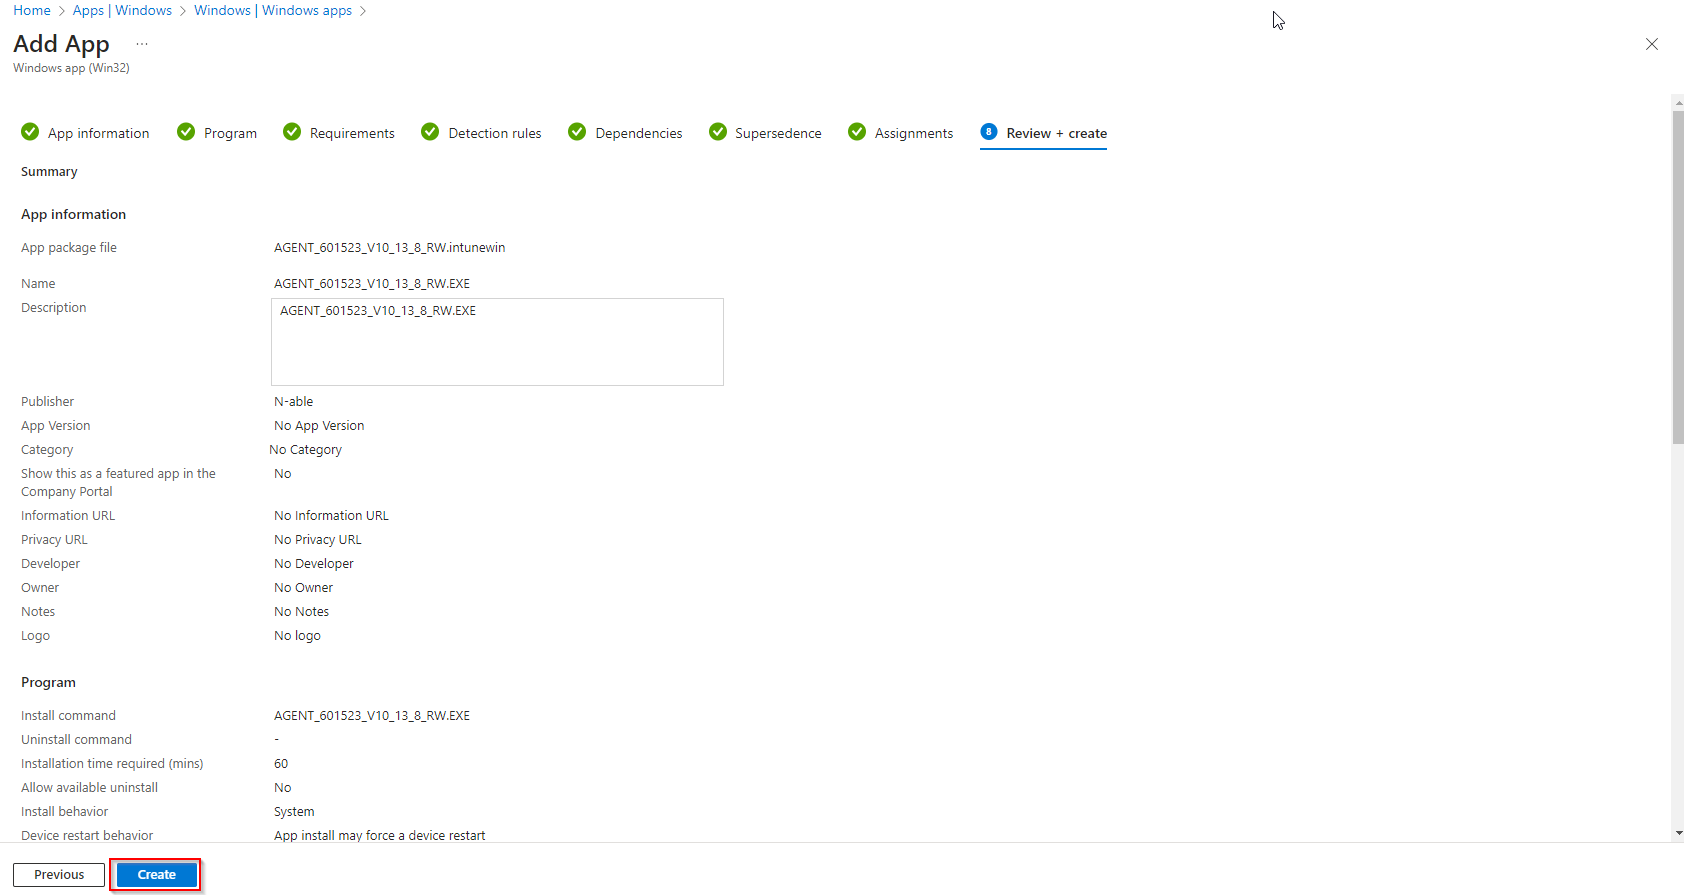
Congratulations! You have successfully deployed the policy.


