How to deploy 7-Zip with Microsoft Intune. In today’s fast-paced business environment, companies need efficient ways to manage their files and data. Microsoft Intune offers a powerful solution to simplify file compression with its ability to deploy 7zip. In this blog we will explore How to deploy 7-Zip with Microsoft Intune. We will guide you through the steps in a step-by-step guide. Let’s get started!
Table of Contents
What are we going to set up?
In this Blog post we will show you, How to deploy 7-Zip with Microsoft Intune. We will perform the following steps to deploy 7-Zip:
- Step 1: Download 7-Zip application
- Step 2: Create Intune Win32 application
- Step 3: Import and deploy with Microsoft Intune
How to deploy 7-Zip with Microsoft Intune
Step 1: Download 7-Zip application
The first step is to download the Barco ClickShare application from the official website. Once you have downloaded the application, you can proceed to the next step.
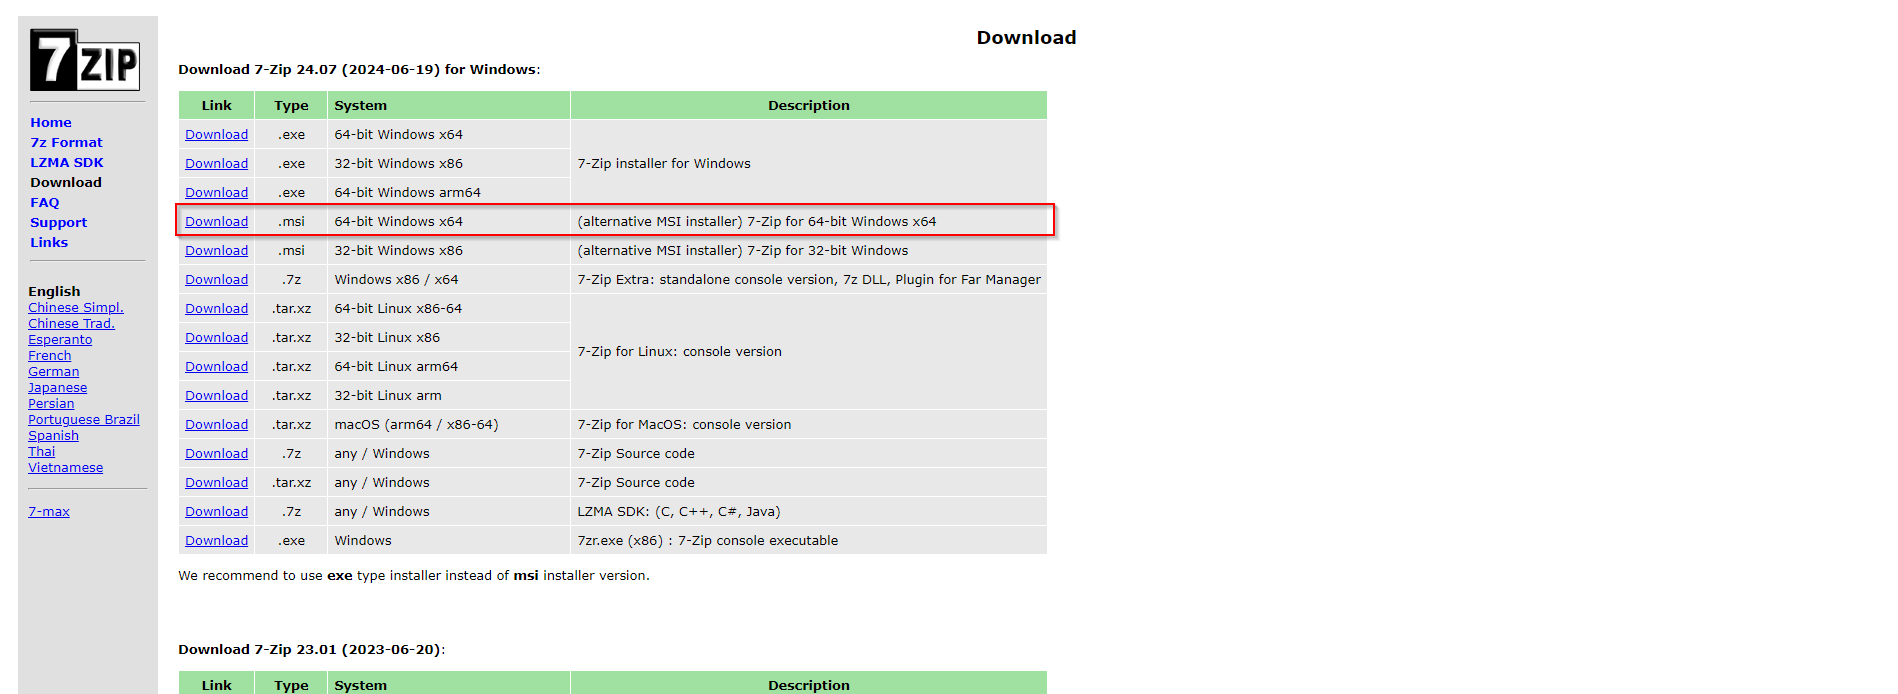
- Go to https://www.7-zip.org/download.html
- Click on Download on the 64-bit Windows x64. We will need this file in the next step.
Step 2: Create Intune Win32 application
After you have downloaded the 7-Zip application the next step is to create an Intune Win App. Just follow the steps below:
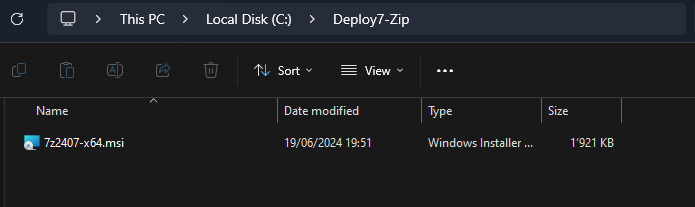
- Create a new folder Deploy7-Zip on C:. Copy the downloaded executable into this folder. Note that the executable can have a different name.
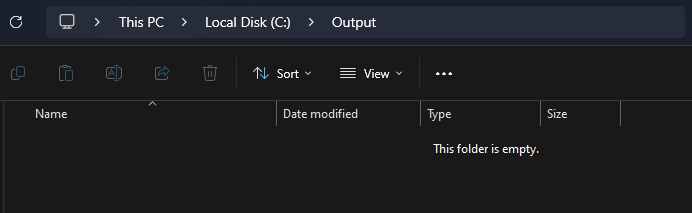
- Create a new folder Output on C:
Now we are going to create an Intune Win file with the official application. First of all download the official Microsoft Intune Win App Tool.
- Download the official Microsoft Intune Win App Tool
- After installation open the Intune Win App Tool.
In the application specify the following things:
- Please specify the source folder: C:\Deploy7-Zip
- Please specify the setup file: 7z2407-x64.msi (Note your file could have a different name)
- Please specify the output folder: C:\Output
- Do you want to specify catalog folder: N

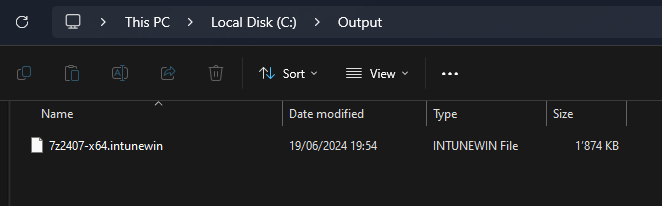
In your Output Folder, there should be a new intunewin file. We will need this in the next step.
Step 3: Import and deploy with Microsoft Intune
After we have created the intunewin file of the executable, we can now upload the application to Microsoft Intune and deploy it to our environment. Just follow these steps.
- Go to intune.microsoft.com
- Click on Apps
- Click on Windows
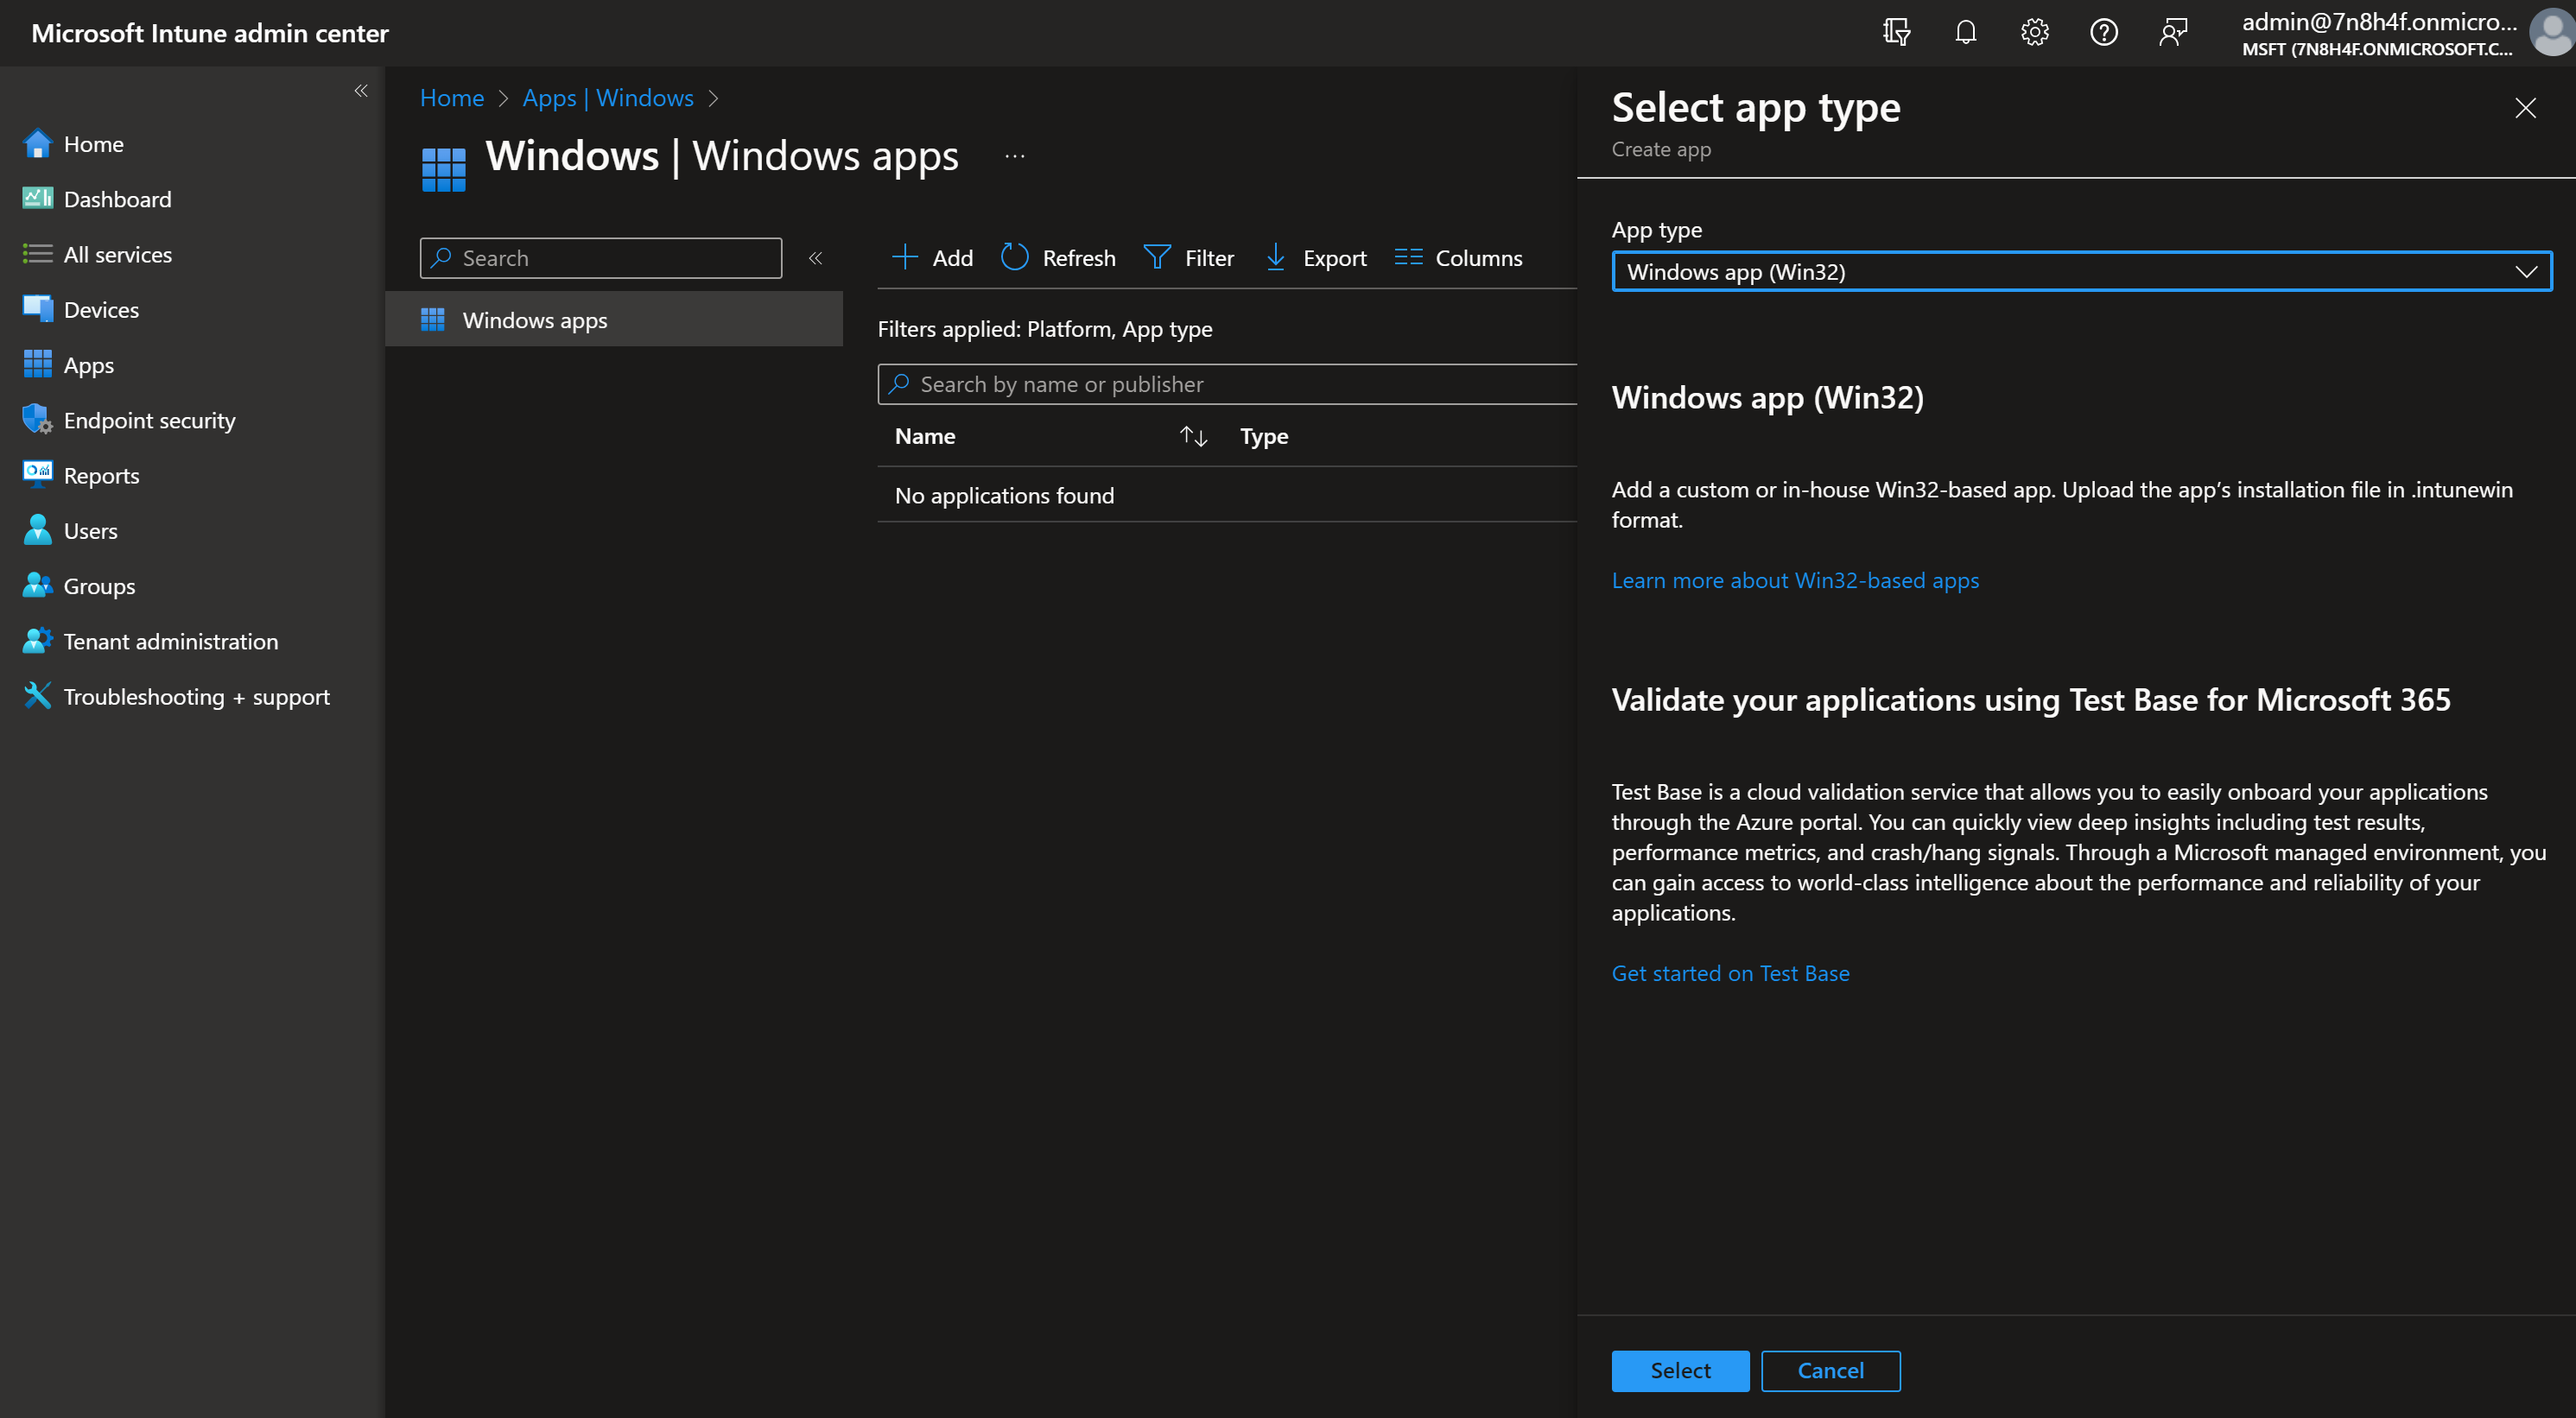
- Click on Add
- Chose App type Windows app (win32)
- Click on Select
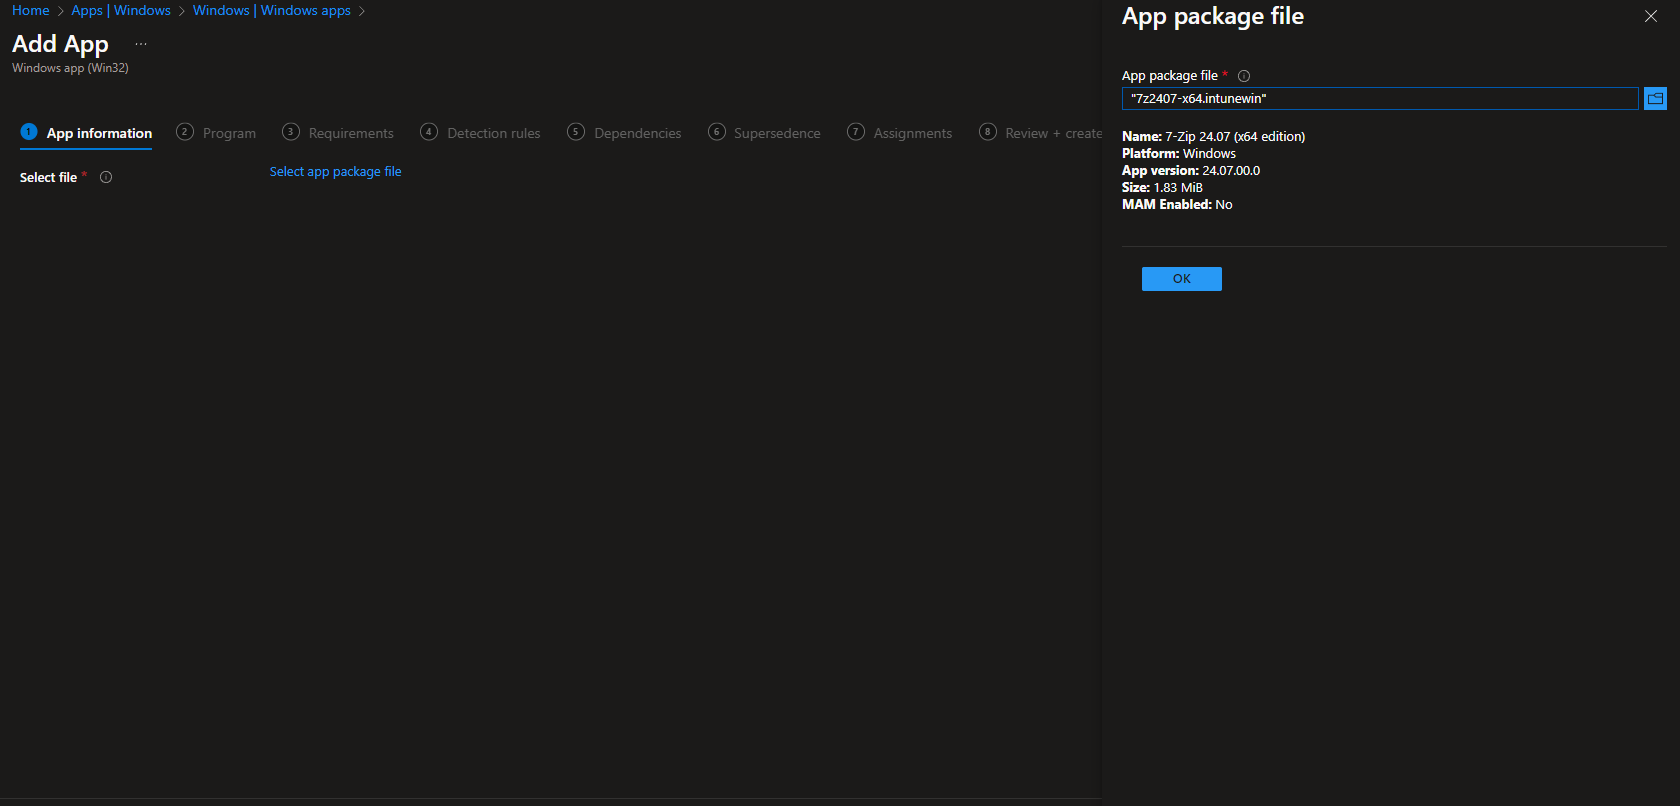
- Click on Select app package file
- Upload your IntuneWin file which is located in C:\Output
- Click on OK
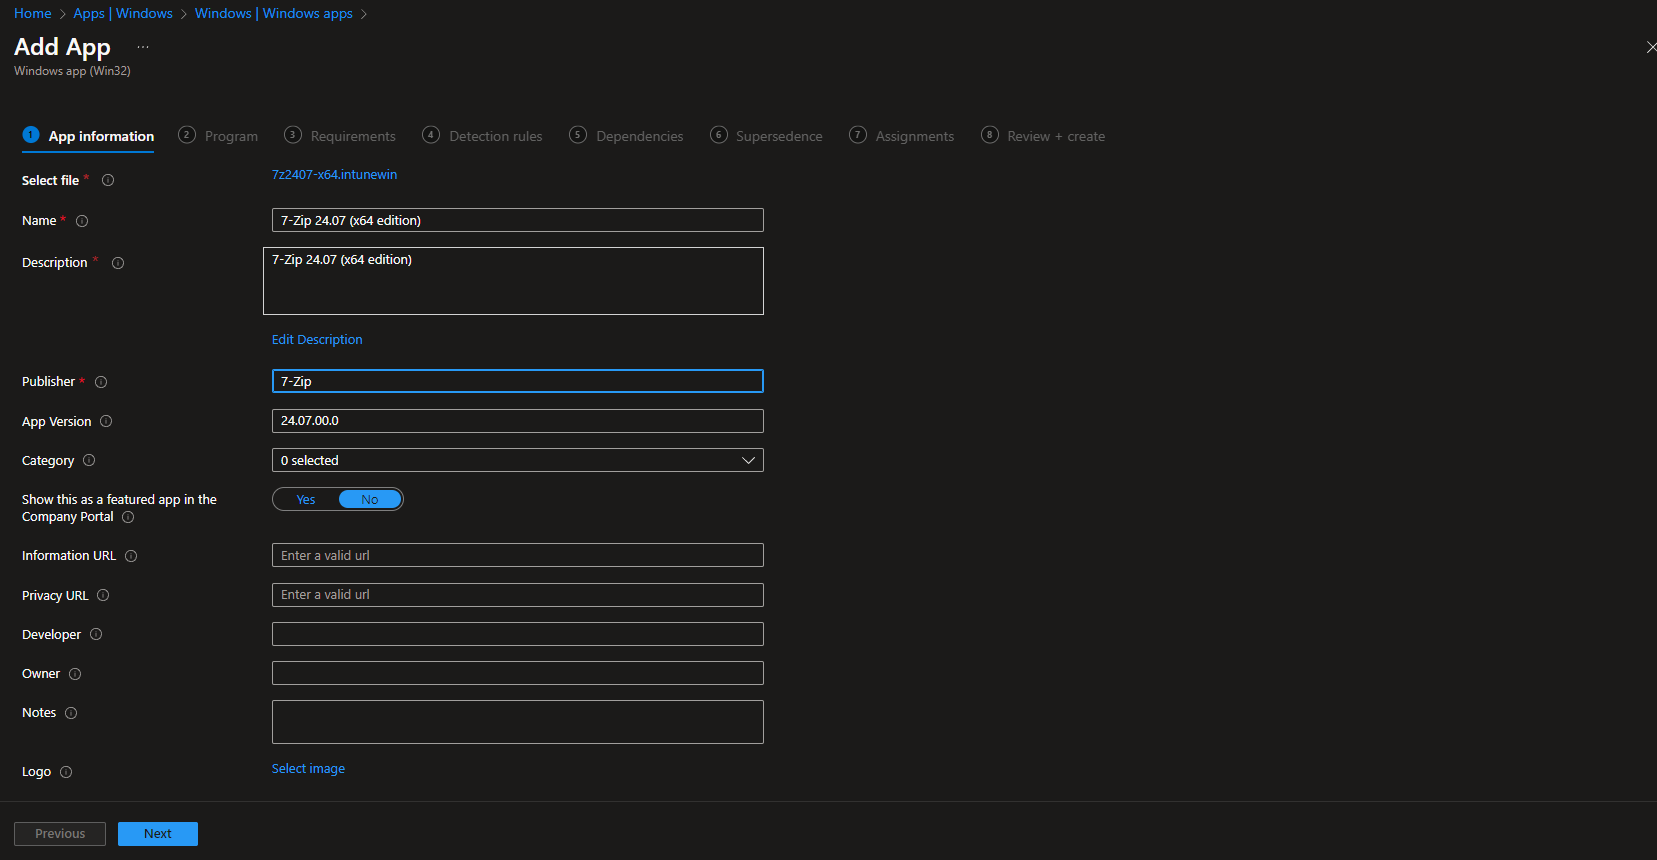
- Click on Next
- Here you can change the Settings. I leave it as it is. Dont forget to enter a Publisher
- Click on Next
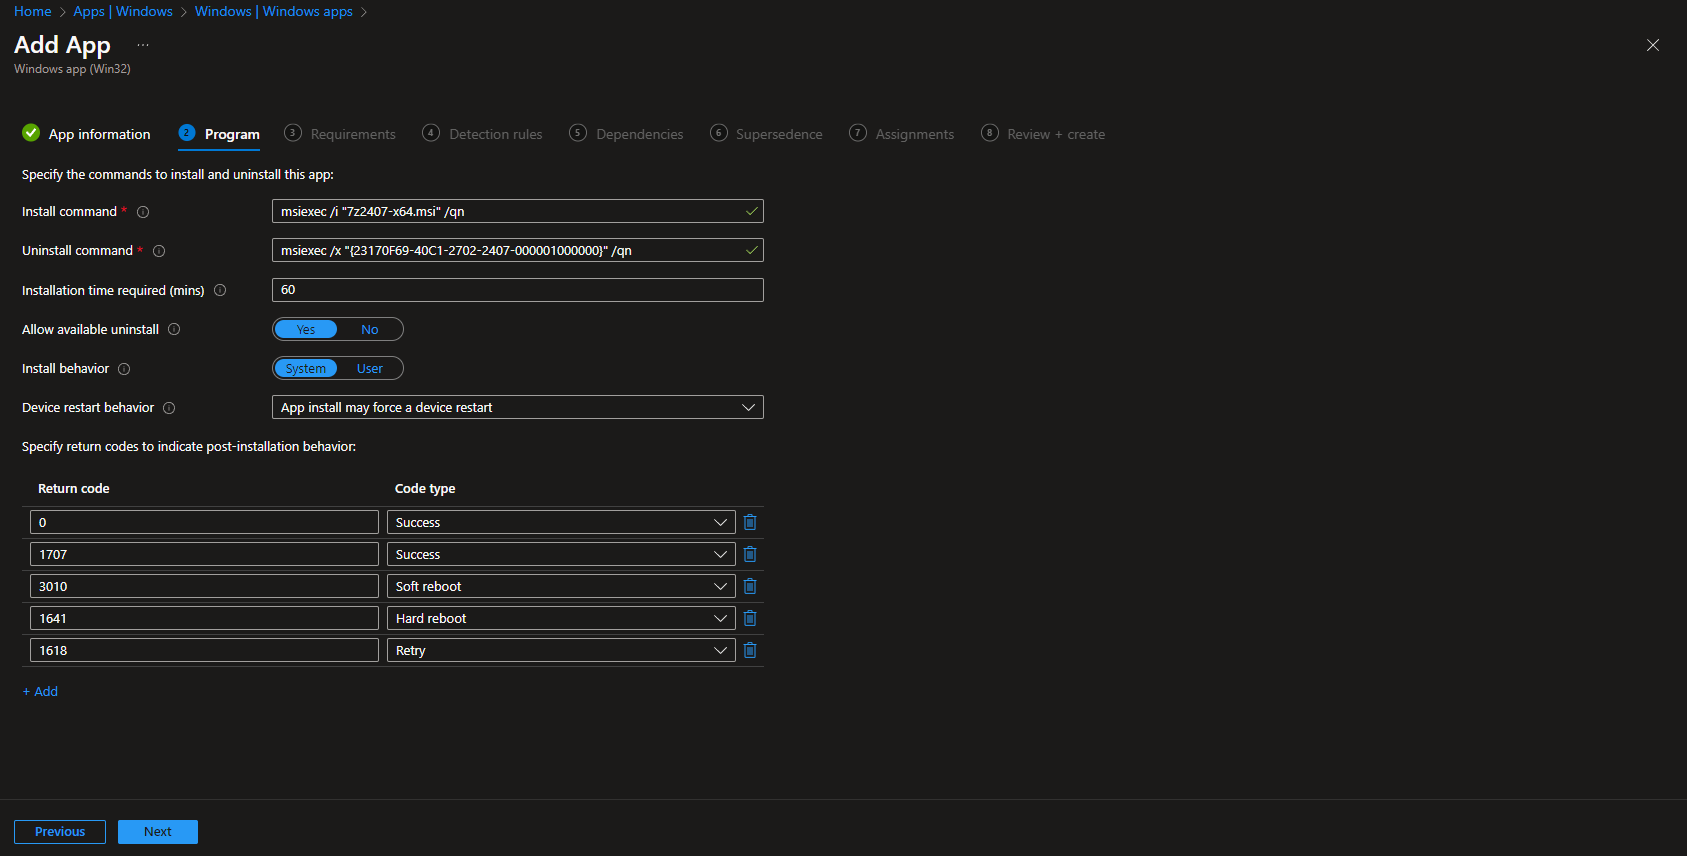
On the Program tab enter the following Commands:
- Install Command: Will be automatically filled out
- Uninstall command: Will be automatically filled out
- Allow available uninstall: Yes
- Install behavior: System
- Click on Next
On the Requirements tab enter:
- Operating system architecture: 64-bit
- Minimum operating system: Windows 10 1607
- Click on Next
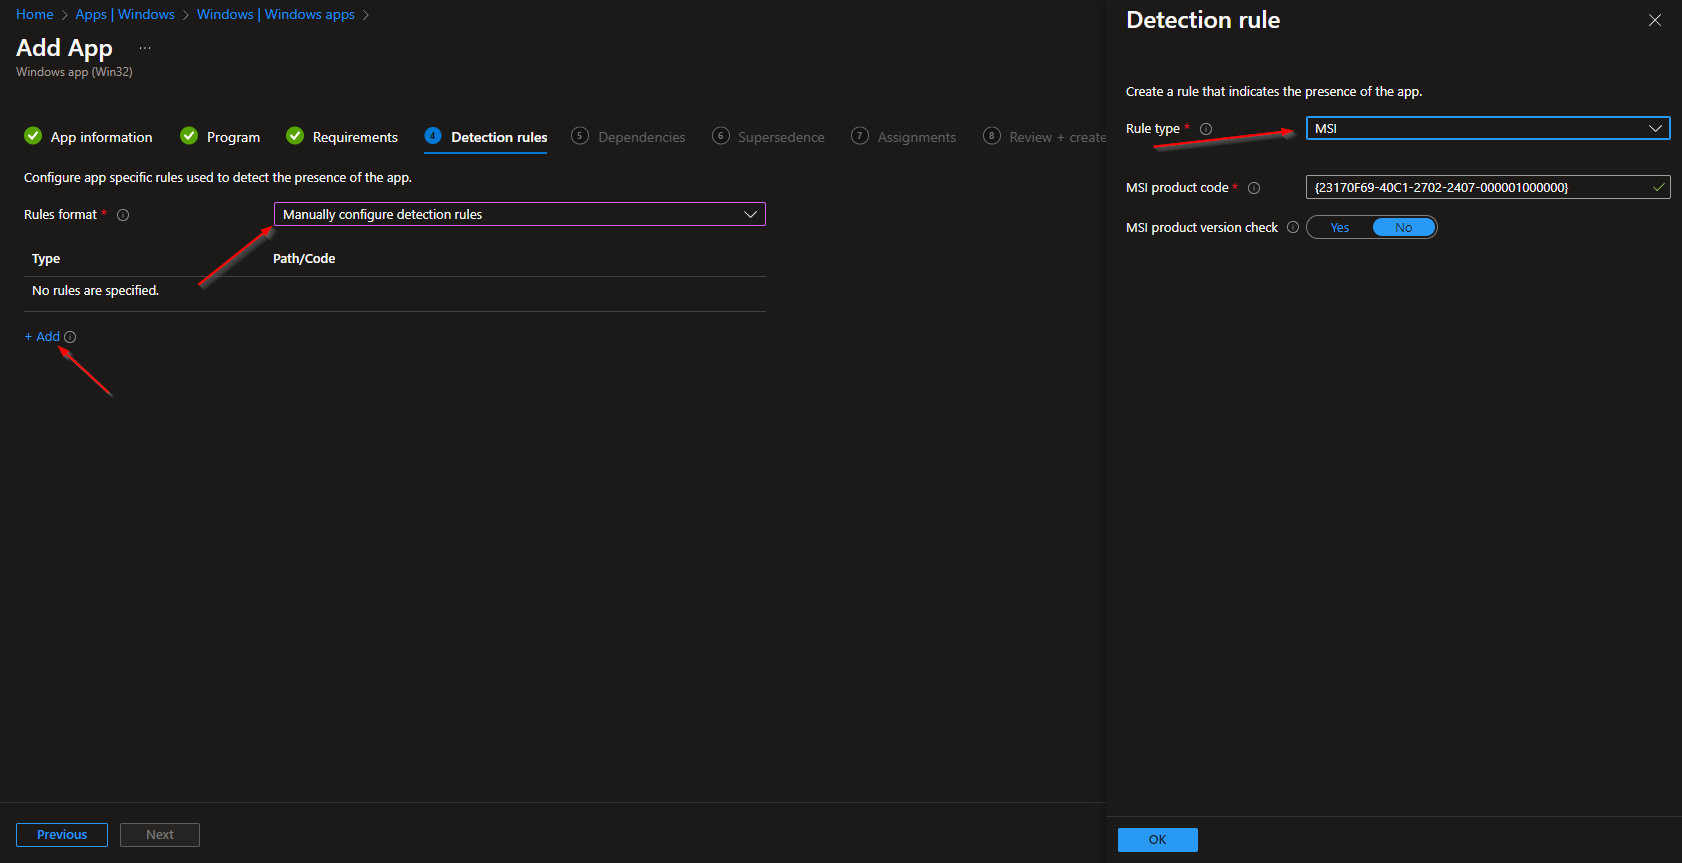
On the Detection rules tab enter the following:
- Rules format: Manually configure detection rules
- Click on Add
- Rule type: MSI
- MSI product code: Will be automatically filled out
- MSI product version check: No
- Define your Dependencies if applicable and click on Next
- Define your Supersedence if applicable and click on Next
- On the Assignments tab assign the Policy to a Group or to All User
- Click on Next
- And Review + Create the Policy
Congratulations! You have successfully deployed the application.
Conclusion
You learned How to deploy 7-Zip with Microsoft Intune. We have first downloaded the official executable. We packed the executable to a Win32 file. Last we imported the Win32 to Microsoft Intune and configured the application. Did you enjoy this article? Dont forget to follow us and share this article. You may also like the the following articles.


Hi, I wanted to know your price.
Hi Robertkag,
Thanks for your comment. Please contact info@whackasstech.com for any questions related to generall topics.
Hej, jeg ønskede at kende din pris.
Hello, the biggest problem deploying 7zip are the file associations in Windows. This should be part of your howto. The installation itself is very simple. thank you for the howto though