Welcome to our new blog post about How to hide specified Control Panel Items with Microsoft Intune. When managing a fleet of Windows devices in a corporate environment, maintaining control over system settings is critical. Microsoft Intune, as part of the Microsoft Endpoint Manager suite, provides IT administrators with powerful tools to configure and secure user endpoints. One often-overlooked capability is the ability to hide specific Control Panel items. This can help streamline the user experience, enforce compliance, and reduce the risk of users inadvertently modifying critical settings. In this post, we’ll walk through how to hide specified Control Panel items using Intune, along with practical use cases and implementation tips.
Table of Contents
Why Hide Control Panel Items?
The Windows Control Panel offers users access to a wide range of system settings—many of which can directly impact device performance, security, or compliance with organizational policies. By hiding certain items, IT administrators can reduce the risk of accidental misconfiguration, prevent access to features users don’t need, and create a cleaner, less cluttered experience. For example, disabling access to “Network and Sharing Center” or “System” settings can help prevent users from modifying network configurations or viewing device specs that are irrelevant to their role. Ultimately, it’s about balancing user freedom with operational control and security.
If you want to block the entire Control Panel, just have a look here: How to block Control Panel and Windows Settings with Microsoft Intune
How to hide specified Control Panel Items with Microsoft Intune
In this section we will first need to create a new configuration profile in the Microsoft Intune Portal. Make sure you have your Microsoft Administrator Account ready and follow the steps below.
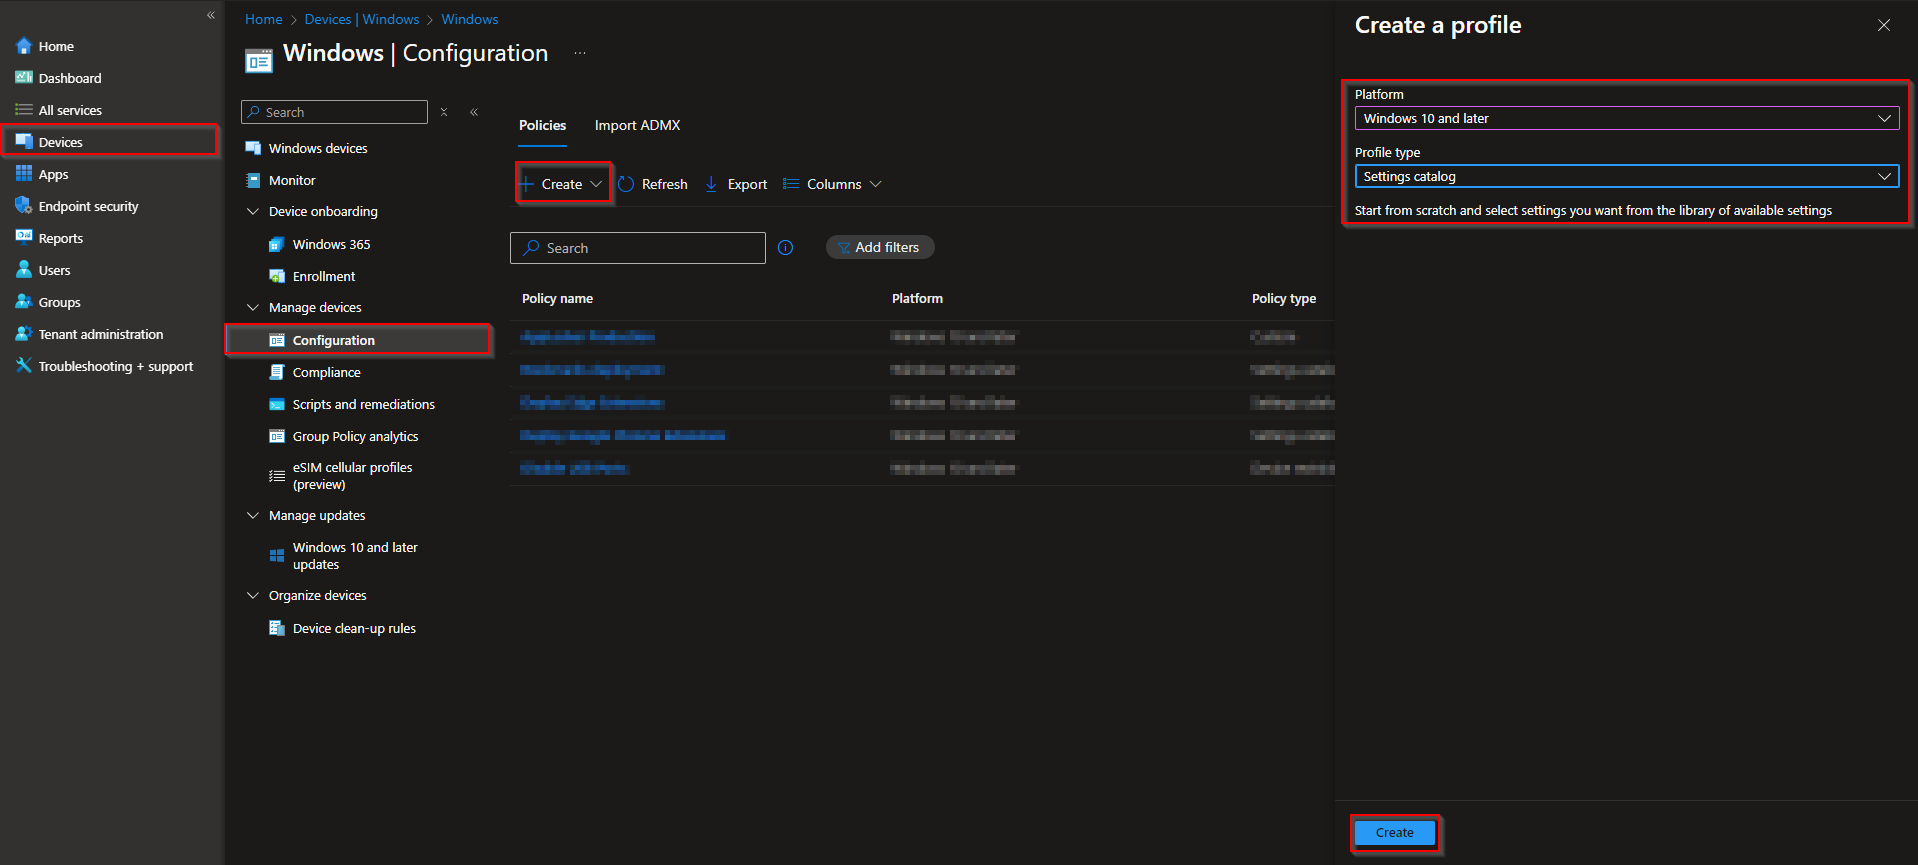
- Go to intune.microsoft.com
- Click on Devices
- Click on Windows
- Click on Configuration profiles
- Click on Create
- Click on New Policy
- Platform: Windows 10 and later
- Profile type: Settings catalog
- Click on Create
On the Basics tab give it a meaningful name and description. Click on Next.
On the Configuration settings tab do the following:
- Click on Add settings
- Search for Control Panel Items
- Choose Administrative Templates\Control Panel
Here you have two options. You can specify which Items the user can see or you can specify which Item the user cannot see.
- Hide specified Control Panel items (User): This will allow you to specify what Items the user wont see.
- Show only specified Control Panel items (User): This will allow you to specify what Items the user will see. The rest is hidden.
On the left site you will now need to enter the Control Panel item’s canonical name. For example, enter Microsoft.Mouse, Microsoft.System, or Microsoft.Personalization.
You can find a complete List of Canonical Names of Control Panel Items on the Official Microsoft Learn Documentation: Canonical Names of Control Panel Items – Win32 apps | Microsoft Learn

- Define your Scope if applicable and click on Next
- On the Assignments tab assign the Policy to a Group or to All Users / All Devices
- And Review + Create the Policy
Congratulations! You have successfully deployed the policy.
Conclusion
In this blog post we Learn about How to hide specified Control Panel Items with Microsoft Intune. We created a new Configuration Profile in Microsoft Intune and configured the settings. Did you enjoy this article? Dont forget to follow us and share this article. If you have any questions or need further assistance, feel free to reach out or leave a comment below.


