Welcome to our new blog post about Learn about How to set Default Font for New Outlook (OWA) in Microsoft 365. When composing emails, consistency in font style can make communication look professional and polished. Instead of manually adjusting the font each time, Microsoft 365 allows you to set a default font in the new Outlook on the web (OWA). This ensures all your messages start with the same look and feel, saving time and effort. In this blog post we will show you, how you can set the default font for the New Outlook or the Outlook on the web.
Table of Contents
What is Outlook on the Web (OWA)?
Outlook on the Web (OWA) is the browser-based version of Microsoft Outlook included in Microsoft 365. But also the New Outlook is using OWA in the background. It provides access to your emails, calendar, contacts, and tasks directly from a web browser without needing to install the Outlook desktop client. The new Outlook on the Web comes with updated features and modern UI enhancements, making it more user-friendly.
How to set Default Font for Outlook Classic with Microsoft Intune
If you want to set the default Font for Outlook Classic, you can find a blog post below where you can roll it out with Microsoft Intune. If you want to set the default Font for the New Outlook or Outlook on the Web just keep reading and follow the steps below.
How to set Default Font for Outlook Classic with Microsoft Intune
How to set Default Font for New Outlook (OWA) in Microsoft 365
In this section we will show you, how you can set the Default Font for New Outlook or Outlook Web in Microsoft 365. We will need to set this with the Exchange Online PowerShell Module. Just follow the steps below.
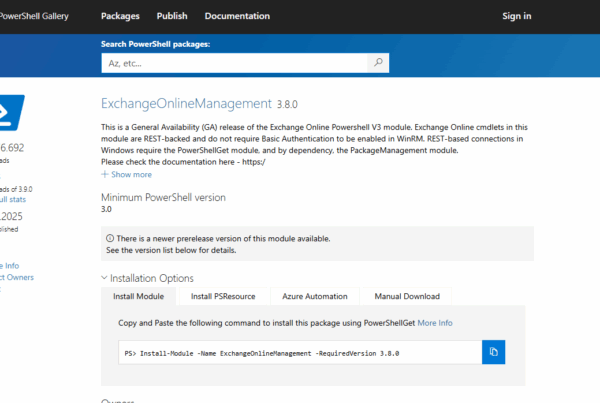
Step 1: Connect to Exchange Online PowerShell
First we will need to Connect to the Exchange Online PowerShell Module. If you already have the PowerShell Module installed and know how to connect to it, you can skip this step. If you need some assistant just follow the steps from the How to Connect to the Exchange Online Powershell Module blog post.
How to Connect to the Exchange Online PowerShell Module
After you are connected to the Exchange Online PowerShell Module, you can proceed with the steps below.
Step 2: Set Default Font
Now we can set the Default Font. We have two options here. You can either set the default font for one mailbox or you can set the default font for all mailboxes. Make sure you have the Font Name and Font Size ready.
Option A: Set Default Font for One Mailbox
In this section you can see, how to set the default font for one mailbox. Use the command below and change the Orange parts.
Set-MailboxMessageConfiguration -Identity user@domain.com -DefaultFontName "Arial" -DefaultFontSize 10
If you want to configure more settings or want to learn more about the Powershell Command, you can have a look at the official Microsoft Documentation.

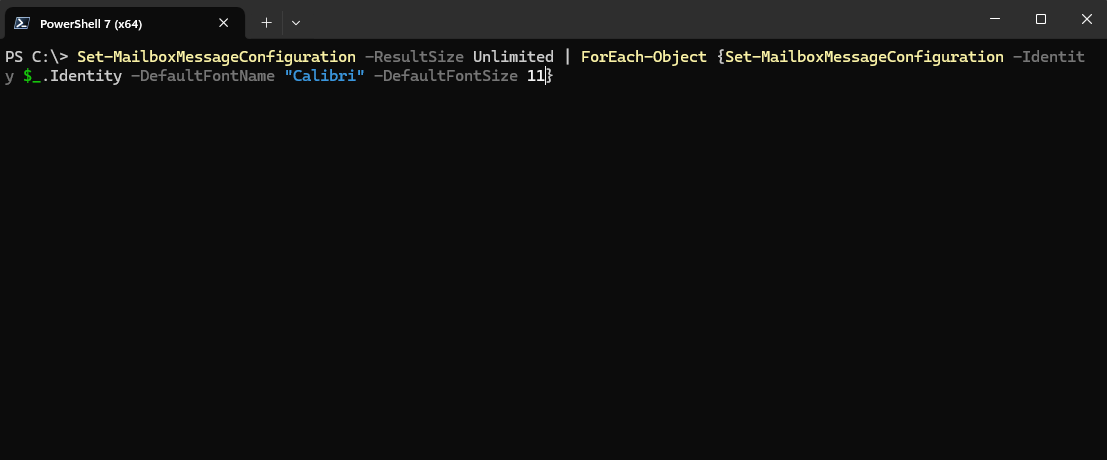
Option B: Set Default Font for All Mailboxes
In this section you can see, how to set the default font for all mailboxes. Use the command below and change the Orange parts.
Get-Mailbox -ResultSize Unlimited | ForEach-Object {Set-MailboxMessageConfiguration -Identity $_.Identity -DefaultFontName "Calibri" -DefaultFontSize 11}
If you want to configure more settings or want to learn more about the Powershell Command, you can have a look at the official Microsoft Documentation.

Conclusion
In this blog post we learn about How to set Default Font for New Outlook (OWA) in Microsoft 365. We walked through the process of signing in, navigating to Outlook settings, and customizing your default font for a professional and consistent email appearance.
Did you enjoy this article? Don’t forget to follow us and share this article. If you have any questions or need further assistance, feel free to reach out or leave a comment below.