How to remove Microsoft Universal Print connector. When a Universal Print connector is no longer needed, it could be removed so it is no longer part of the Universal Print setup and no longer appears in the “connectors” section in the Azure Portal.
Table of Contents
What are we going to set up?
In this blog post we will show you, How to remove Microsoft Universal Print connector. First we are going to prepare to remove the connector. In the second step we unregister the connector with PowerShell. In the last step we can uninstall the connector.

Prepare to remove a connector
Before removing the connector, delete printer shares and unregister printers.
These steps impact users’ ability to print to the printers on this connector. Before continuing, please verify that users do not have these printer shares installed on their PCs.
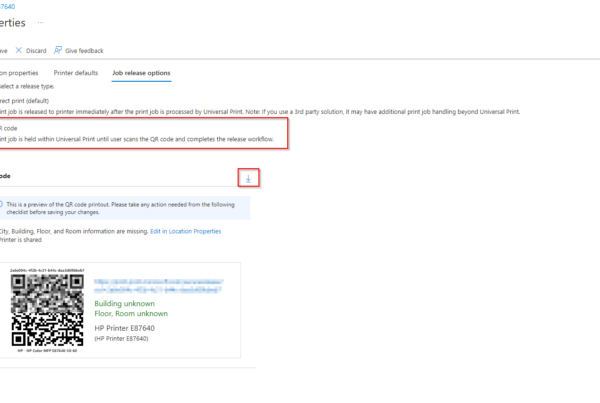
- Navigate to Universal Print in the Azure Portal.
- For all printers registered from the connector you wish to remove
- If the printer is shared, delete the printer share.
- Unregister the printer

Unregister the connector
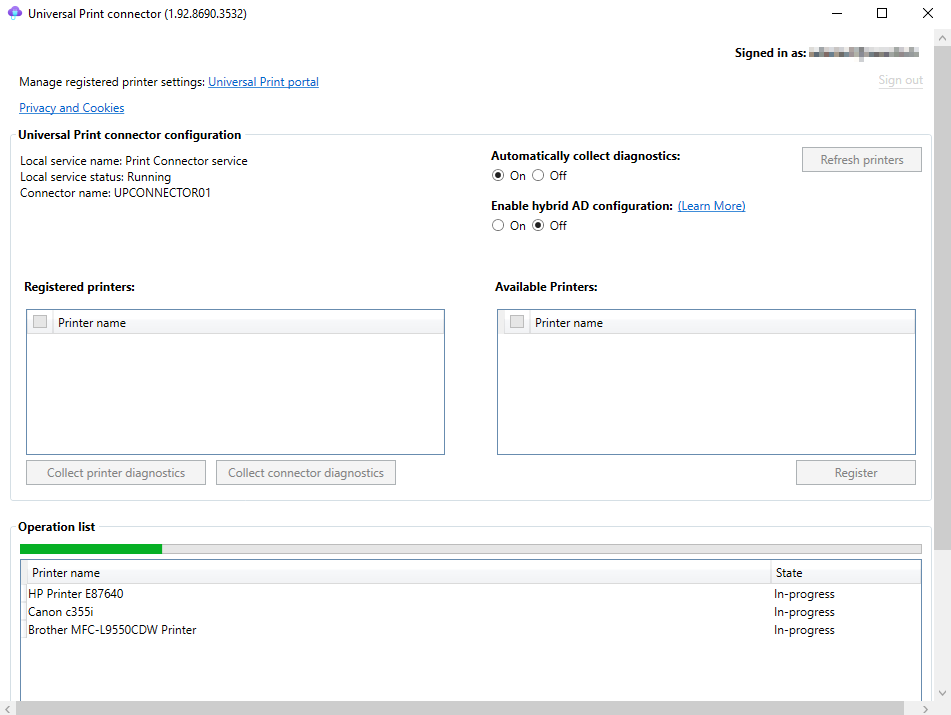
Once printers on the connector are no longer shared or registered in Universal Print, the connector can be unregistered from the Universal Print PowerShell module. You can learn more about it in the PowerShell scripting section.
- Launch an elevated PowerShell window.
- Run Install-Module UniversalPrintManagement.

- Run Connect-UPService and sign in to Universal Print. The account used to sign in must be a Global Administrator or Printer Administrator and must be assigned a Universal Print license.
- Remove the connector by using the Remove-UPConnector -ConnectorId [ConnectorID] cmdlet and passing it the ID of the connector you wish to remove. You can find the Connector ID in the Universal Print Dashboard under Connectors. Click on the Connector and copy the ID.


Uninstall the connector
Uninstall the connector app from the PC where the connector is installed. You can either uninstall the connector app from the Apps section in the Windows Settings app, or from Programs and Features in the Control Panel.
You learned how to remove a connector from Universal Print. We first prepared the uninstall, removed the connector with PowerShell. In the last step we uninstalled the application.
Did you enjoy this article? Dont forget to follow us and share this article.