
Welcome to our new blog post How to configure DMARC record for Microsoft 365. In this article, we will walk through how to create a DMARC record for your domain in Microsoft 365 and how to tighten the policy step by step without losing legitimate mails.
Table of Contents
What Is DMARC?
DMARC (Domain-based Message Authentication, Reporting and Conformance) is a TXT record in your DNS. It tells receiving mail servers what to do with mails that claim to come from your domain but fail SPF and DKIM, and where to send reports about it. A DMARC record looks like this:
v=DMARC1; p=reject; pct=100; rua=mailto:dmarc-reports@contoso.com
- p: the policy. none only monitors, quarantine sends failing mails to the junk folder, reject refuses them
- pct: the percentage of failing mails the policy is applied to. The default is 100
- rua: the address that receives the daily aggregate reports
Why Configure DMARC?
Without DMARC anybody can send mails with your domain in the From address, and the receiver has no instruction what to do with them. This is how phishing in your name works. With a policy of reject these mails are refused. DMARC also gives you reports that show every system that sends mail with your domain, including the ones you forgot.
Prerequisites
- SPF is configured for your domain
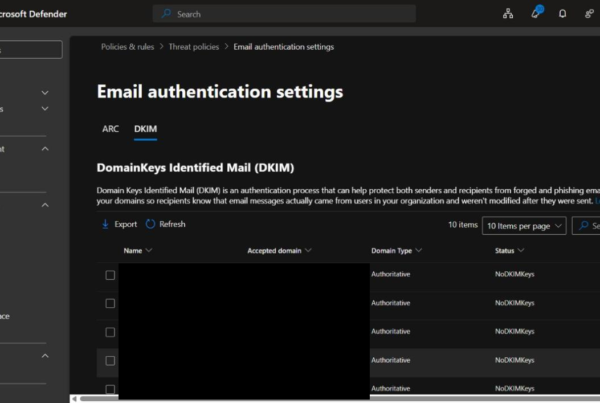
- DKIM signing is enabled for your domain. Without it legitimate mails can fail DMARC
- Access to the DNS settings of your domain
- A mailbox for the reports, ideally a shared mailbox like dmarc-reports@contoso.com
How to configure DMARC record for Microsoft 365
Step 1: Start with a monitoring policy
Never start with reject. First create a record that only collects reports. Create a TXT record at your DNS provider:
Host name: _dmarc
Type: TXT
Value: v=DMARC1; p=none; pct=100; rua=mailto:dmarc-reports@contoso.com
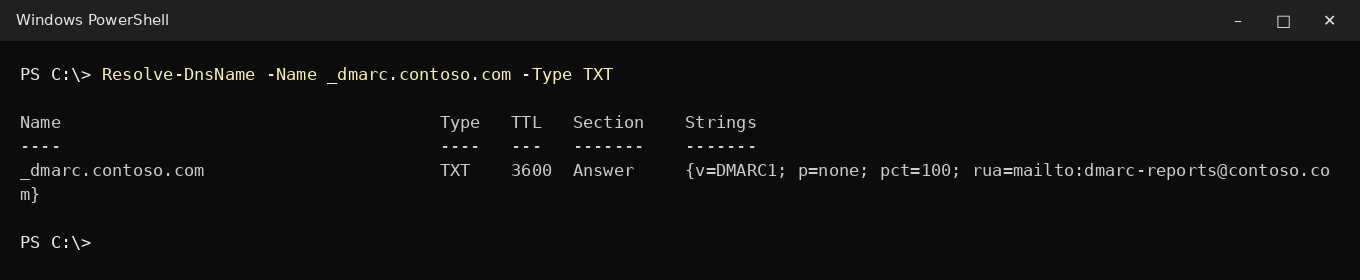
With p=none nothing changes for the delivery of your mails. You only start to receive reports.
Step 2: Review the reports
The aggregate reports arrive as XML files, usually once per day from every large receiver. They show which servers sent mails with your domain and if SPF and DKIM passed.
- Review the reports weekly during the rollout
- Look for legitimate senders that fail, for example a newsletter tool, a CRM or a scanner
- Fix them: add the service to your SPF record or let it sign with DKIM for your domain
The XML files are hard to read. A DMARC report analyzer makes this step much easier. Microsoft 365 itself sends aggregate reports to other domains, but it does not send forensic reports, so a ruf address has little value.
Step 3: Move to quarantine and then to reject
When all legitimate senders pass, tighten the policy. You can increase the percentage step by step:
v=DMARC1; p=quarantine; pct=25; rua=mailto:dmarc-reports@contoso.com
Increase pct to 50, 75 and 100. When quarantine at 100 percent causes no problems, switch to reject:
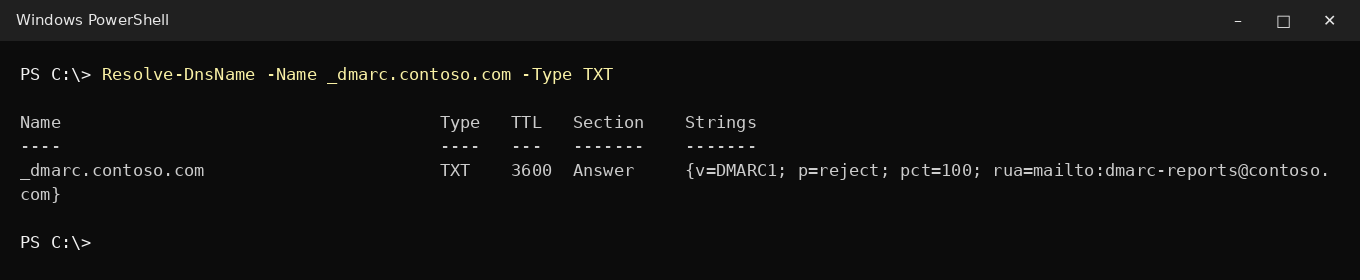
v=DMARC1; p=reject; pct=100; rua=mailto:dmarc-reports@contoso.com
Step 4: Protect unused domains
Domains that never send mail, including your unused onmicrosoft.com domains, should get a reject policy right away:
Host name: _dmarc
Type: TXT
Value: v=DMARC1; p=reject;
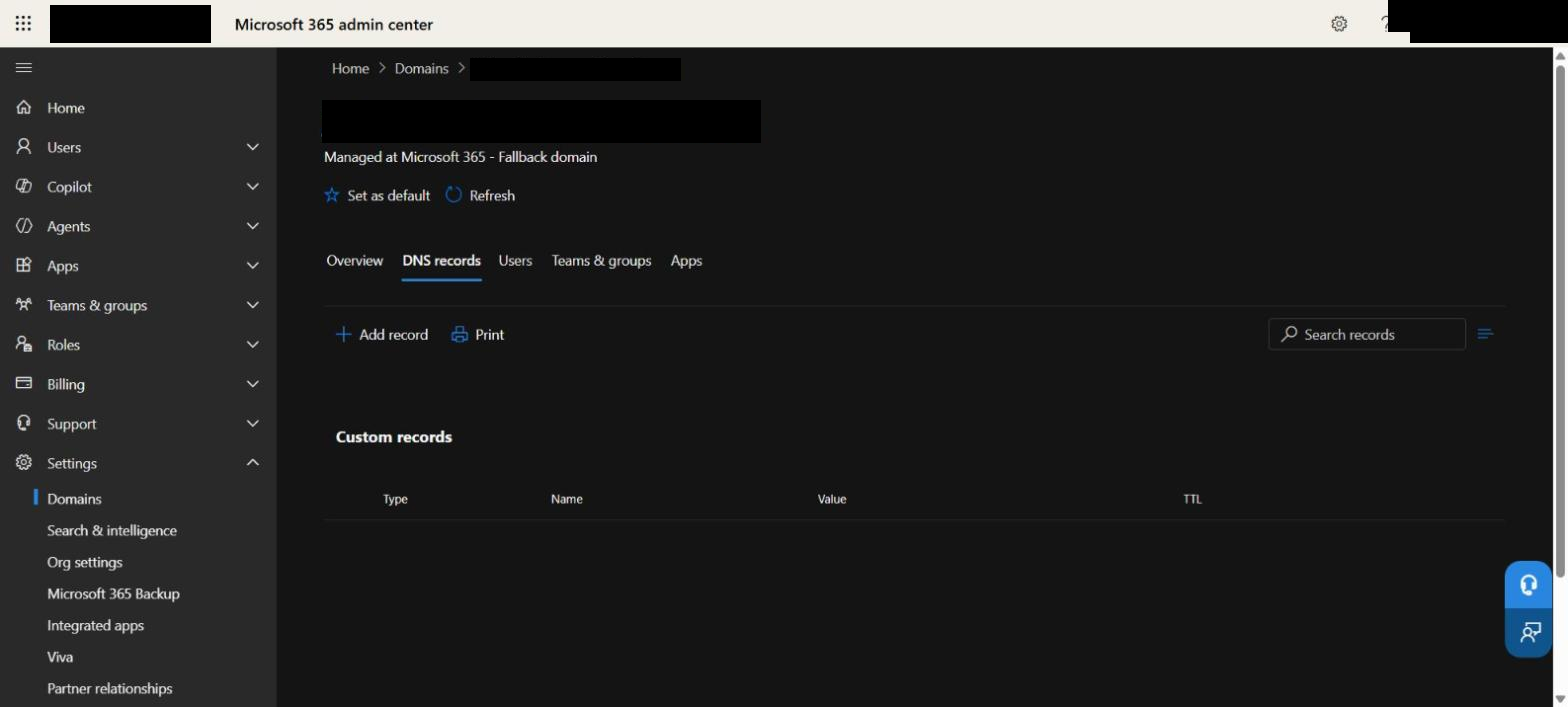
For the onmicrosoft.com domain you add the record in the Microsoft 365 admin center:
- Go to admin.microsoft.com
- Click on Settings
- Click on Domains
- Select the onmicrosoft.com domain
- Click on DNS records
- Click on Add record
Step 5: Check the record
Check the record from PowerShell:
Resolve-DnsName -Name _dmarc.contoso.com -Type TXT
Then send a test mail to an external mailbox and look for dmarc=pass in the Authentication-Results header.
Conclusion
In this blog post we learned how to configure DMARC record for Microsoft 365. You now know how a DMARC record is built, why you start with monitoring and how to get to a reject policy step by step. More details are available here: Set up DMARC to validate the From address domain for senders in Microsoft 365. You might also like: How to disable Direct Send in Microsoft 365, How to add External Email Warning and Tag within Microsoft 365. Did you enjoy this article? Don’t forget to follow us and share this article. If you have any questions or need further assistance, feel free to reach out or leave a comment below.